Photography
Milky Way
Trying to take pictures of the Milky Way has its own set of difficulties. Because of the low light, one has to use a high ISO to get the sensor to register enough information. There are many websites telling you how to do it, but I have found trial and error is the only way to do it. Fortunately, with digital cameras, this is not an issue.
To take pictures of the Milky Way, you have to be as far away from the light pollution of towns and cities as possible. Towns hundreds of miles away can influence your pictures. For timing of your expedition, you also need to be as close to new moon as possible, as the light from the moon can influence your pictures.
The equipment you need is (I will update this list as I remember items):
- A torch;
- A sturdy tripod;
- A remote shutter release for your camera;
- A camera capable of reasonable quality high ISO images;
- A wide angle lens;
- The lens must have as wide an aperture as you can afford; and
- The lens must have an infinity focussing indicator.
Here are some tips which have helped me:
- Set the lens to manual focus and adjust it to the infinity focussing point (many folks out there advocate using live view to set the focus, but I have found it to be too dark to really find the focus point);
- Make sure that your tripod head can reach the required elevation - with my Manfrotto MH804-3W head, I have to reverse the camera on the head to get a decent elevation (see pic below).
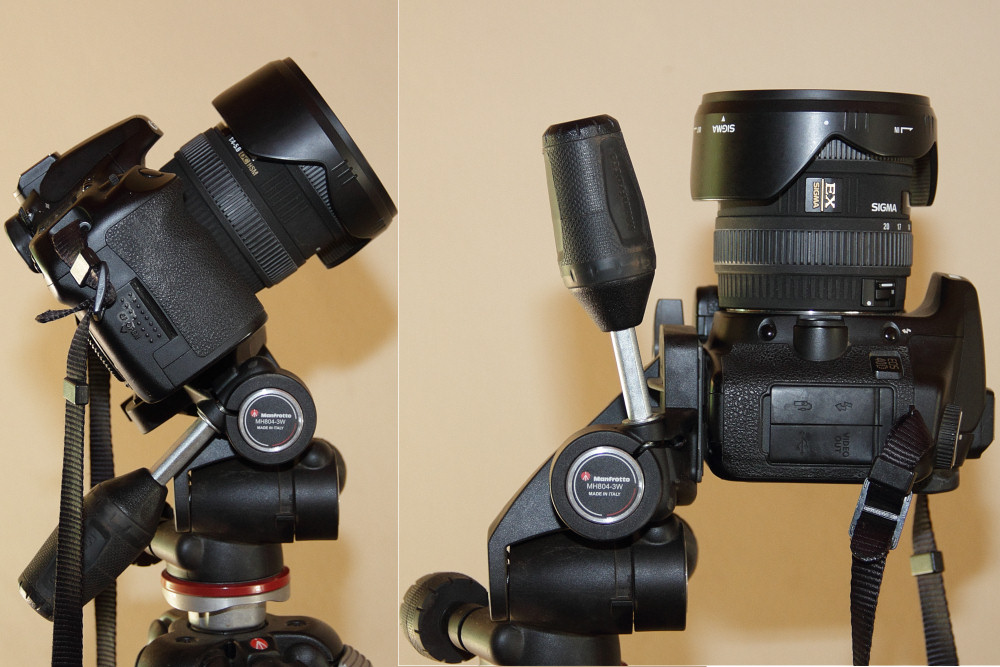
The picture on the left shows the maximum elevation with the camera in the standard position, the one on the right shows it the camera reversed.
In the picture above, the left hand picture shows the standard position of the camera, with the elevation control on the tripod head on the same side as the photographer. The right hand picture shows the camera reversed, with the elevation control on the opposite side of the photographer. Reversing the camera is as simple as turning the Manfrotto RC2 quick release plate on the camera through 180°.
Mount Sheba
To date, Mount Sheba has been the best venue I have been to for night photography. The top of Mount Sheba is easily accessible by road from the Mount Sheba Resort. What makes it so special, is that Mount Sheba is close to 2km above sea level, with very little to hinder your field of view.
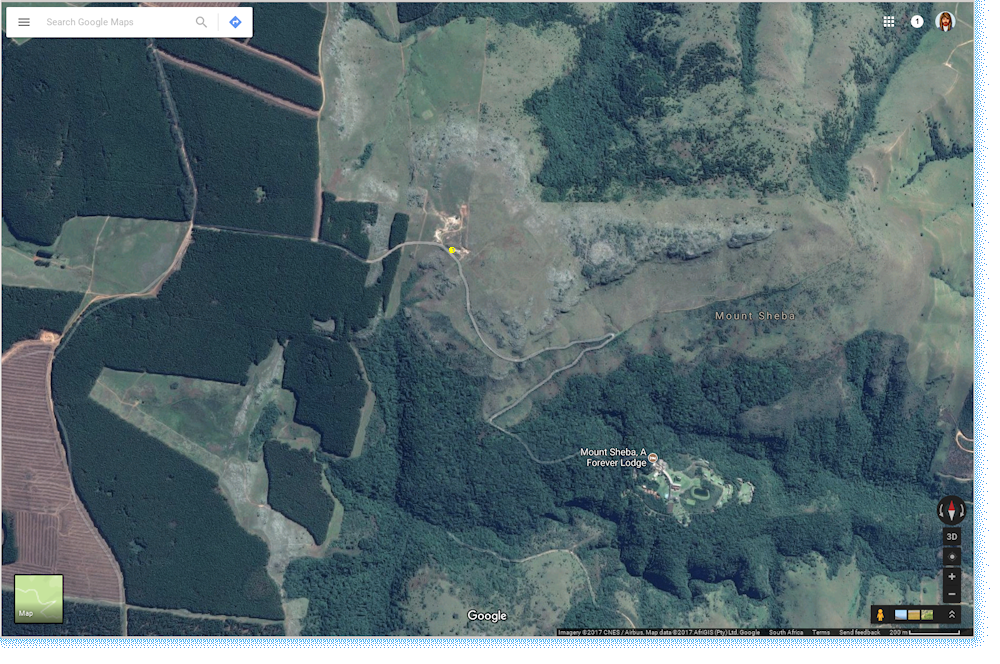
A Google map with the yellow dot showing the location where the pictures were taken
16 October 2017
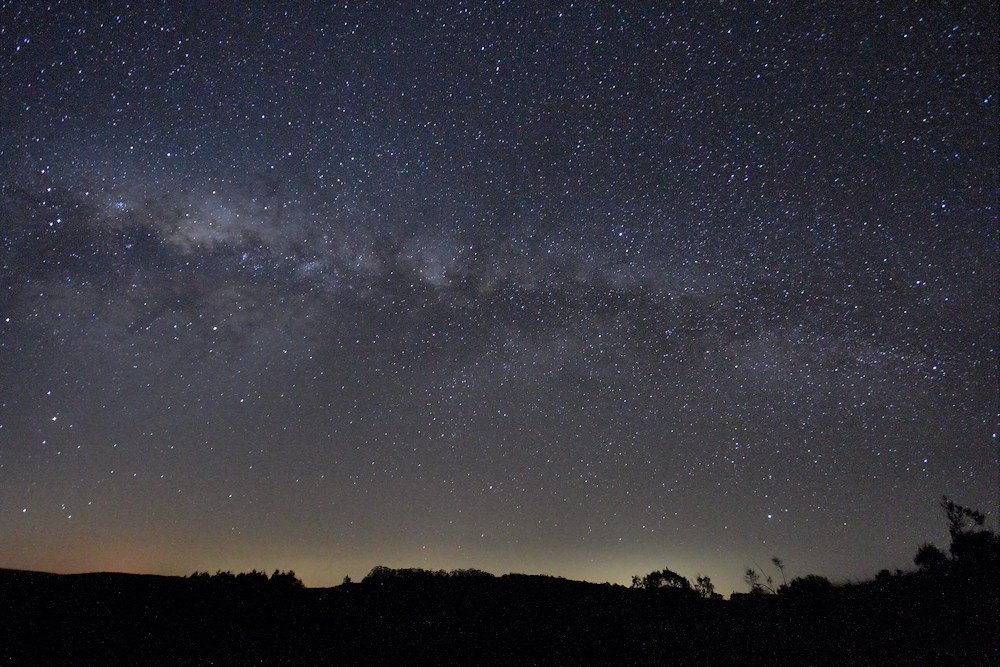
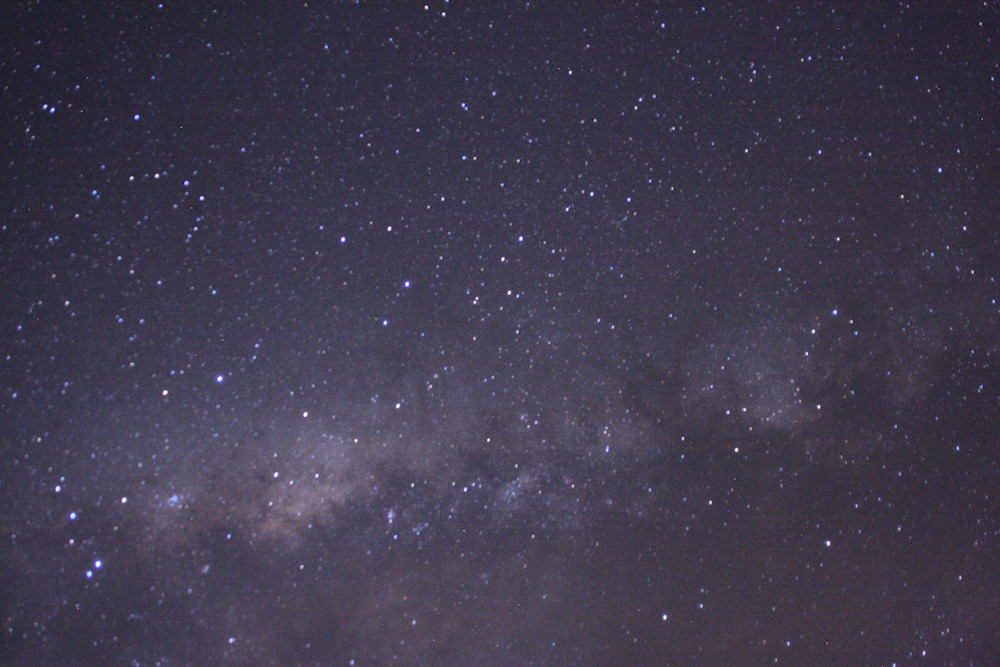
A new moon and a cloudless night made picture taking much more rewarding.
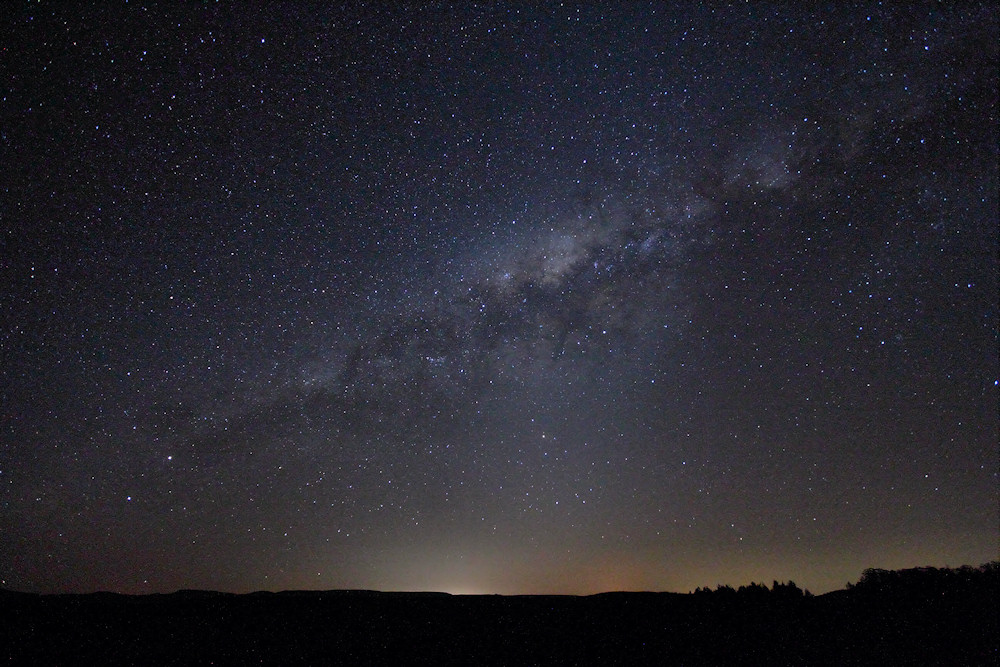
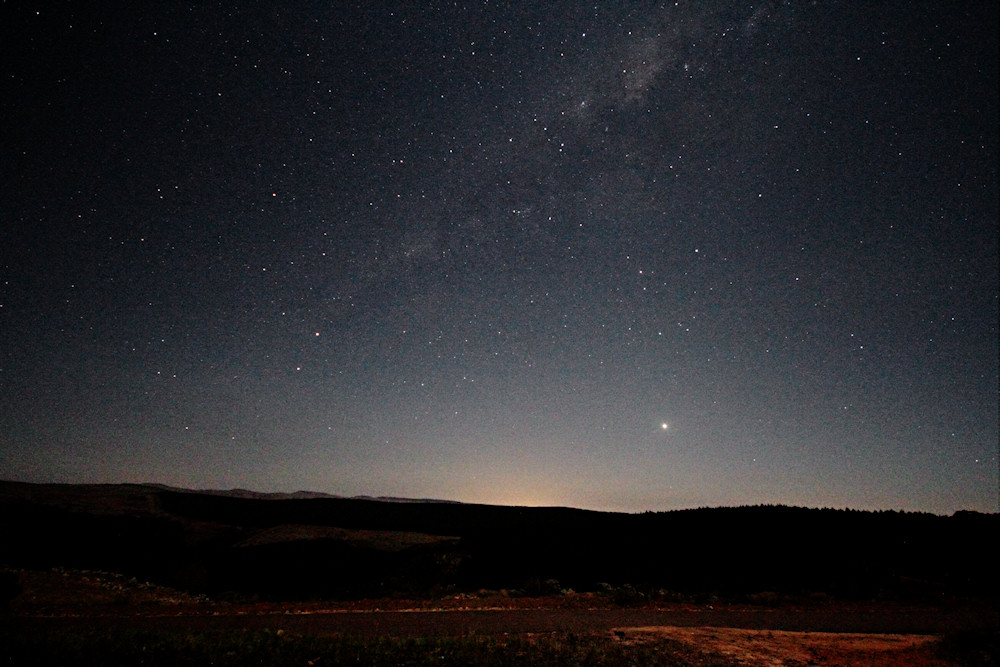
Looking west: Canon 7D, Sigma 10-20 at 10mm, ISO 6400, 20s, F/4
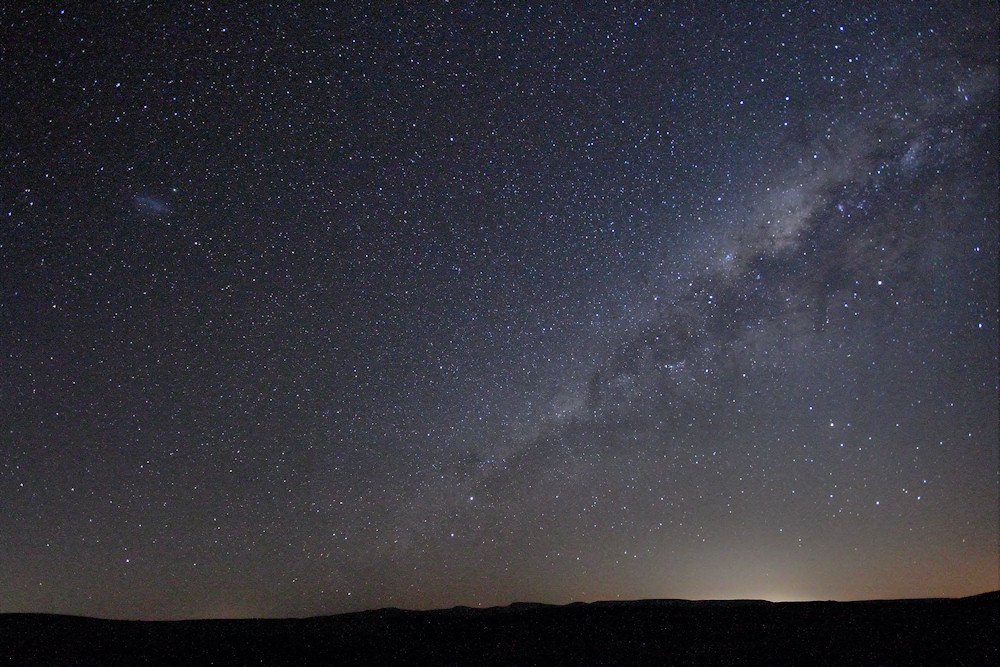
Looking west: Canon 7D, Sigma 10-20 at 10mm, ISO 6400, 30s, F/4
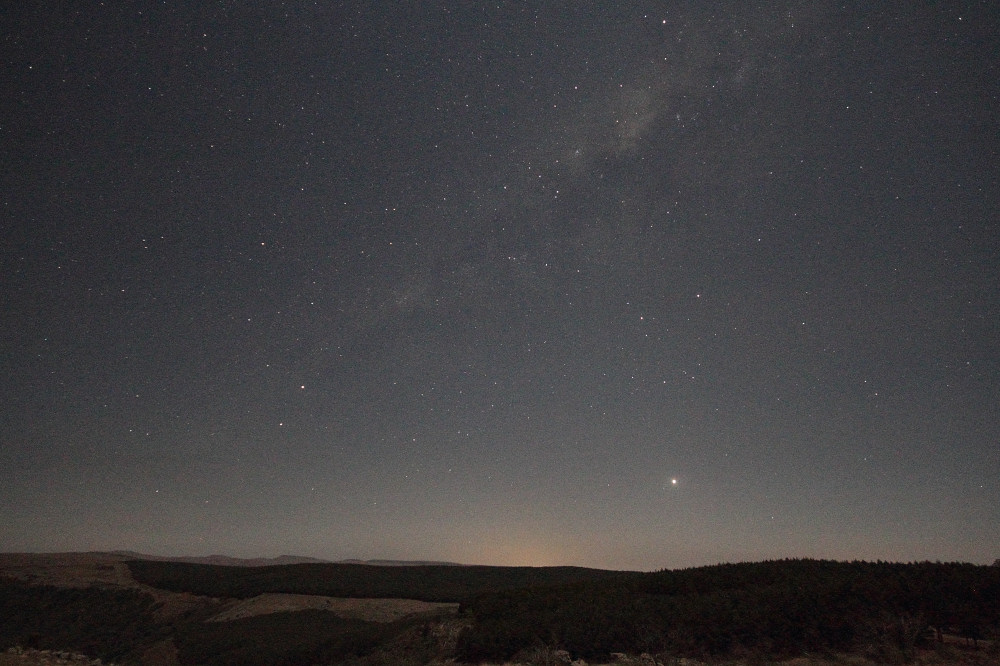
Looking north: Canon 7D, Sigma 10-20 at 10mm, ISO 6400, 30s, F/4
Looking east: Canon 7D, Sigma 10-20 at 10mm, ISO 6400, 30s, F/4
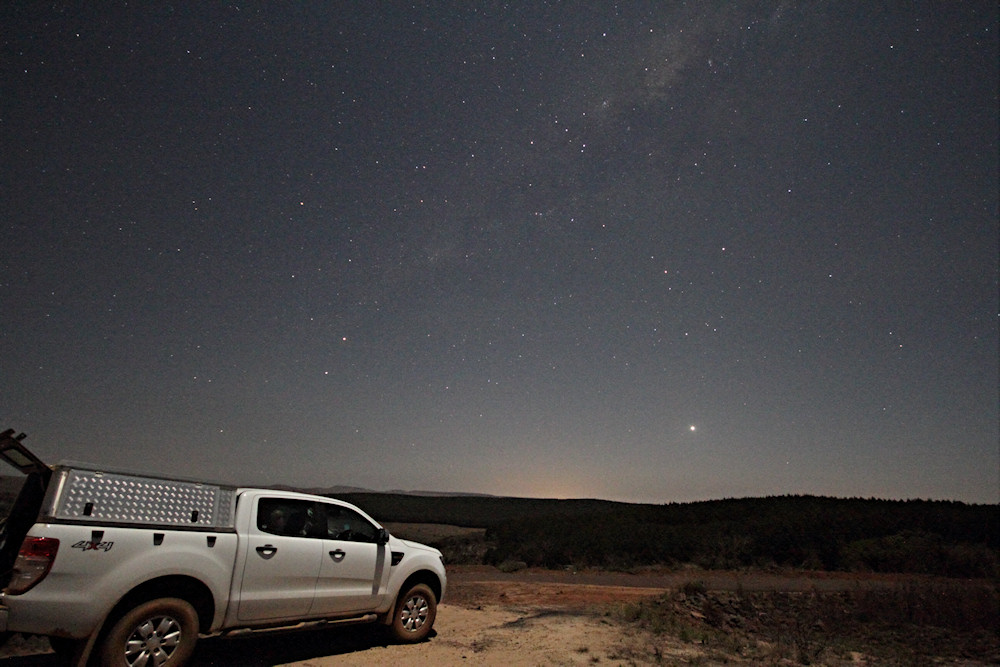
The next picture, which includes the bakkie, shows how dark it was (compare this with the picture taken the year before, below).
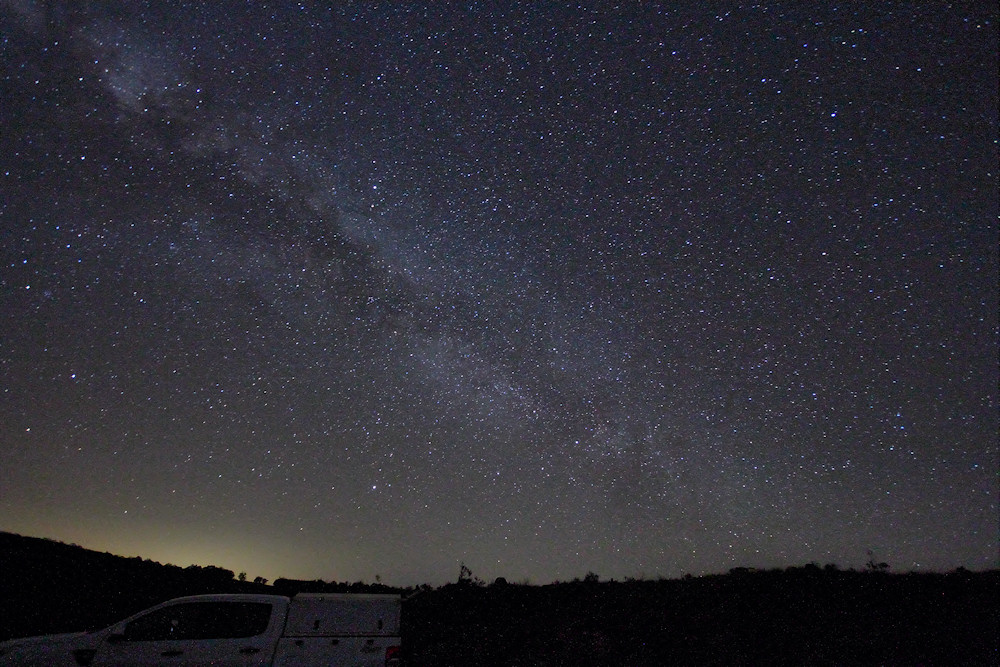
Looking north: Canon 7D, Sigma 10-20 at 10mm, ISO 6400, 30s, F/4
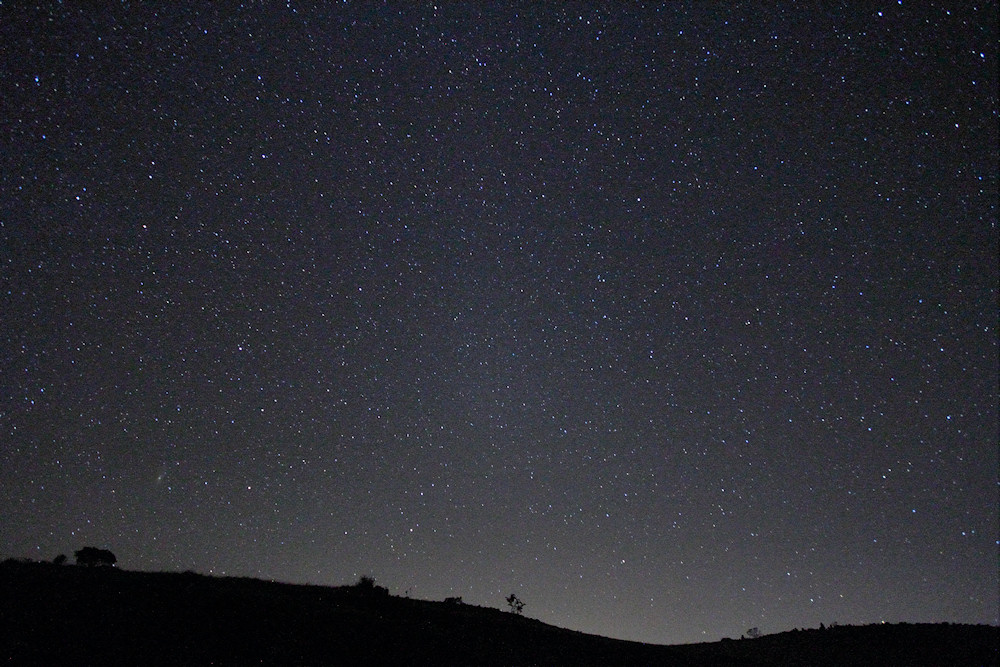
11 October 2016
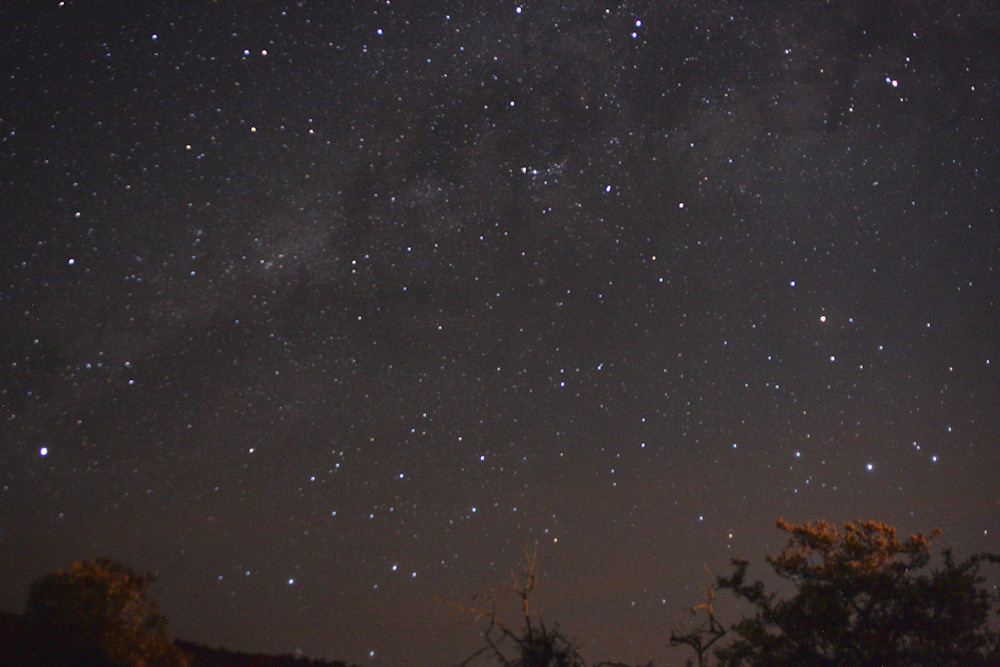
Unfortunately, during this visit to Mount Sheba, the moon was about a quarter and high overhead. Even this small amount of light made Milky Way pictures very difficult. The bright "star" in the lower half of these pictures is Jupiter.
Looking west: Canon 7D, Sigma 10-20 at 10mm, ISO 6400, 8s, F/4
Looking west: Canon 7D, Sigma 10-20 at 10mm, ISO 6400, 8s, F/4
Even with the relatively fast speed of 8s, the foreground is visible. In the picture below, the bakkie is clearly visible.
Looking west: Canon 7D, Sigma 10-20 at 10mm, ISO 6400, 8s, F/4
Another picture showing how the brightness of a quarter moon lights up even the "background".
Looking west: Canon 7D, Sigma 10-20 at 10mm, ISO 6400, 8s, F/4
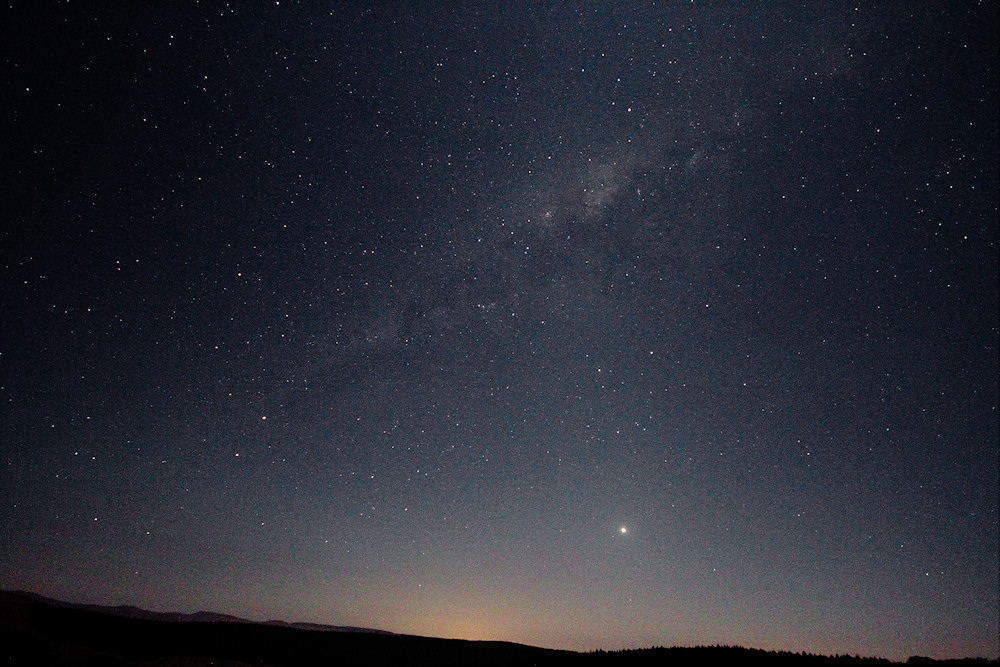
14 October 2015
The next two pictures were taken from the resort itself as an experiment.
Looking west: Canon 40D, Sigma 24-135 at 24mm, ISO 1600, 20s, F/2.8
Looking west: Canon 40D, Sigma 24-135 at 24mm, ISO 1600, 20s, F/2.8
Back to Photography
