Gadgets
Tupperware Microwave Rice Cooker
Introduction
I have found that cooking rice in a microwave oven is less effort than using a stove, even though it might not be quicker. An important item in this process is the cooking utensil itself. This must have a lid that can prevent boil overs during the cooking process. This lid must either be heavy enough or tight fitting enough yet still allow steam to escape.
Before I start, let me give my microwave rice recipe. I have used this very simple recipe for more than thirty years.
- Place rice in cooking vessel;
- cover with water so that the water depth is about twice that of the rice;
- add a bit of oil and salt;
- cook on defrost for 25 minutes.
It may take a bit of experimenting to get the right volume of water and the length of cooking time to get the best result, since all microwave ovens aren't the same.
Ceramic pot
Over the years, I have tried many gadgets for cooking rice in the microwave oven. The one that I used the longest was a ceramic glazed bowl/pot. Unfortunately, a few years back I forgot to set the microwave to defrost level when cooking the rice and ended up with burnt rice crispies - and a very smelly pot, in spite of the ceramic glaze. So I had to look for an alternative.
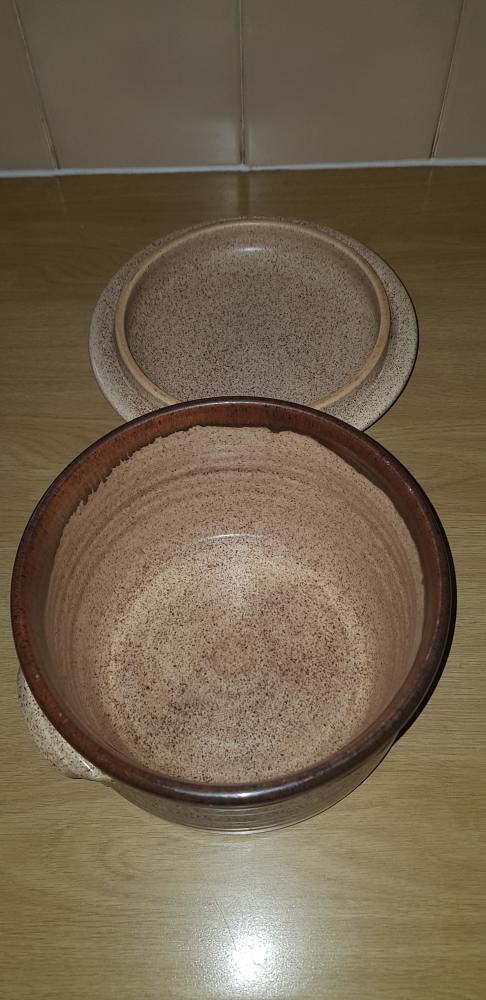
The ceramic pot
Tupperware Rice cooker #1
Starting with items that were already available in the kitchen, from purchases made a good while back, the first one we tried was an old Tupperware rice cooker. This was just a plastic pot with a lid. A useful feature of this cooker was that it included a plastic colander. Unfortunately, I found that the pot was not very efficient at cooking rice. The problem was that the lid is a loose fit, so it popped off quite easily and also had boil overs.
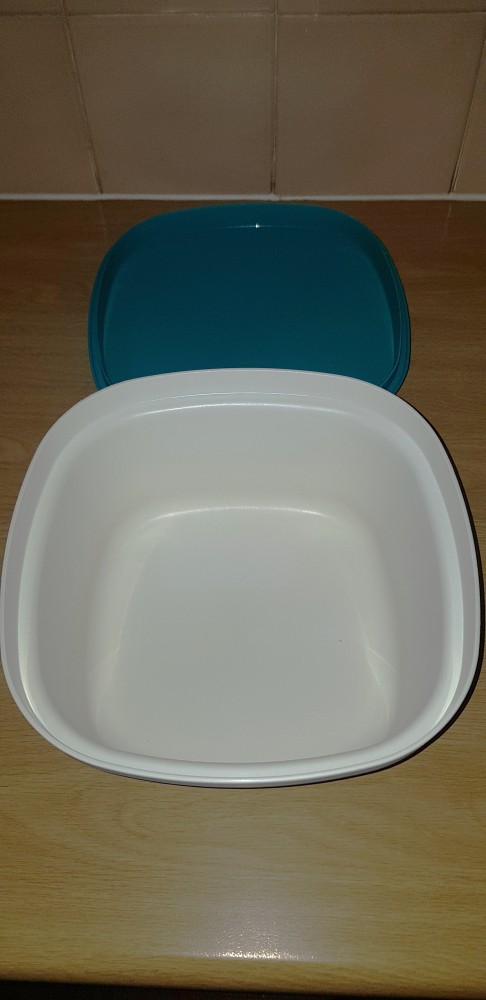
The old Tupperware Microwave Rice Cooker
Microwave Rice Cooker
We had another microwave cooker bought from a local on-line dealer, but it was really horrible. As soon as the water in the container got too hot, it started warping, and the lid popped off. This one ended up in the recycle bin before I even thought of taking pictures.
Tupperware Rice cooker #2
Michelle recommended the new Tupperware Rice Cooker, and this has worked like a dream.
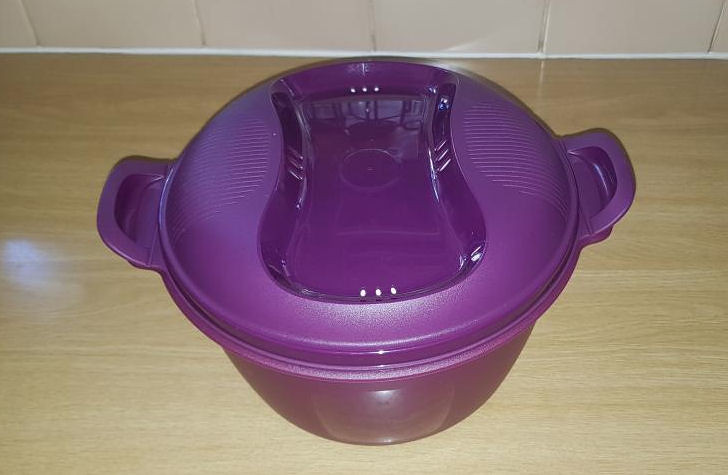
The new Tupperware Microwave Rice Cooker
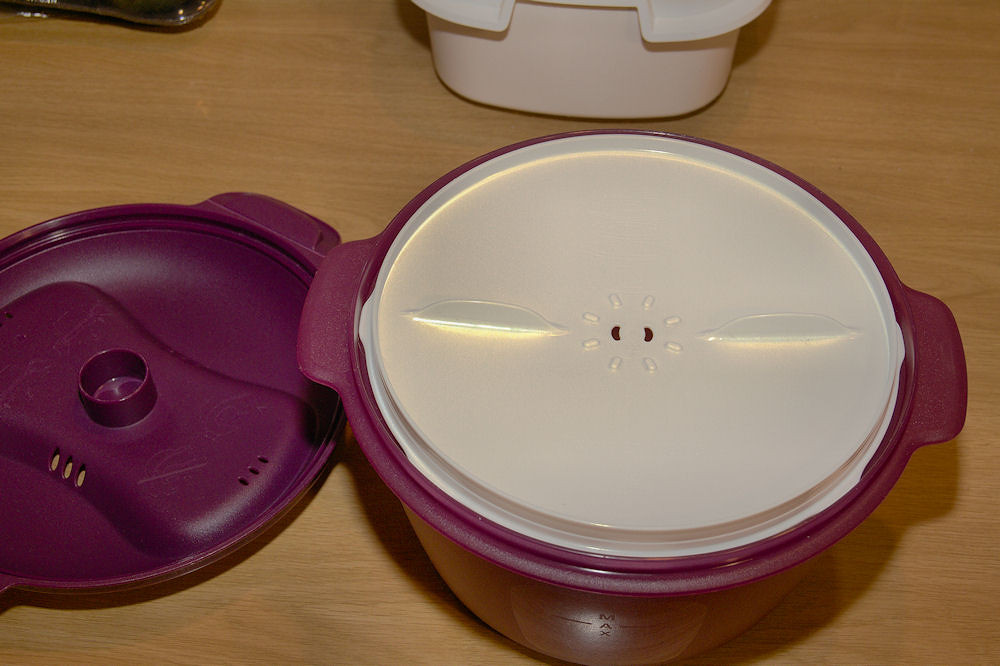
In the next picture, the components of this cooker can be seen: the bowl (with rice); the lid on the left; and the inner cover on the right.
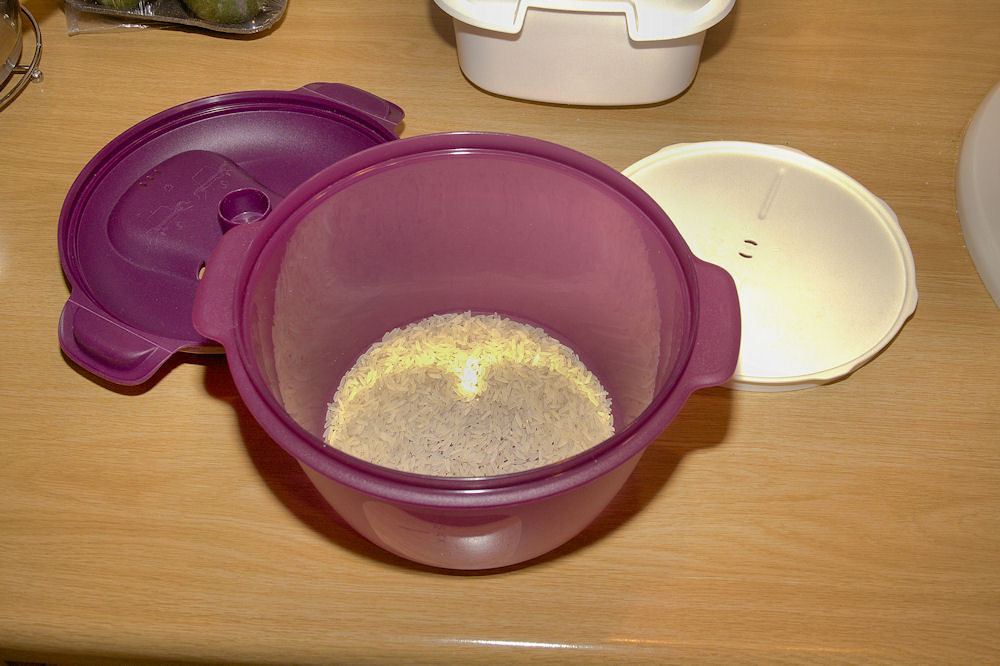
The components of the Tupperware Microwave Rice Cooker
The edge of the bowl has a recess for the inner cover and a slot around the outside for the lid to clip into.
The inner cover of the Tupperware Microwave Rice Cooker in position
The lid, once clipped into position keeps the inner cover secure. It also closes the vent holes on the inner cover. When the pressure in the cooker increases, it flexes the lid and allows steam to escape through the vent holes in the lid - very neat way of doing this.
My recipe for using this cooker is a bit different to the one above.
- Place rice in cooking vessel;
- add a bit of salt;
- cover with boiling water so that the water depth is about twice that of the rice;
- cook on full power for 5 minutes;
- let it rest in a wonder bag for 15 or so minutes;
- cook on full power for 5 minutes;
- let it rest in wonder bag again until the rest of the food is almost ready;
- taste and cook for a bit longer if necessary.
What I normally do when making a dish requiring rice is to cook the rice for the first five minute session before starting the main dish. Then when the main dish is about half way done, I do the second five minute session.
I have also rehydrated dried beans in the cooker. I start this process the day before I want to use the beans.
- Place beans in cooking vessel;
- cover with boiling water so that the water depth is about twice that of the beans;
- add a bit of salt;
- cook on full power for 6 minutes;
- let it rest in a wonder bag for two or so hours;
- cook on full power for 6 minutes;
- let it rest in wonder bag again overnight;
- before adding the beans to whatever you dish you are cooking, cook on 40% power for 5 minutes;
- drain the beans.
At this stage, black-eyed beans are still not completely soft, so the dish you are adding them to can cook for some time. Red kidney beans get soft quicker than black-eyed beans, so you will have to experiment with the times needed to get the beans soft enough without being mushy.
I still want to try this method to cook dried chickpeas.
(updated: 5 October 2022)
