Alan's Brewery
Mini Keg
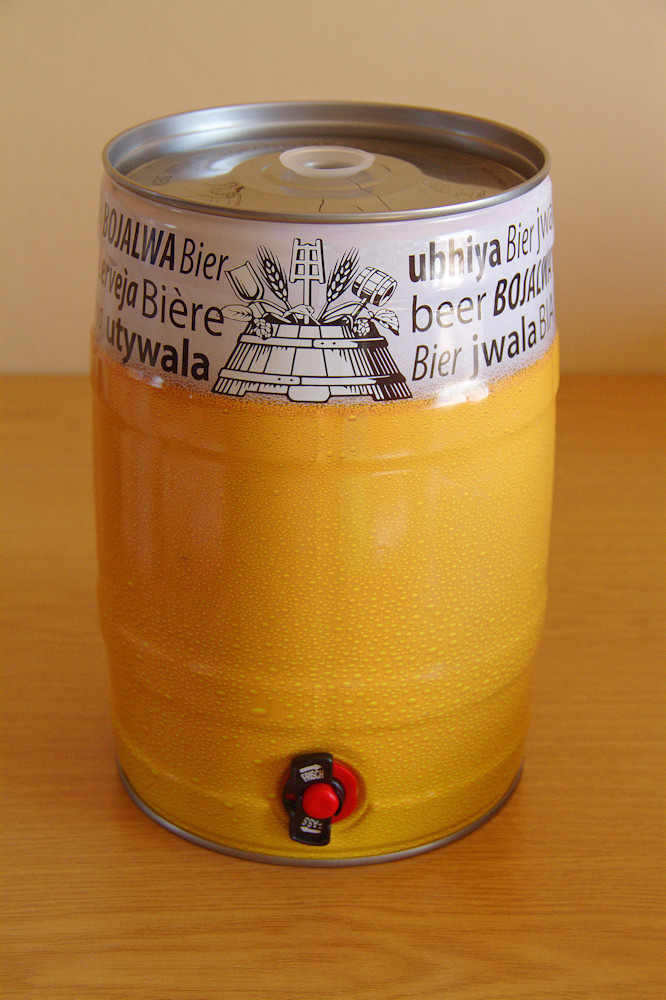
One of my biggest gripes at the end of the primary fermentation stage, is bottling the beer, and more especially, washing the bottles. Washing and sanitizing the bottles takes at least four hours out of my day.
I was browsing through a local brewshop's website looking for bottle washing solutions when I came across these mini kegs. What appealed to me immediately was the 5l capacity. This would mean four kegs and a couple of bottles to wash rather than 25+ bottles for my 22l batch. Also, I liked the size of the keg, which would make transportation much easier than a corny keg. I also really liked the idea of being able to dispense the beer through a tap!
I spent some time researching these kegs, and I found a few very helpful videos on YouTube, which helped me make up my mind on them. I took the plunge and bought a package which included four kegs and the CO2 dispenser/tap, in time for my next bottling session.
The instructions included in the package were a bit primitive, but I had fortunately watched the YouTube videos which had given me more than enough insight into how the system works. Unfortunately, the process I am going to describe requires both hands, so I could not take as many pictures as I would have liked.
Bottling day
As I said, I got these in time for bottling day, so I went about cleaning the kegs as I normally do with the bottles. As a test for my own peace of mind, I usually smell the bottles just before I'm ready to bottle (if you can smell anything out of the ordinary, it will definitely affect your beer). When I smelt the the kegs I could smell a very strong odour of oil, probably from the manufacturing process, so I would have to wash it with a detergent. Unfortunately, the only detergent I had to hand was Sunlight Dishwashing Liquid and I know from past experience that this is bad news during the secondary fermentation, as the residues inhibit the formation of CO2.
In spite of my worries, I used the Sunlight Liquid. It was here where I picked up my first real gripe with the keg. I had to rinse the keg as well as could to get rid of as much of the detergent as possible (not easy as a small drop of the Sunlight Liquid leads to a massive amount of foam). When rinsing I found that some liquid always remains in the keg, no matter how much shaking or tilting you do, because of the safety lip on the opening to the keg.
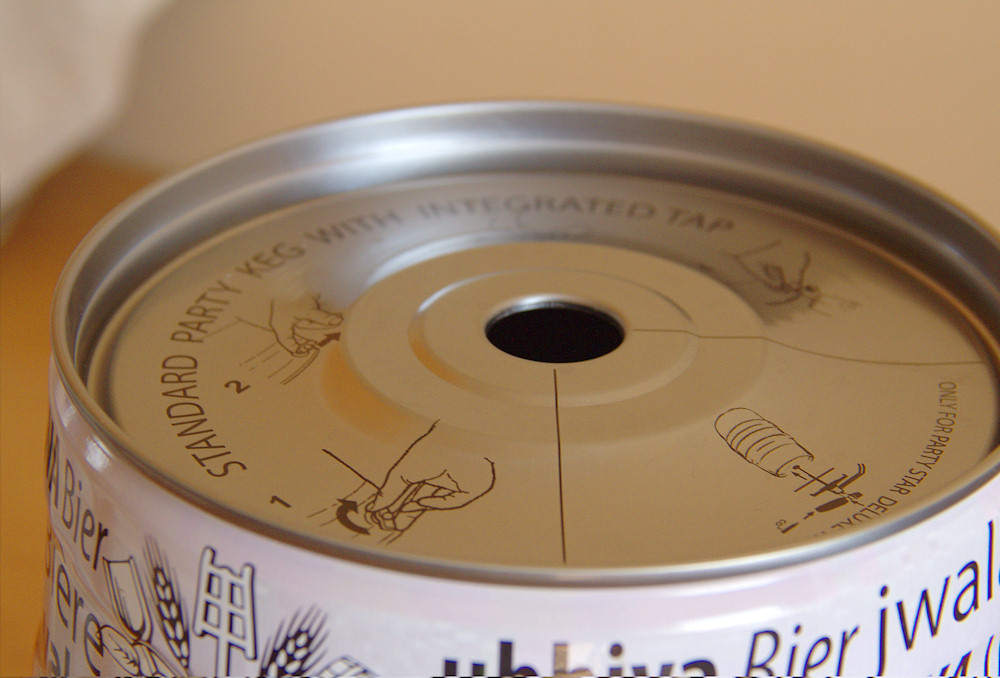
Figure 1: An attempt to show the safety lip which is bent into the keg. This prevents a small amount of whatever liquid was in the keg, from draining.
Anyway, the die had been cast, so I had to proceed. Rinse, rinse, rinse, sanitise.
The next step was adding the priming sugar (FWIW, I use dextrose). The manufacturers recommend between 8 and 16g of sugar per keg, which seems to be rather little, as I normally put around 8g in a litre bottle. I settled on 10g for this first run.
The next problem with the keg arose when bottling the beer. The manufacturers recommend leaving about 3cm of headspace in the keg for the CO2 generated during the secondary fermentation. The opening on the keg is marginally bigger than 2cm, and the filler pipe takes up a good deal of that space, so how on earth are you supposed to actually gauge the level? (Not to mention that you have no point of reference to the level of the beer when looking straight down into the keg.) What worked for me was to use a Lenser torch, with a highly focused beam, pointing to the sidewall of the keg. Looking at an angle one can see the indentations on the side of the keg, and once the beer passed that mark, I stopped filling. I was reasonably accurate, as on weighing the kegs, I had three kegs at 4.8kg and one at 5kg. With the final S.G. of the beer at 1.012, this gave me a volume of 4.7l and 4.9l respectively (subtracting 500g for the weight of the keg), which I was happy enough with.
I put gravity feed bungs in two of the kegs and the CO2 tap dispenser bungs in the other two as I wanted to test both methods of beer delivery from the kegs. (There is more about the bungs on this page. The bungs had their own set of problems.)
The kegs and 2.5l in bottles were then put down to rest for a couple of weeks.
Breaking the seal
The plan was to break the seal on the first keg during one of our regular Wednesday meetings. The venue was Fred's veranda. I wanted to use one of the gravity feed kegs as there would be enough bodies present to polish the keg without too much effort. However, Zeke and I had opened one of the bottles the day before to test the beer. As expected from using Sunlight Liquid in the cleaning process, there was virtually no head. This prompted me to take a second keg and the CO2 dispenser.
We all had a taste of the beer out of the gravity feed keg and everyone agreed that it tasted good, but the lack of head took something away from the overall taste and feel. I assembled the tap (a very well made piece of equipment - more here), broached the keg and tapped one glass without the CO2 cannister inserted - also little head, but enough pressure in the keg to pump the beer. I inserted the CO2 cannister and tapped a beer while adjusting the CO2 valve until I got a decent head. A much better tasting beer.
What we then did was to tap half a glass from the gravity feed keg and top it up from the CO2 dispensing tap. This worked very well!

Figure 2: The mini keg, with the CO2 dispenser attached fits nicely into a refrigerator.
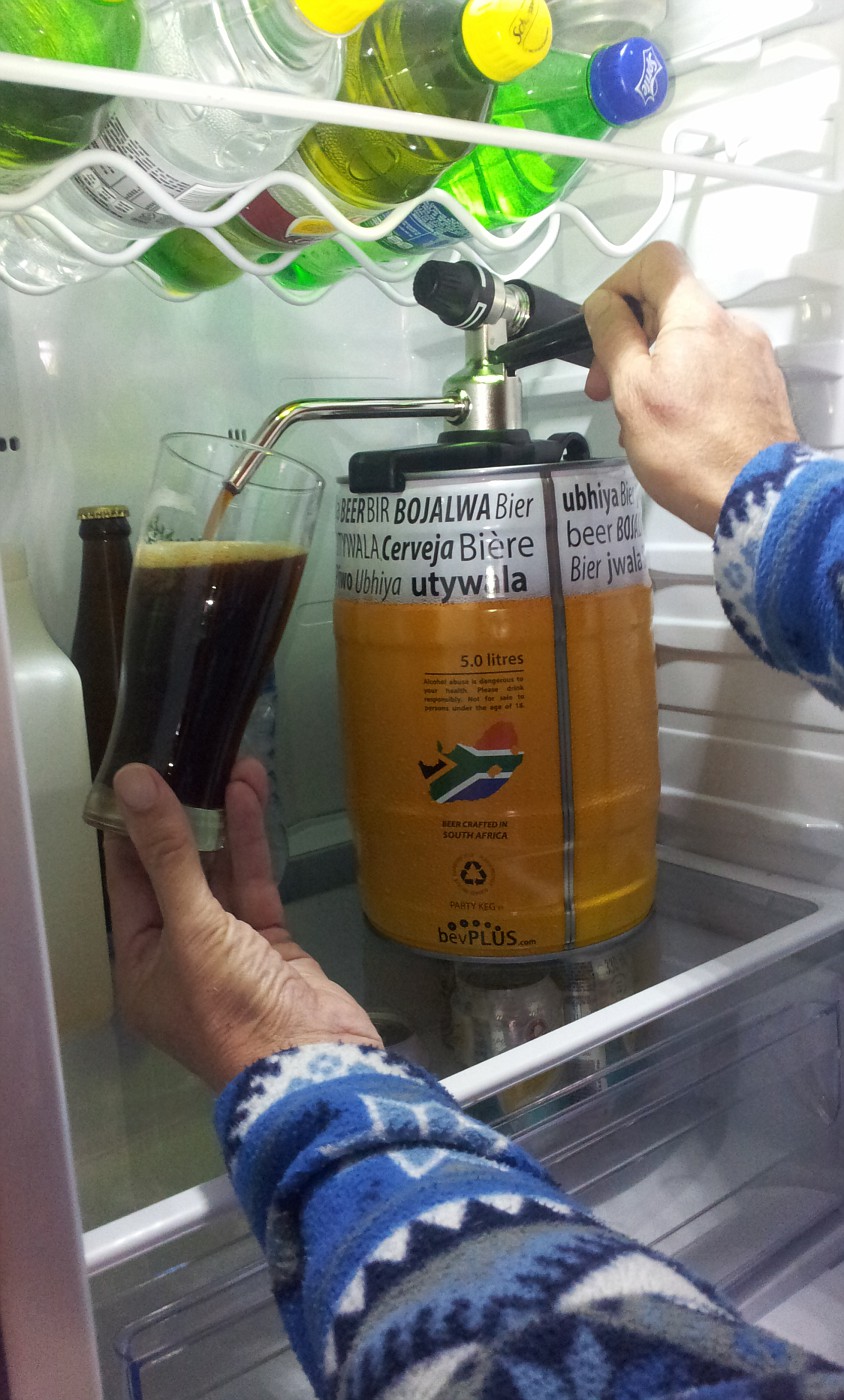
Figure 3: Tapping a beer without removing the keg from the fridge.
Pros
- 5l is a nice volume to fill when bottling
- The size is easy to handle - it fits in most cooler bags
- Having the beer dispensed from a CO2 tap is rather nice
- One CO2 cannister will dispense at least 2 kegs of beer
Cons
- There are problems with the bungs
- It is impossible to drain the keg completely
- It is very difficult to see into the keg when cleaning or filling it (see Update 24 August 2015 below)
General notes
The keg must be washed thoroughly with detergent prior to the first use.
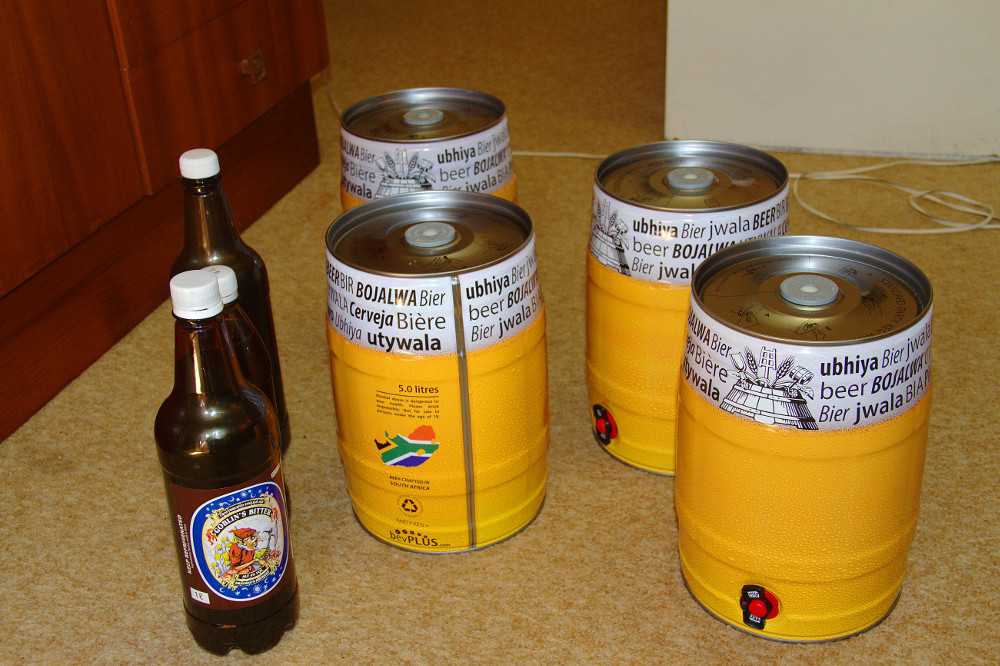
Figure 4: The second batch of mini kegs ready for their rest. Note that the front bottle does not contain Goblins Bitter!
Update 24 August 2015
A MagLite Solitaire compact torch helps tremendously to see inside the keg. The diameter of this little torch is 13mm, which allows it to fit in the hole in the keg and leave enough room to see what is happening inside the keg. The beam can also be focussed, but that is not necessary over such a short distance. I would attach it to a lanyard when filling though, so that it cannot accidentally slip into the beer!
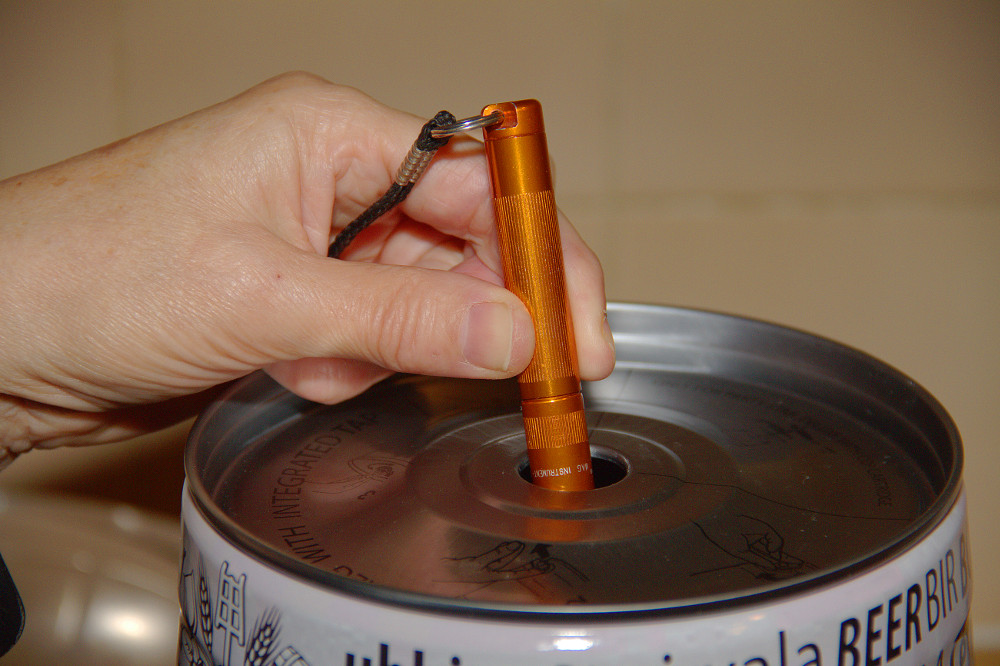
Figure 5: Showing the small Maglite torch fitting through the hole in the keg with some space to see inside the keg.
Update 2 January 2017
I found a Bitburger mini keg at Makro recently. Read more...
Update 15 July 2017
The two mini kegs that I used the red bungs on are now starting to show some serious rust where I used the scriber to get them out.
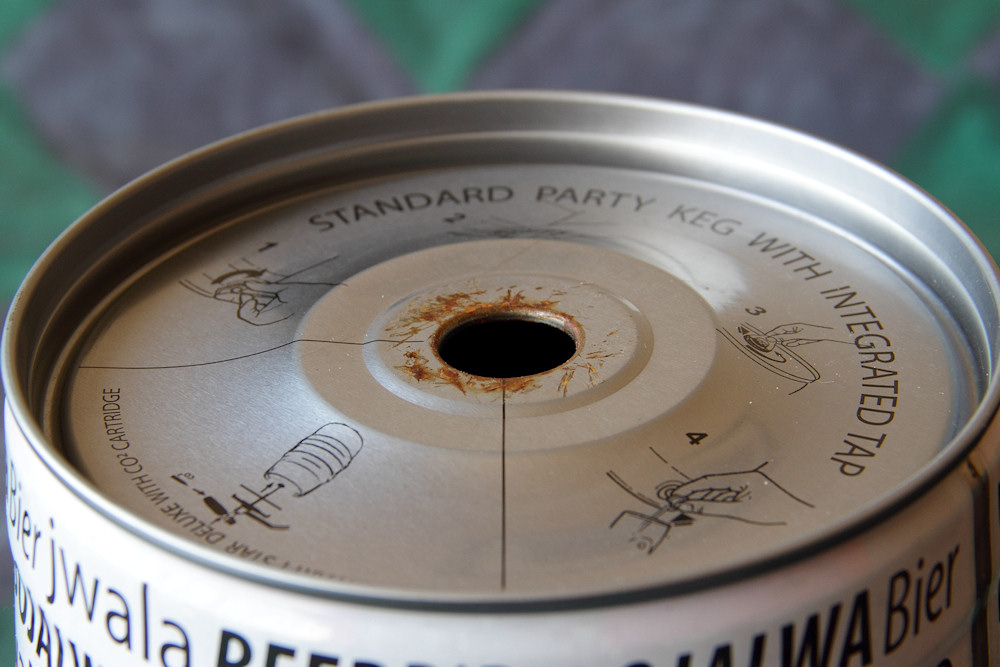
Figure 6: Rust on the mini keg.
The other kegs are fine.
Update 12 February 2018
One of the mini kegs exploded last week...
Update 25 September 2020
I have stopped using these kegs altogether as both of the taps that I have, have started leaking quite badly.
In case you missed it earlier on this page, there are a couple of interesting links about the bungs and the tap.
