Games
Edge pieces for Catan: Fishermen and Prospectors
Introduction
My new Catan game requires two new edge pieces. I will share the steps I used in creating them.
You can cut up the replacement sea pieces included with Traders and Barbarians, but I was loath to do this.
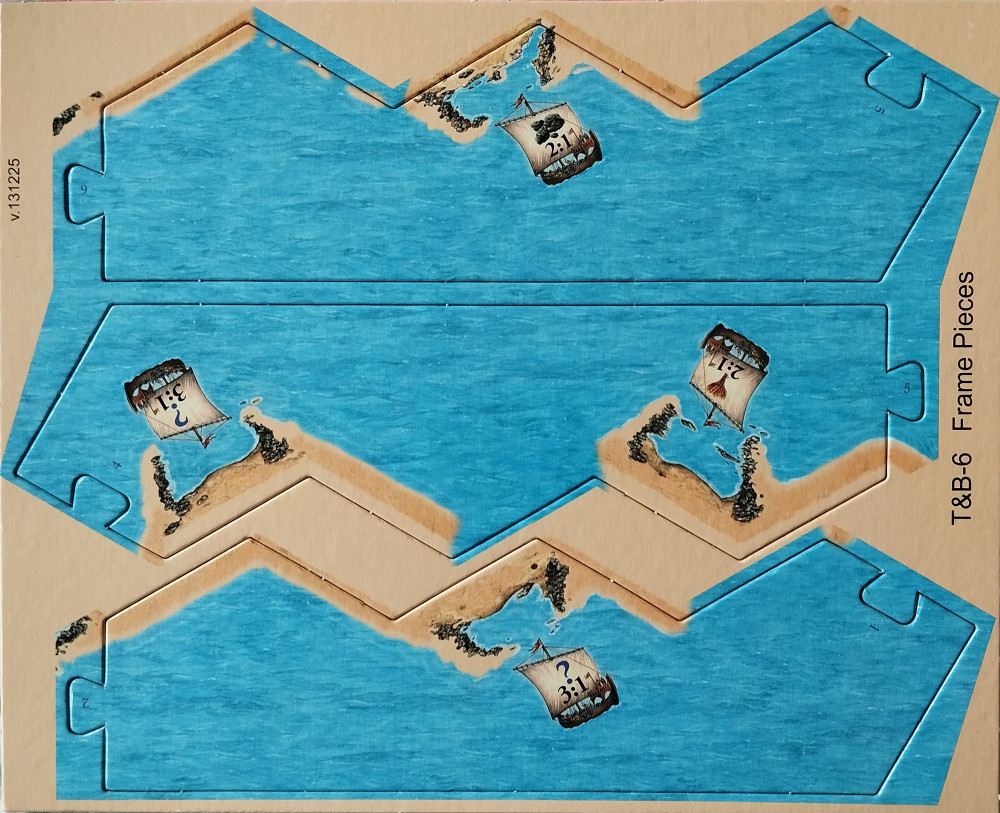
The extra edge pieces from Traders and Barbarians (2008)
The backing layer
The board pieces in Catan are printed on 1.2mm thick cardboard, so one needs a sheet of cardboard of this thickness to use as backing. I bought an A3 sized sheet to have enough of the cardboard on which to experiment (a local stationery store, PNA, had cardboard of this thickness in stock).
To create the straight edge pieces required, I used one of the existing board pieces as a template.
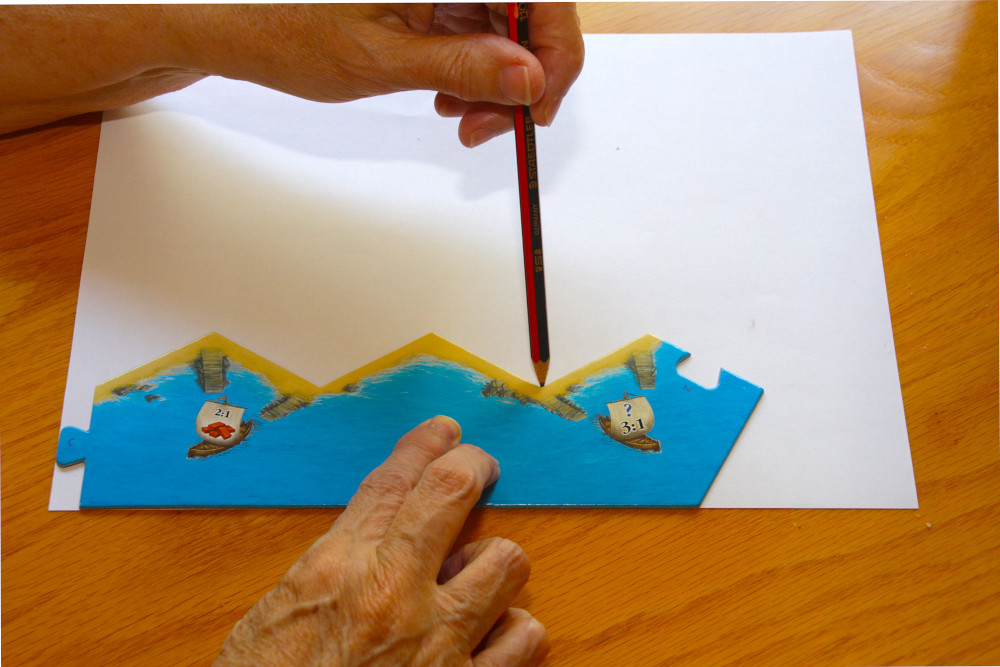
Drawing the outline
Starting from the vertex where the pencil is, draw the outline of the edge piece towards the left (as shown in the picture).
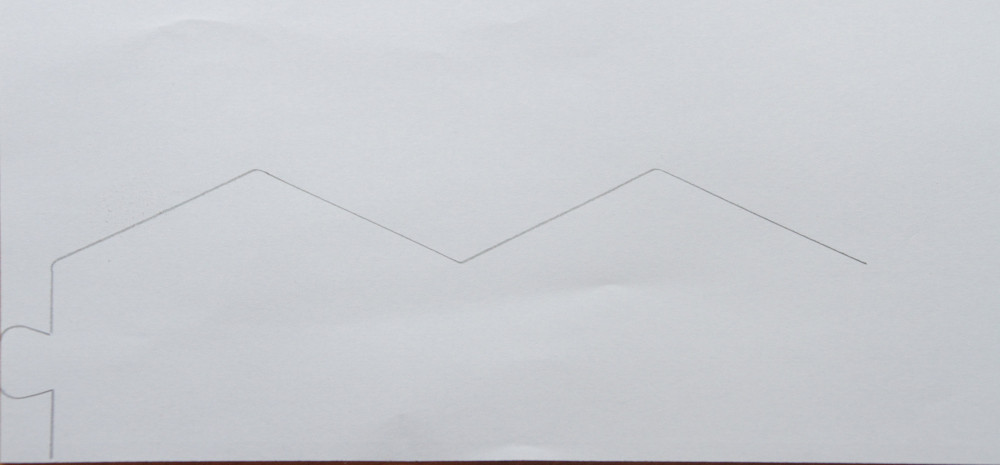
The resulting outline
Now take the edge piece you are using as the template, move it and swivel it through 60° so that it lines up with the line already drawn.
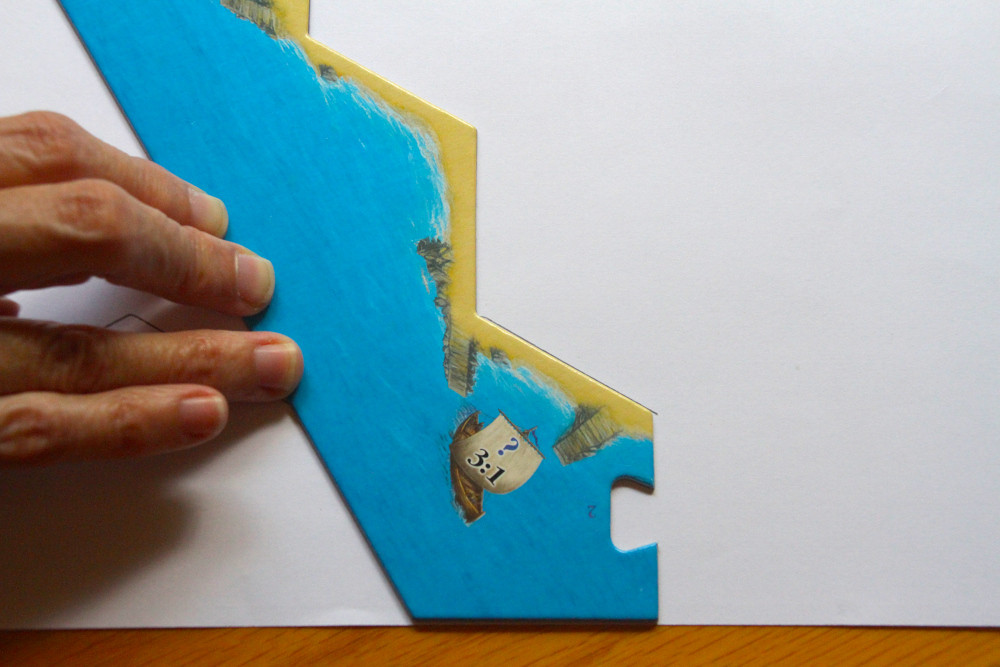
Completing the outline
Now complete the outline by drawing around the locking piece.
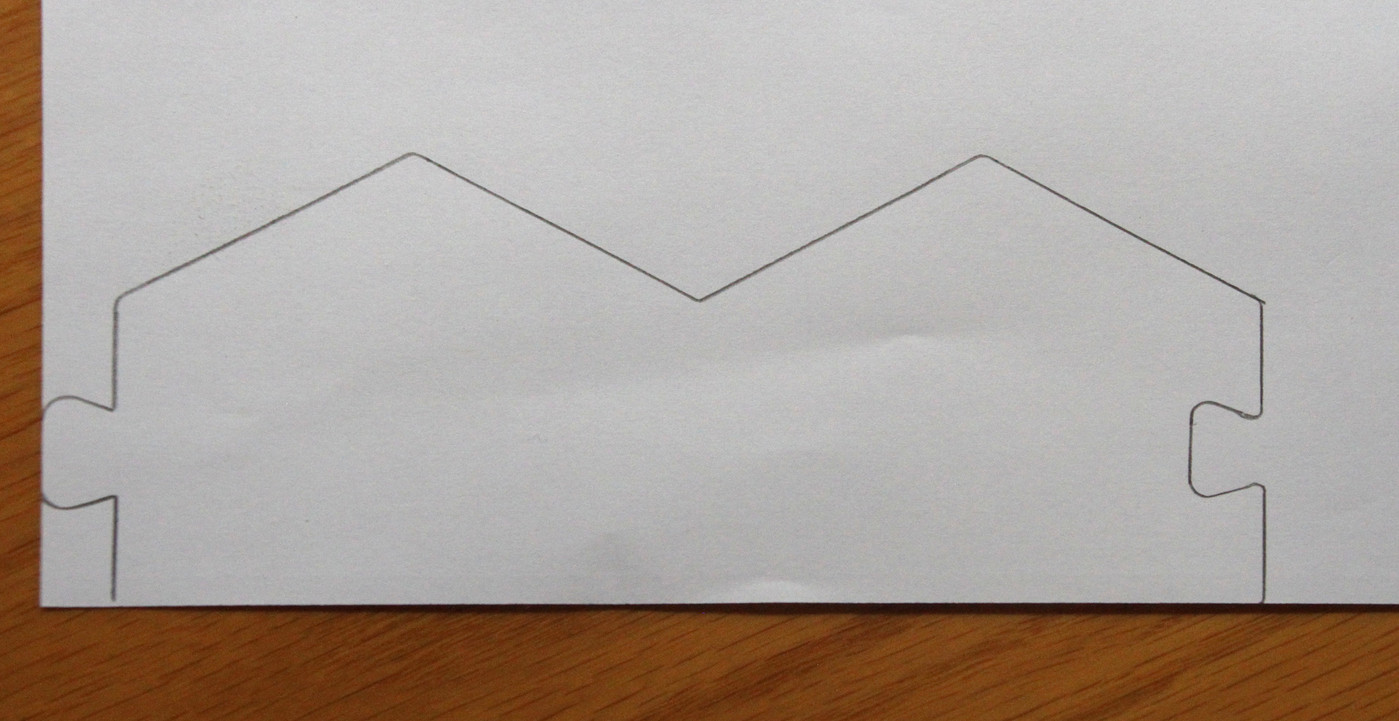
The completed outline
The biggest problem with this exercise was how to cut out this shape. Because of the thickness of the cardboard, it was very difficult to cut around the locking pieces. A small pair of scissors didn't have enough leverage to easily cut the cardboard and a larger pair was too clumsy to use in cutting around the locking pieces. A knife didn't work because of the rounding on the locking pieces. We eventually got the job done, albeit not very cleanly, using a combination of small and medium sized scissors.
I did try using a needle file to finish off around the curves, but the motion of filing started delaminating the cardboard. I eventually used a Stanley Knife to scrape out the bits where the scissors could not reach.
Printing the overlay
In order to try and get a neat looking finish to the edge pieces, I decided to print an overlay which could be stuck on the cardboard. To do this, I scanned an existing edge piece and manipulated an end in a graphics program to get the same shape as the cardboard. As the two pieces were identical, I duplicated the shape that I already had.
I also decided to add a 3:1 harbour to each of these pieces.
As I needed a red 6 and a red 8 to match the existing board numbers, I scanned these and added them to the image.
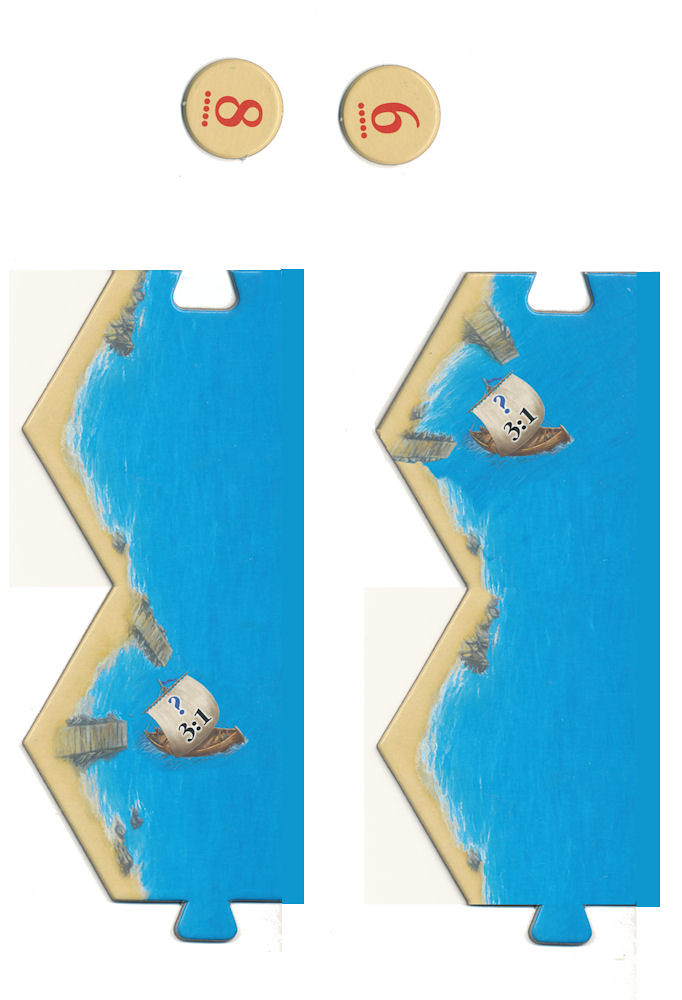
Ready for printing
I could not print this image directly onto the cardboard, so I printed it on a sheet of standard A4 paper. Unfortunately, the colours on the printout did not quite match those of the original pieces, but the result was close enough for me not to worry too much more.
It was much easier to cut the paper overlays than it was to cut the cardboard. These overlays were then glued onto the cardboard backing with a suitable paper glue (Pritt glue stick in this case).
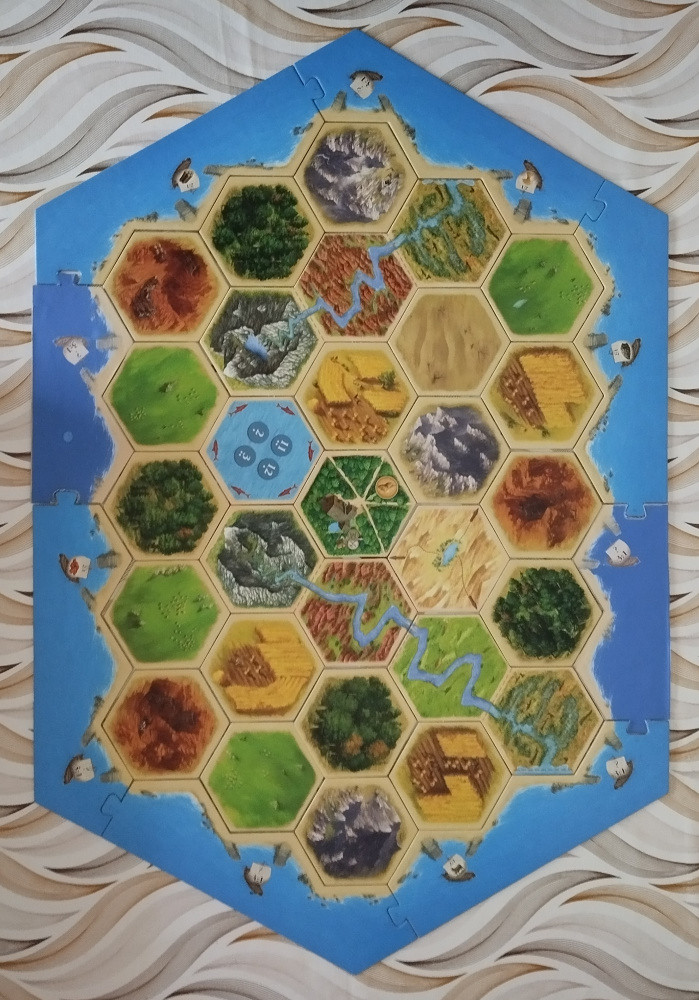
Showing the board with the new edge pieces in place
I will share a link to a printable A4 sized copy of the overlay shortly.
(updated: 5 December 2025)
