Recipes
Potjie Curing and Caring
Introduction
A potjie is a three-legged cast iron pot which, in South Africa, is used for making unique stews known as potjiekos (you actually aren't allowed to call them stews 😁). This note is not about potjiekos recipes, but rather about conditioning and caring for the potjie. In fact, much of what follows applies to any cast iron cookware.
I decided to write this after Lukas recently asked how to condition a new potjie, as the experts out there have very conflicting views on the subject (and now I am adding my own).
I have three potjies of different sizes and have been using them since the 1980s. One of my potjies has been overlanding across a great deal of Africa south of the Equator.
In the title, I use the word curing - this is technically incorrect - the correct term is conditioning - but Curing and Caring has a nice catchy ring to it!
Curing
Currently, many manufacturers of potjies claim that their new potjies are preconditioned. Regardless of this claim, I would still carry out the following procedure in order to remove any loose carbon and iron from the manufacturing process. This procedure also helps build up carbonised fat in the pores of the cast iron, which creates a smoother more resilient surface over time.
- Wash the potjie in warm, soapy water, then dry it with a soft cloth or paper towel. At this stage, you can use a soft scouring pad to gently rub over the inside surface of the potjie while washing.
- Place the potjie over moderately hot charcoal.
- Add a generous lump of a vegetable fat, such as Holsum, to the base of the potjie.
- Allow this fat to melt.
- Using a basting brush (I use a 25mm paint brush for basting), spread the melted fat (oil) over the inner surface of the potjie. Don't forget to paint the inside of the lid as well.
- Repeat this process every five or ten minutes for about half an hour.
- If there is insufficient Holsum, add more. Make sure that there is always about a tablespoon of the melted fat in the base of the potjie.
- Remove some of the coals from under the potjie to lower the temperature.
- Add sliced onion (including the peel, which helps with the conditioning) to the oil and fry it as though you were starting a potjie recipe.
- Once the onions are browned, add stock and water so that the potjie is about a third full and allow it to come to the boil.
- Now add vegetable peels, such as potatoes, carrots and pumpkin to the stock. You can also add outer cabbage leaves, spinach stalks, etc. Don't add tomatoes during this conditioning stage as these are acidic and may cause a reaction with the iron in the potjie.
- Allow this to cook, stirring once in a while so the veggies don't stick to the base of the potjie. Make sure there are sufficient coals to keep the stock simmering.
- Every half an hour, use your basting brush to paint the sides of the potjie with the stock. Repeat this for about two hours, keeping the liquid at a gentle simmer.
- Discard this mixture into your compost bin.
- Wash the potjie with warm soapy water and dry with a soft cloth or a paper towel.
- You are now ready to try your first potjiekos recipe in your new pot. For the first few uses, I would recommend using Holsum as the oil to start your potjie and remember to spread it around the sides of the potjie.
During the conditioning phase, I would recommend using gas if possible, as you have more control over the temperature. If you are using coals, I would recommend using briquettes as these keep their heat longer - a charcoal chimney is useful for keeping a steady supply of coals.
Caring
Proper care of the potjie is as important as the conditioning. The potjie is usually not used for months on end, and it should be protected against rust formation in this time.
- Wash the potjie as soon as possible after use. Often in pub chats one hears the story that dunking buns in the leftover sauce/gravy in the potjie the next morning is as good as the potjiekos itself. However, I had a case where we were too tired to wash the potjie and the leftover sauce actually etched the potjie and destroyed the conditioning. I can't remember what I had cooked, but it did take me a very long time to recondition the potjie - at one stage I even felt like throwing it away.
Recommendation: If you can't wash the potjie soon after the meal, discard any leftover sauce and rinse it. Wash it as soon as possible the next day.
- Don't use steel wool on a conditioned potjie. This will scratch the surface and possibly cause rust. If you do get food baked on to the potjie (this can happen when the meat is seasoned with flour):
- pour boiling water into the pot and give it some time to soften this residue;
- try scraping off the residue with a silicon spatula;
- if the residue still sticks, you can try using a soft scouring pad, but this can damage your conditioning;
- you may have to repeat this process for really stubborn residue.
- Dry the potjie with a soft cloth or a paper towel.
- Oil the potjie (don't forget the lid) with olive oil. I put the oil on a paper towel, and wipe the oil around the inside of the potjie until the whole surface is covered. Remember, you don't need (nor want) a lot of oil.
I have used cooking oil, but this went rancid during a long period when the potjie was not used - it was really difficult to get rid of the smell before I could use the potjie.
- When you are ready to use the potjie again, wipe the inside with a damp paper towel. If there is little to no residue on the towel, you are good to go. If there is some rust on the paper towel, wash the potjie before use and use Holsum as an oil when making your potjiekos.
I store my potjies in wooden boxes, in a kitchen cupboard.
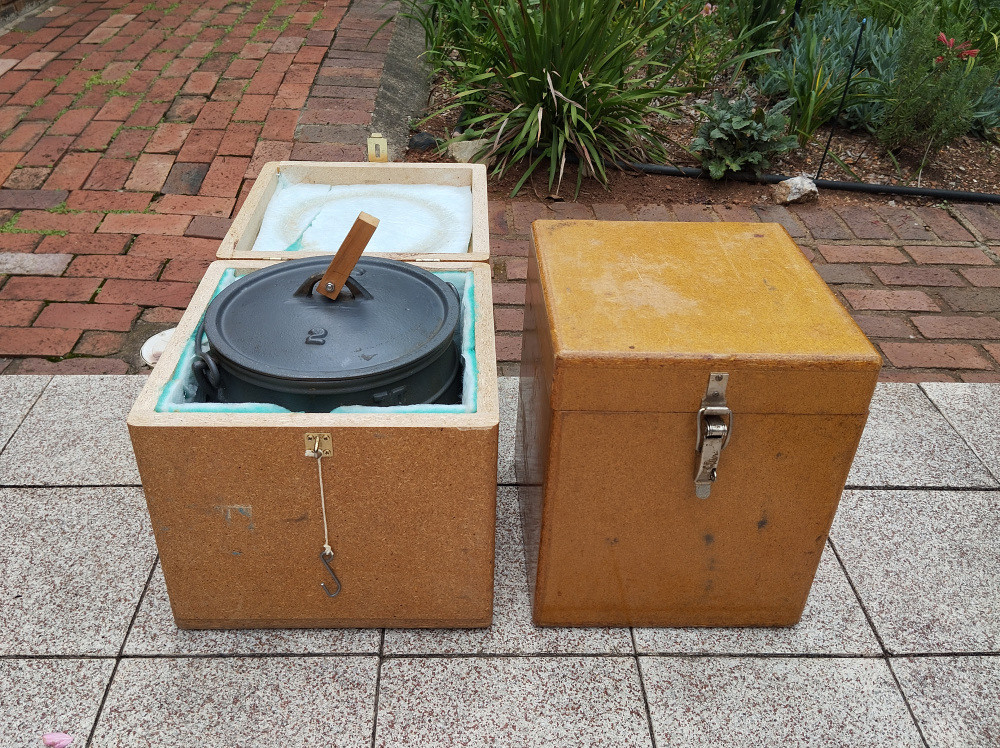
Storage boxes for No. 1 and No. 2 potjies
(25 December 2025)
