Adding text to an image
This tutorial is part two of creating the Readera logo shown in the footer of this page. In part 1, we created the canvas on which to add the text.

The Readera canvas
We are going to add the text as two separate objects, first the orange Readera in the default font and then Reading with in italics in a white serif font. As the objects become part of the image after saving, this tutorial must be completed in one session, as the two objects need to be spaced and aligned properly before saving.
Adding Readera
Select Text/Image from the menu on the left, then select the text icon.
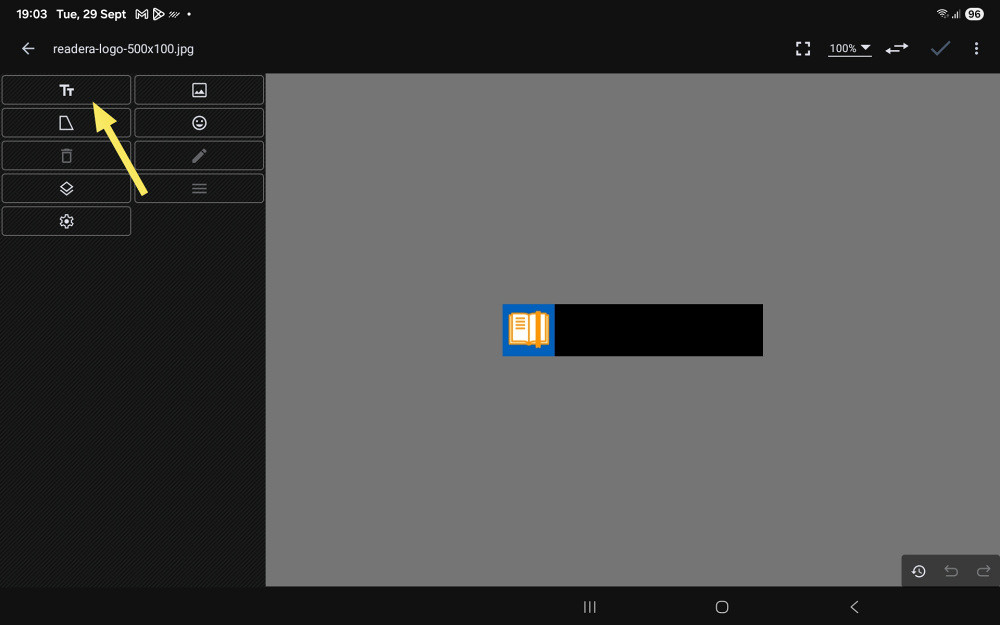
1a: Select the text icon
This opens the main text screen. Make sure it looks exactly like the image below. If it does not, make sure that none of the buttons below the arrow are active (blue).
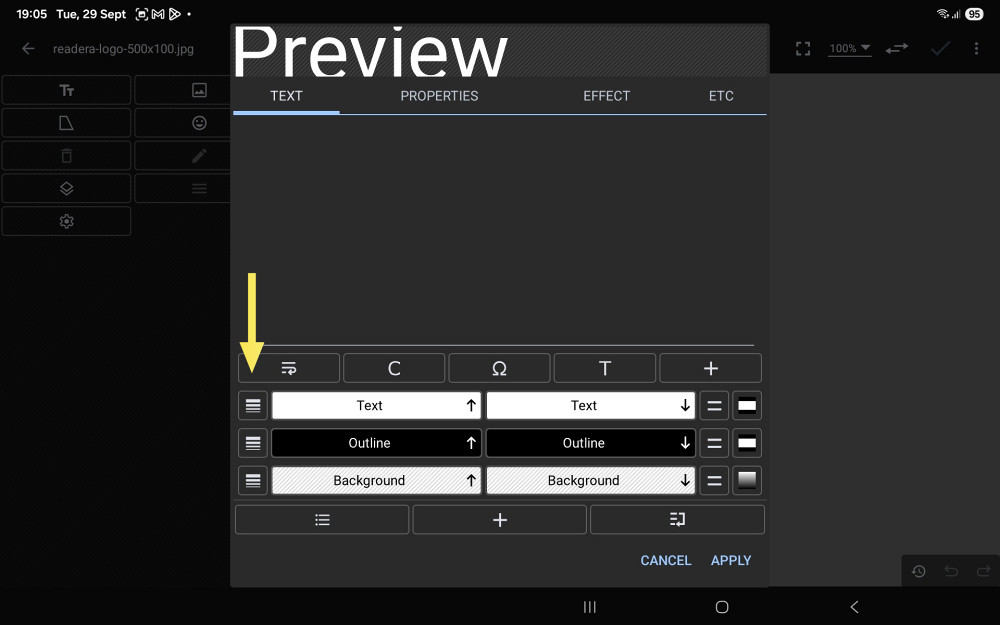
1b: Preparing the text screen
Type the word Readera in the text input box.
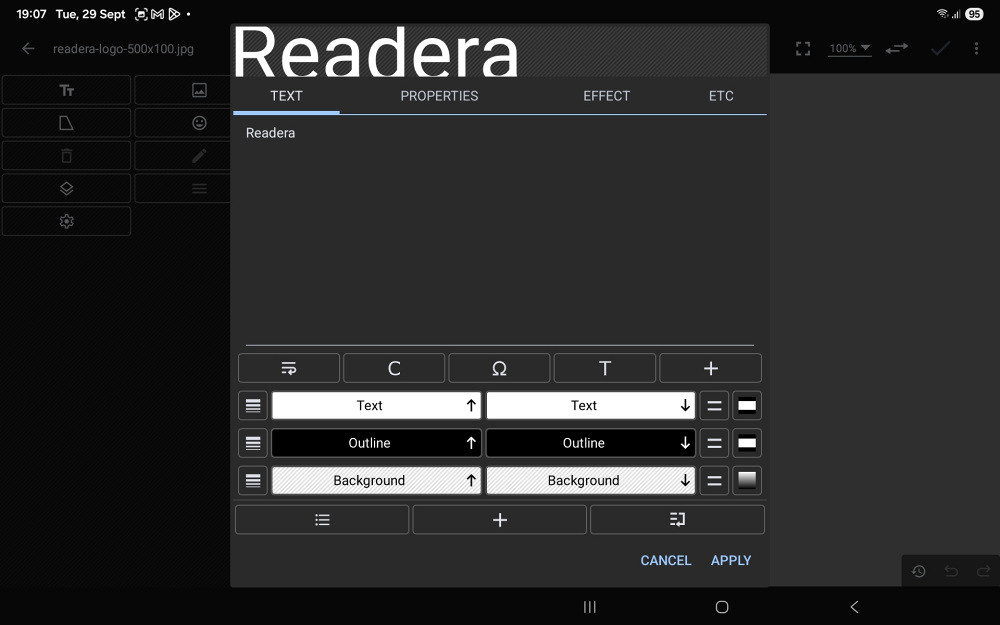
1c: Entering the text
Now, set a font size by tapping the ETC tab. We will start with 40 (I am not sure what the units are).
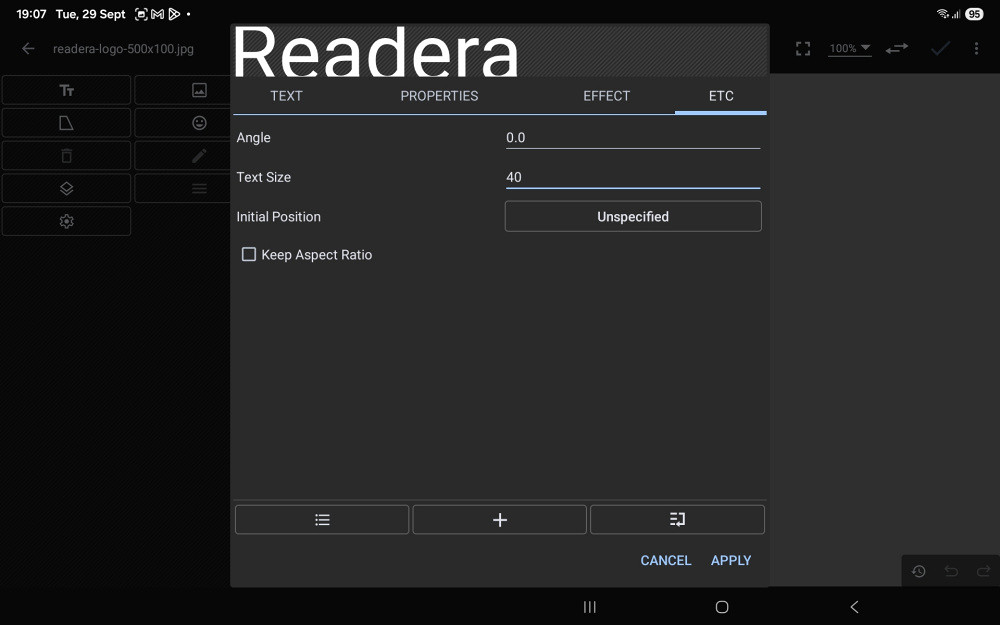
1d: Setting the Text Size to 40
You can view and reposition your text at this stage. To hide the handles, tap outside the text object.
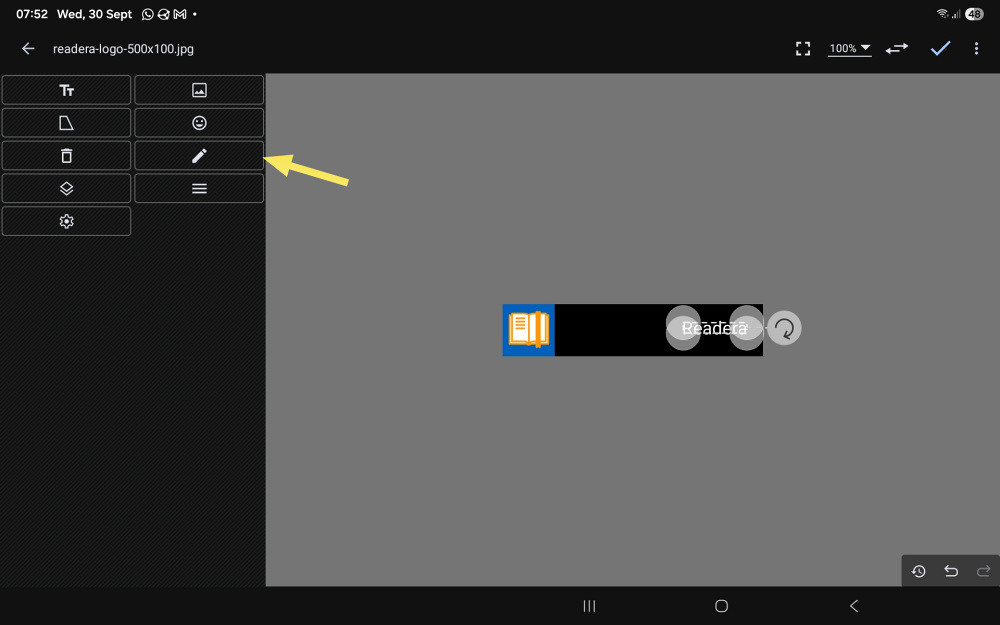
1e: Viewing and repositioning the text
Return to the text editing screen by tapping the pencil icon on the menu on the left.
Changing the text colour
The colour of this text can now be changed to orange. Tap on the left hand block marked Text as shown below.
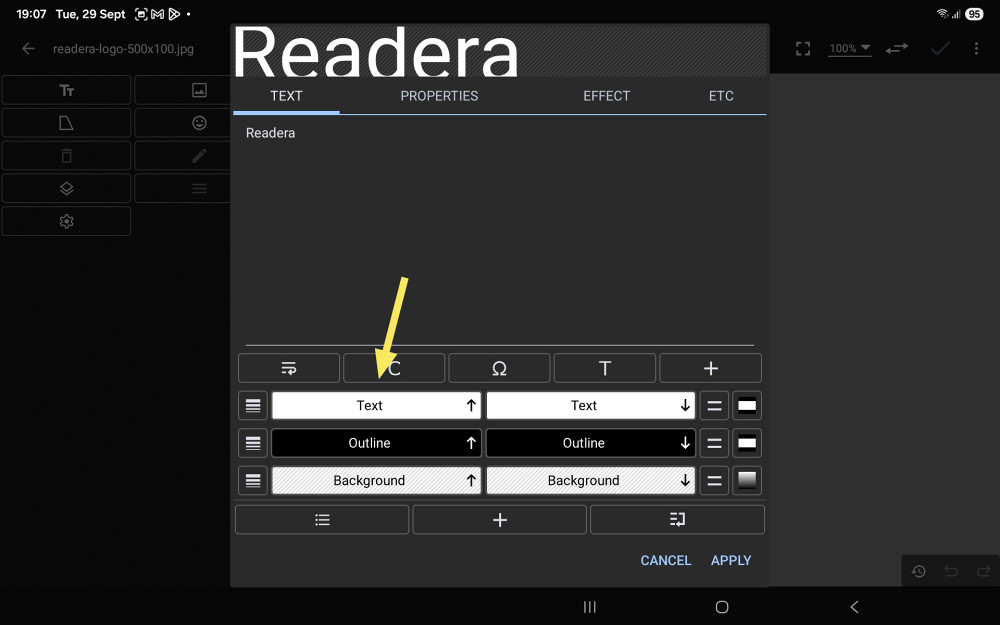
2a: Select the text block
This takes you into the colour picker screen, which I did mention briefly in the Resizing the canvas tutorial. I will discuss it in a bit more detail here.
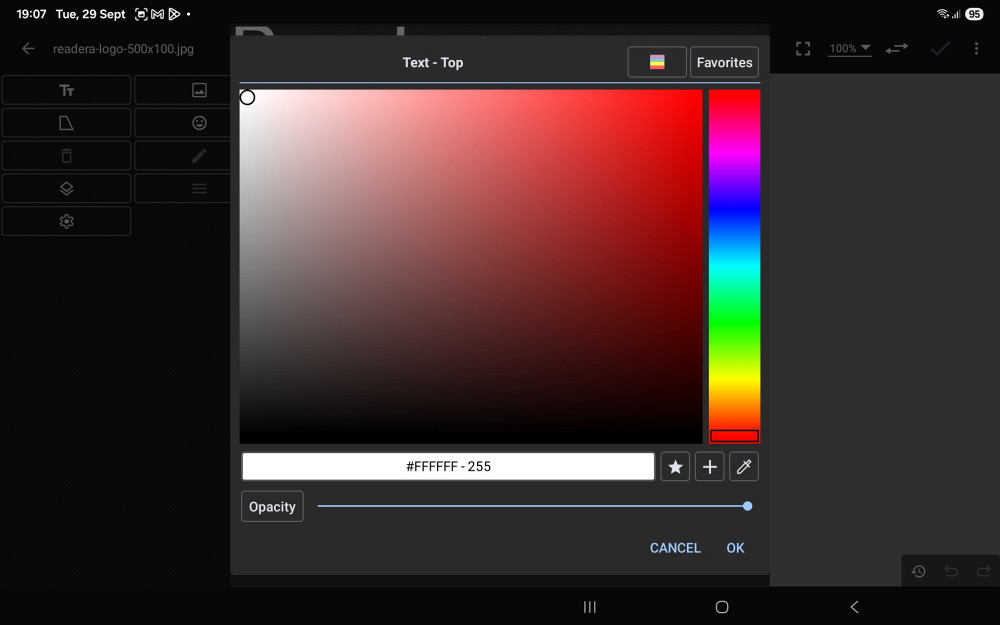
2b: The colour picker screen
The vertical bar on the right is a flat version of a colour wheel, going from red to red, and contains the hues of the visible colours. To select an orange hue, move the selector bar into the orange zone. Notice that the colour selection window on the left changes from shades of red to shades of orange. This window lets you select the saturation and brightness of the hue you have chosen.
At this point, you can move the saturation/brightness selector around to select your own colour. If you do select your own colour, be sure to note the hexadecimal colour code (the # followed by six hexadecimal digits), as you will need this exact colour again shortly.
You can also use the dropper icon on the bottom right to select the orange colour from the Readera logo (#FF9704).
I felt this colour was a bit washed out, so I used a deeper orange with the hexadecimal colour code #E76427. You can enter this colour by selecting the + icon next to the dropper icon.
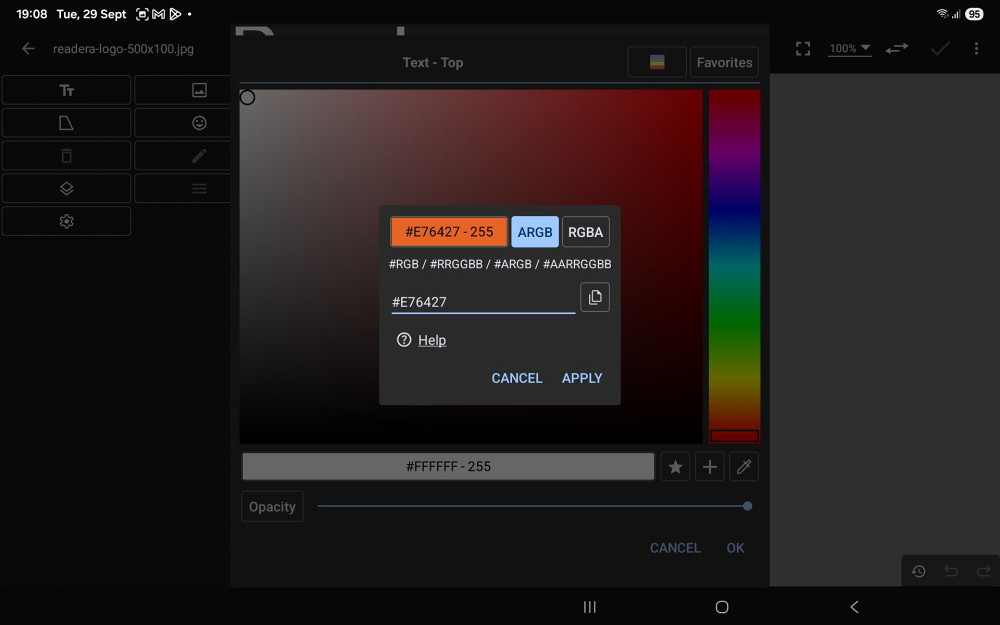
2c: Entering a colour code manually
Once you accept the chosen colour for the word Readera, we hit one of the idiosyncrasies of working with text in Photo Editor. The next image shows that the orange colour is only a band across the middle of the text. It appears that this feature is intended to produce embossed or two-colour text.
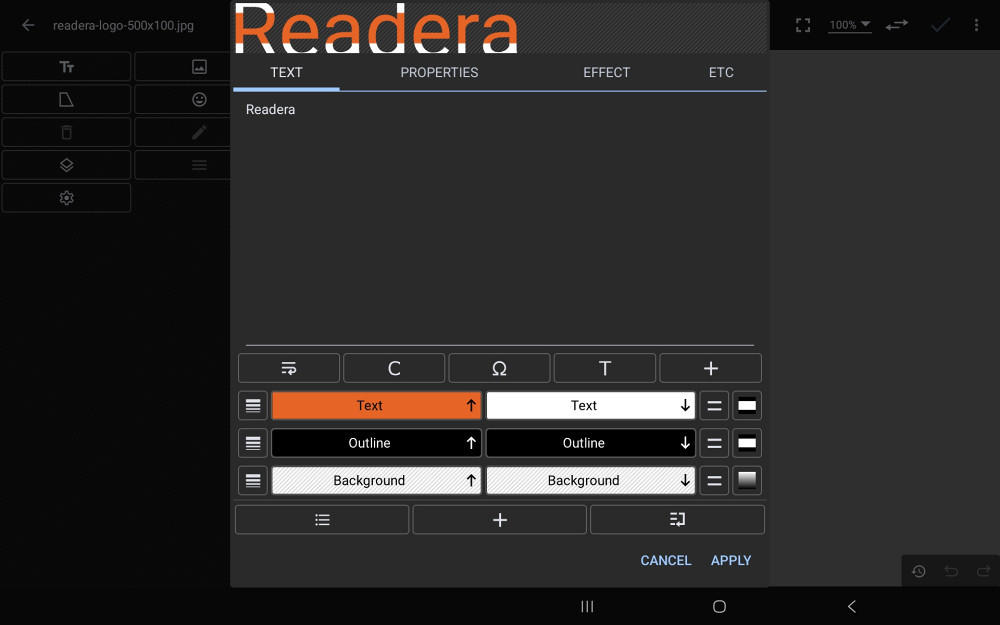
2d: Banded text
In order to have the text completely orange, you also need to change the colour of the right-hand block marked Text. To do this, you have to manually enter the colour code, that you noted earlier, as shown in Fig 2c above.
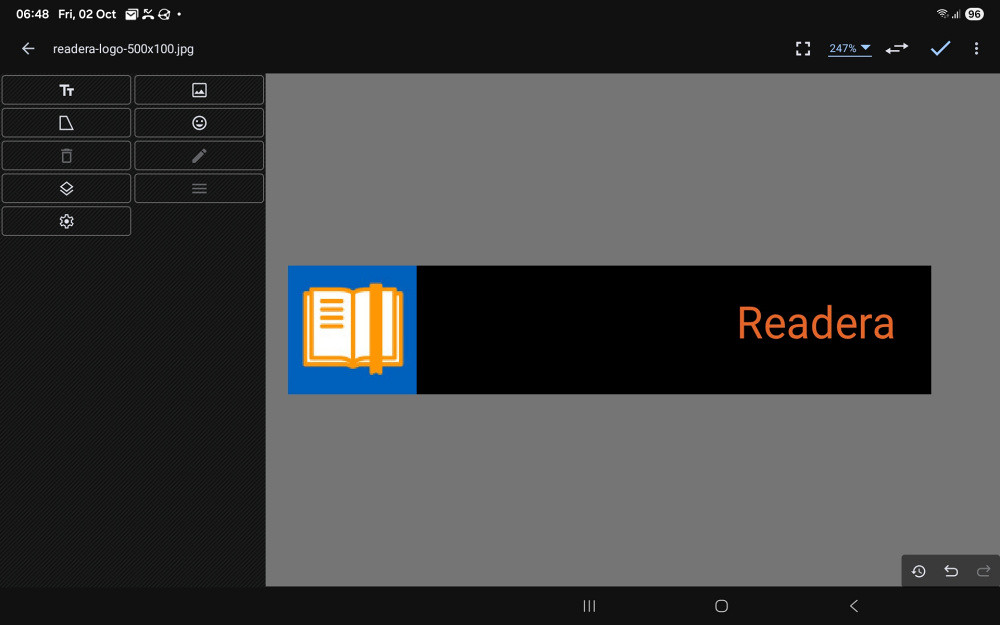
2e: Readera completed
Adding Reading with
We are now going to add the second text object to our logo. From the Text/Image menu item, select the text icon from the menu that follows.
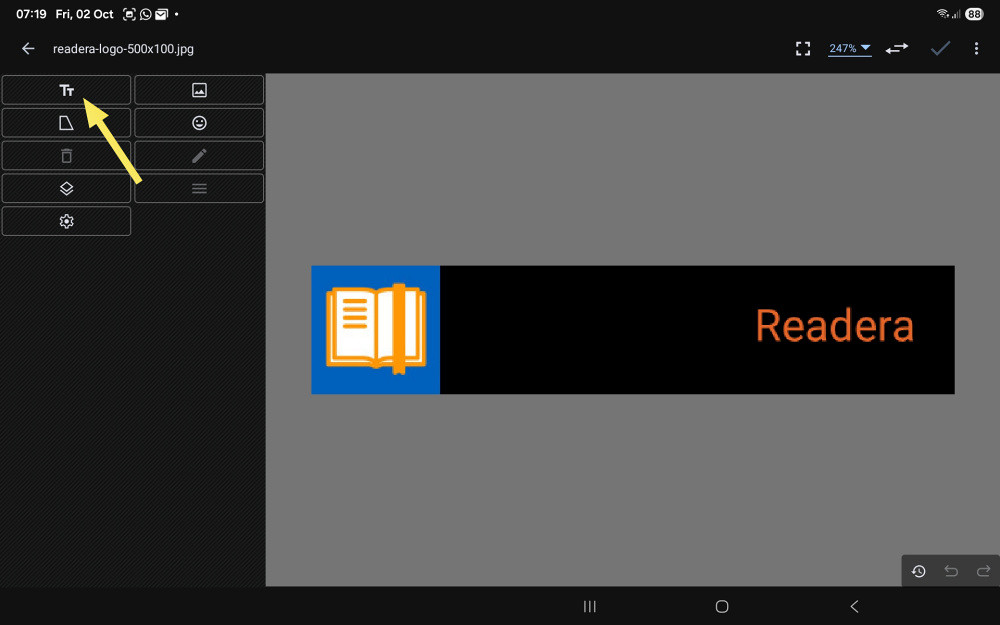
3a: Adding a new text object
The text colour blocks should still be orange. Change each of these back to white by dragging the saturation/brightness selector to the top left corner (regardless of the position of the hue selector, the top left corner is always white — #FFFFFF).
Enter the text Reading with and change the font size to 40 under the ETC tab. We are now going to change the font style to serif. Tap on the Properties tab.
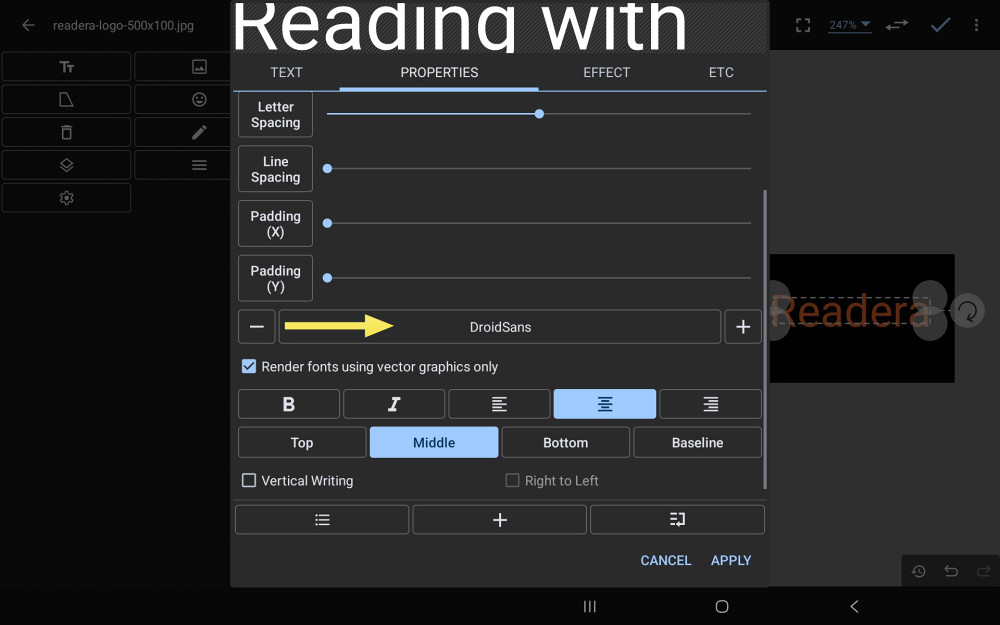
3b: The Properties tab
Scroll up a bit to see more of the font properties. You will notice that the current font is DroidSans. Tap on this to see the available fonts.
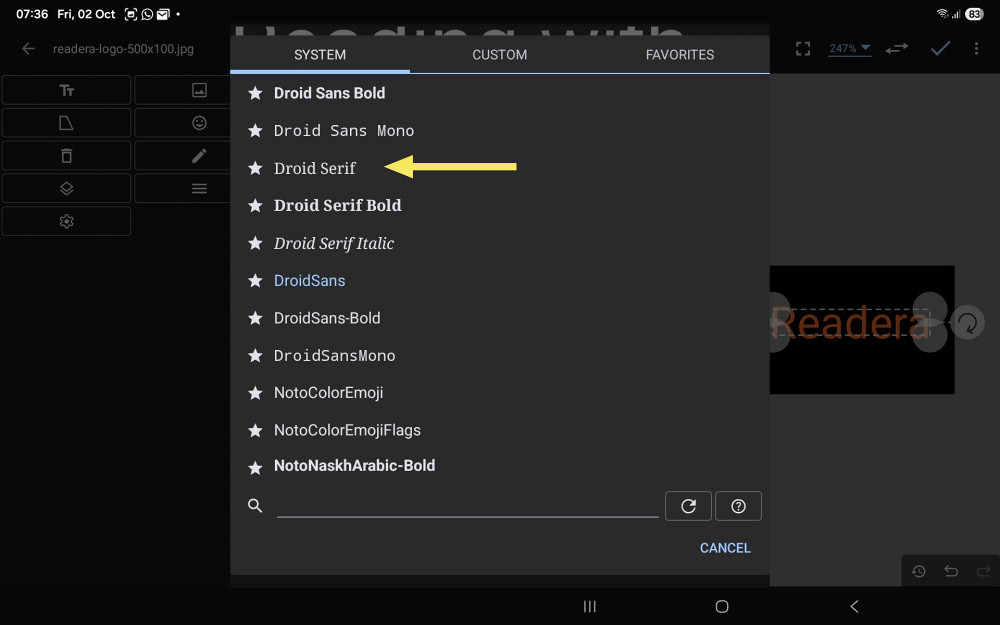
3c: The available fonts
Select the Droid Serif font and then tap on the I button from the Properties page.
Note: you could have selected the Droid Serif Italic font directly, but I wanted to use the italics button on the Properties tab to show this standard text formatting feature.
Tap on Apply to add this new text object to our logo.
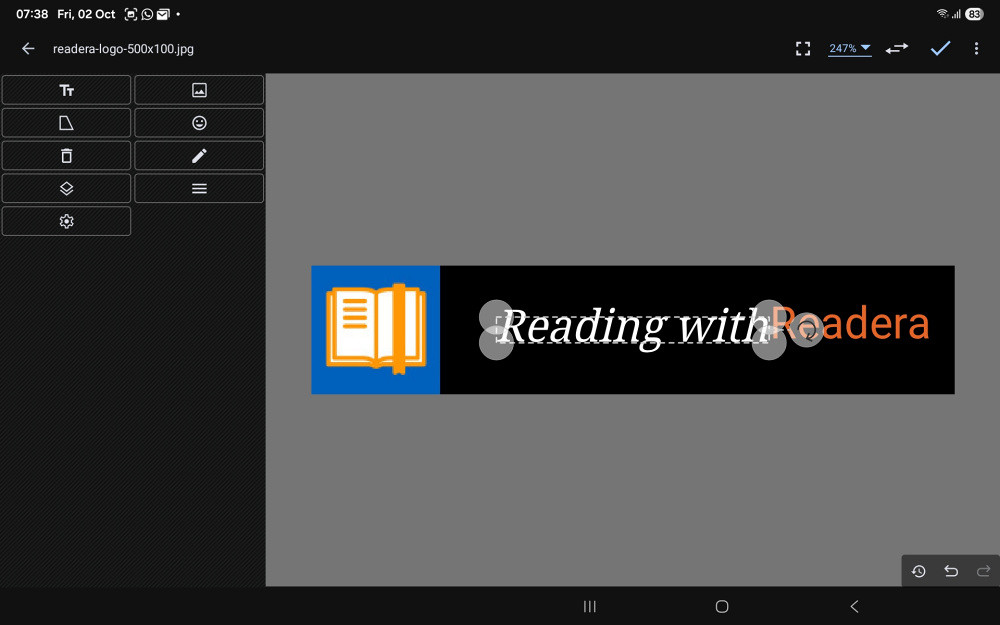
3d: The new text object
The new text object can now be dragged around to align it. Take care to avoid the handles as these will change the font size. It is also useful to use a two finger zoom to increase the size to help with the alignment. Tapping on the Readera object will activate it so it too can be repositioned. Remember, tapping outside the image will remove the handles.
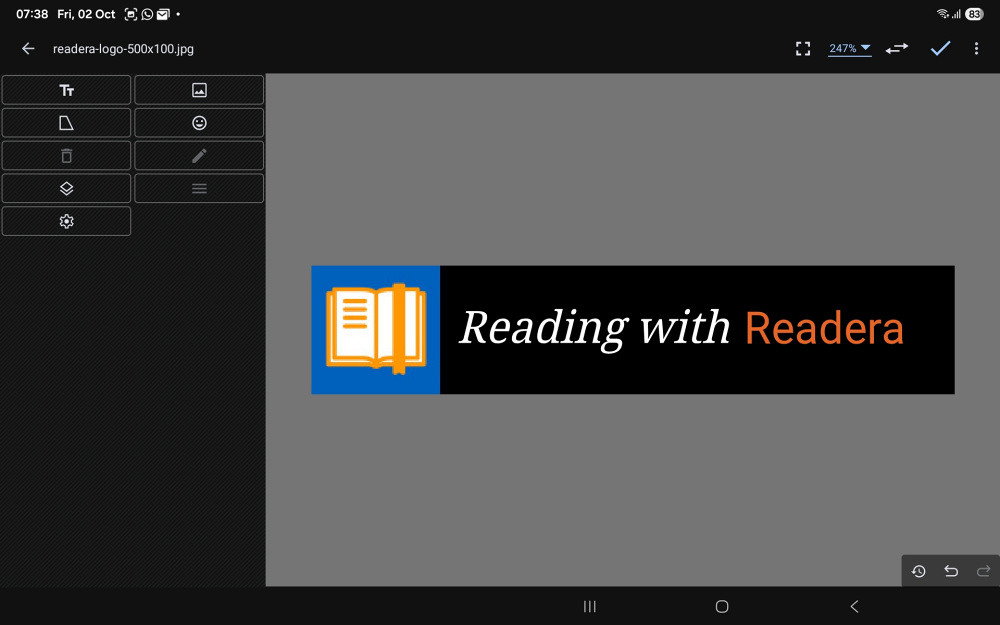
3e: The text aligned
The final part of this tutorial is to edit the Readera text. If you look closely at Fig 3e, it apears as though the serif text (Reading with) is slightly larger than Readera. As we are trying to lay more emphasis on the app name, we need to increase the font size slightly.
Tap on the word Readera to activate the object and then select the pencil tool from the menu on the left. Under the ETC tab, increase the font size to 45.
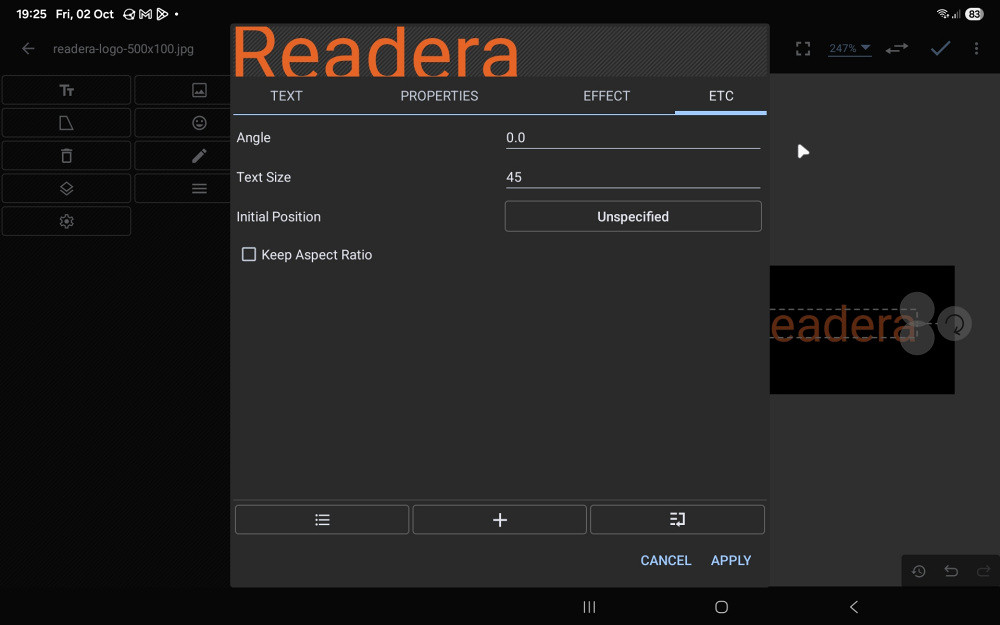
3f: Increasing the font size
Tap on Apply and then realign the two text objects if necessary.
The completed logo with text.

The finished product
(2 October 2026)
