Android Software
Photo Editor by dev.macgyver
A practical user guide
These days, the modern way to edit a photograph is to let AI do it for you: fix it, adjust it, improve it, or even add something that wasn't there in the first place. Some of us, however, still rather enjoy doing these things ourselves.
Introduction
As someone who spends a lot of time working with photos, I felt the need for an editing program, that could be used on a mobile device, which had some of the more serious tools normally only found in PC software. Tools such as Curves, Levels and the Unsharp Mask. Secondary tools such as Straighten and Perspective Correction would be an added advantage.
I did look at many apps, but dev.macgyver's Photo Editor won this race hands down, with all the tools mentioned above, plus many more.
While the tools available in the app are more than sufficient for my needs, some need a bit of effort to get them to do what I wanted them to do. In these pages, I discuss how I got these more difficult tasks to work.
As part of this exercise, I am going to build the image for the advert for Readera shown in the footer of this page. If you wish to follow along, you can download the Readera logo below. Obtaining a usable logo such as this from the Google Play Store is far from trivial.

Readera logo
These tutorials assume that you already know how to load an image into Photo Editor and save the edited result. They are intended to cover some of the less obvious aspects of the app, rather than provide an introduction for first-time users.
I am using a tablet for this tutorial, so the layout of the tools menu may look a bit different on a phone.
(22 September 2026)
Quick links
Resizing the canvas
- Adding text
- Adding a second image
Resizing the canvas
Often, you need some space next to an image in order to add something extra. This might be text or another image. In photo-editing terminology, the image sits on a canvas, and the canvas can be resized without changing the image itself. The image can then be repositioned on the canvas. I will demonstrate two methods of achieving this with our logo.
Before starting, one change needs to be made to the settings of Photo Editor. Our logo has a black background, which makes it difficult to see the boundary of the logo against Photo Editor's default dark editor background. We will first change the background colour of the editor window.
Open the Readera image downloaded from the image above. This is far too large for what we need, so for now resize it to 100×100 pixels. The footer bar has a working height of 40 pixels.
At the top right of the editor window is the zoom factor, with an arrow indicating a dropdown menu. Tap on this.
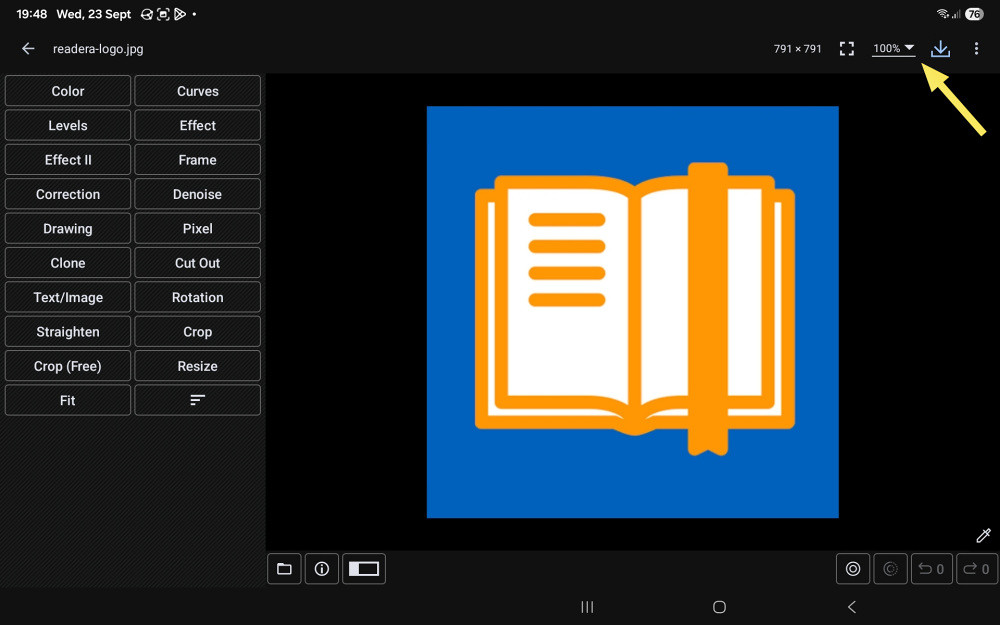
The Photo Editor Zoom setting
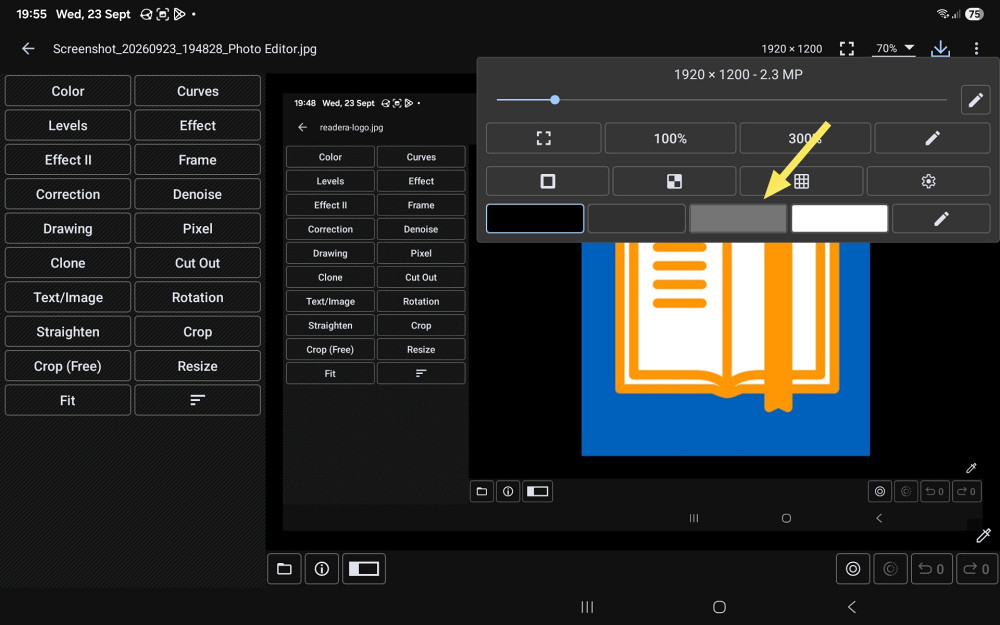
The Zoom dropdown settings
Select the light grey setting. I find a neutral grey background much more useful than black when editing photographs, as it makes it easier to see the edges of images without introducing a strong contrast that can affect one's perception of the image.
Method 1: Fit
Load the 100×100 pixel image into the editor and select the Fit option from the menu on the right (on a phone, this menu is along the bottom).
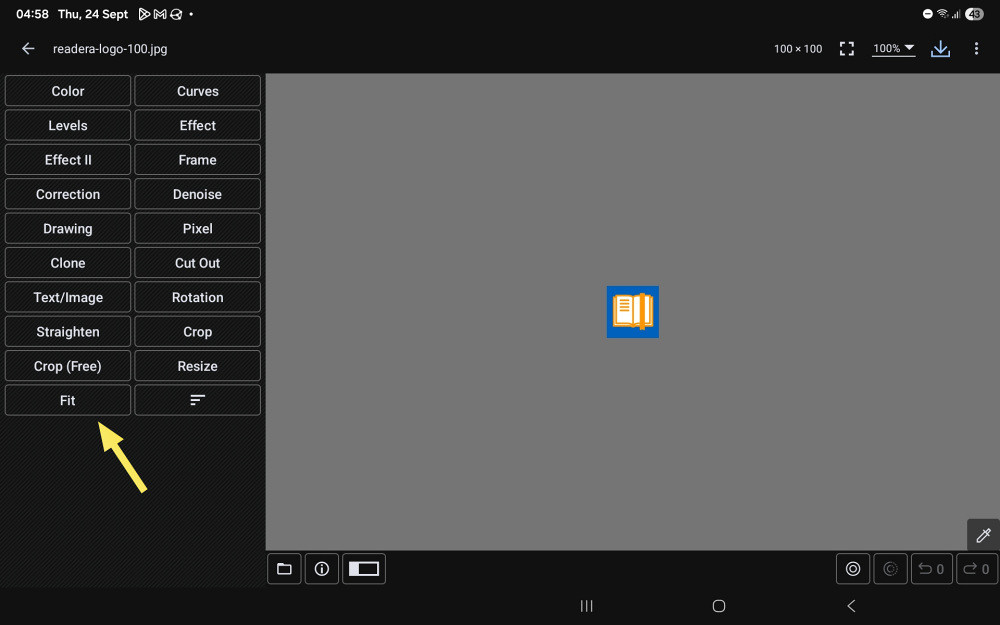
Select Fit from the menu
Now select the pencil tool below the image.
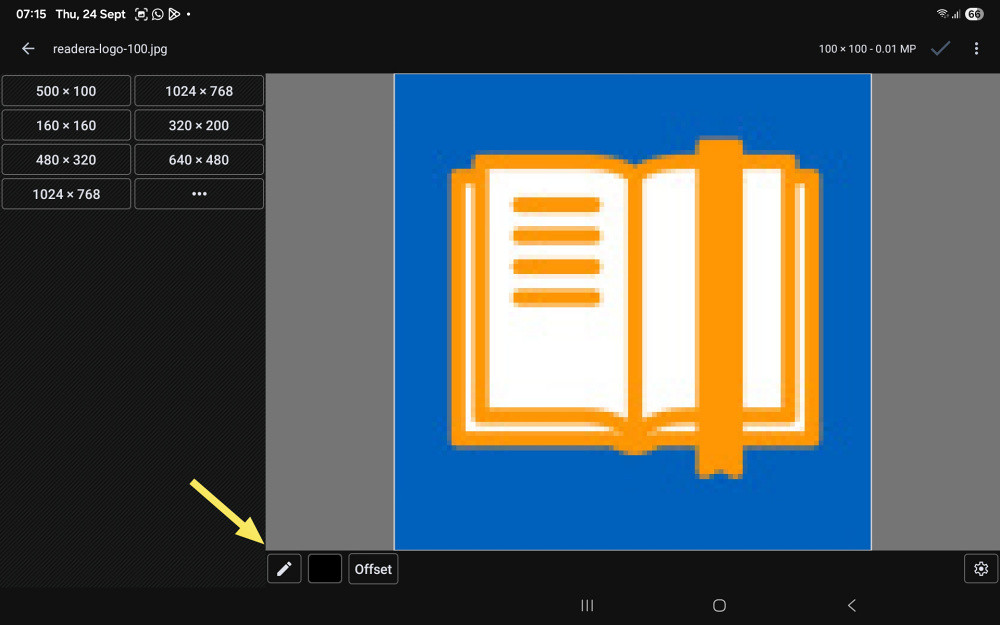
Select the pencil tool
Set the Width and Height for the canvas. Our logo is 100 pixels high, so set the Height to 100 pixels. The Width can be whatever you need. I have chosen 500 pixels, giving us plenty of space for the text.
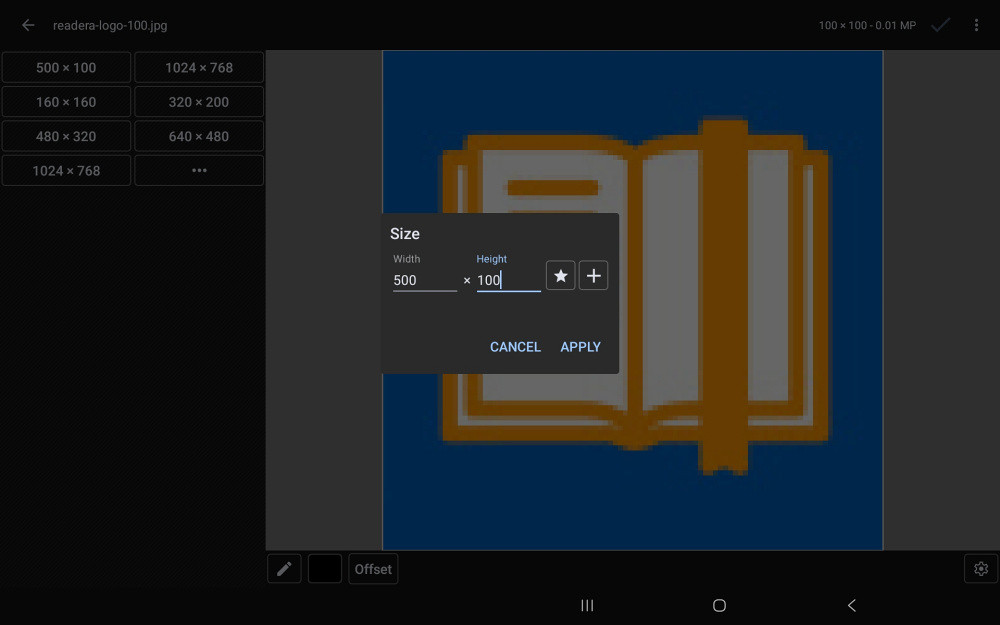
Setting the Width and Height for the canvas
Now select Offset to place the image in the correct position on the new canvas.
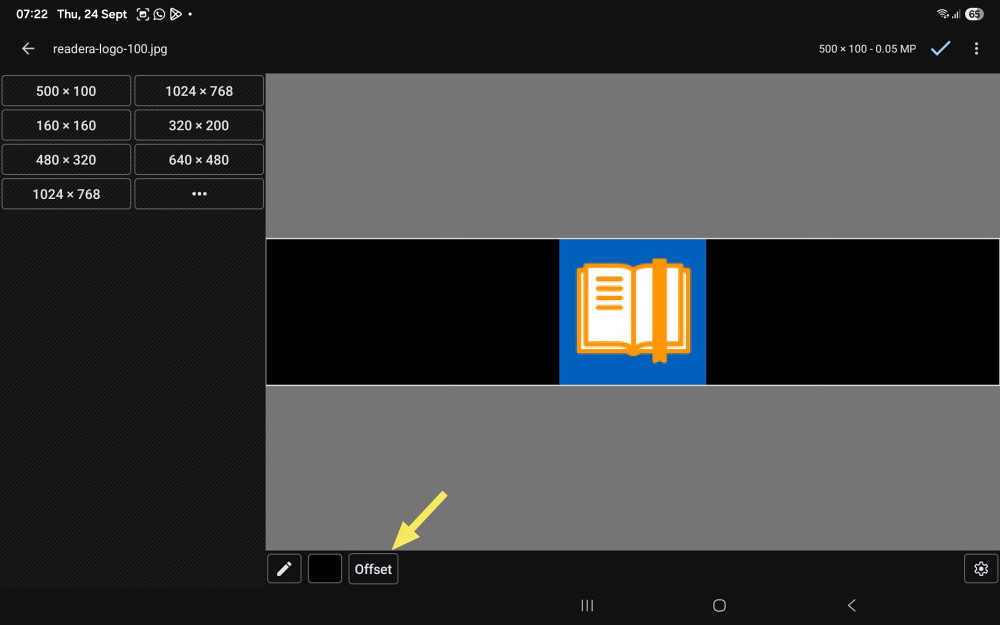
The Offset button
Drag the X slider to the left to move the image towards the left-hand side of the canvas.
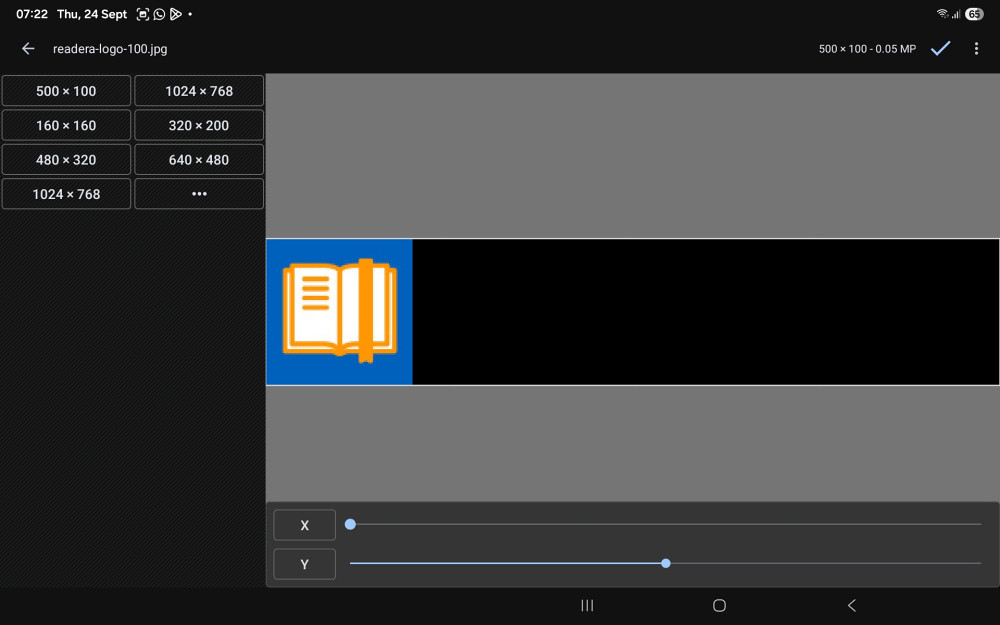
Setting the X position for the image on the canvas
If the canvas colour is not black, select the palette button between the pencil and Offset buttons.
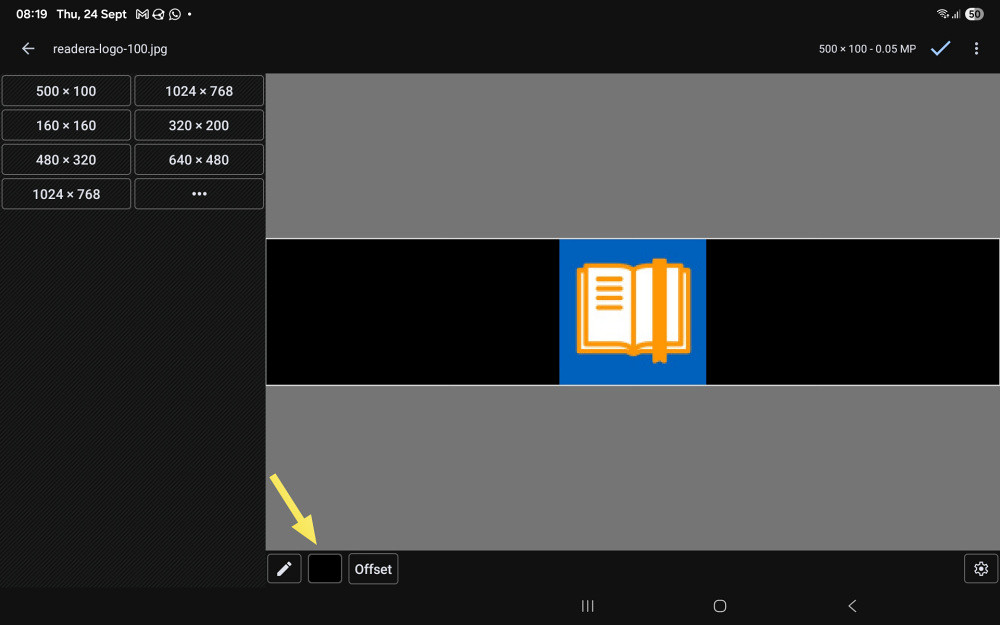
The palette button
Drag the indicator to the bottom left corner of the colour palette — the colour value should be #000000 - 255.
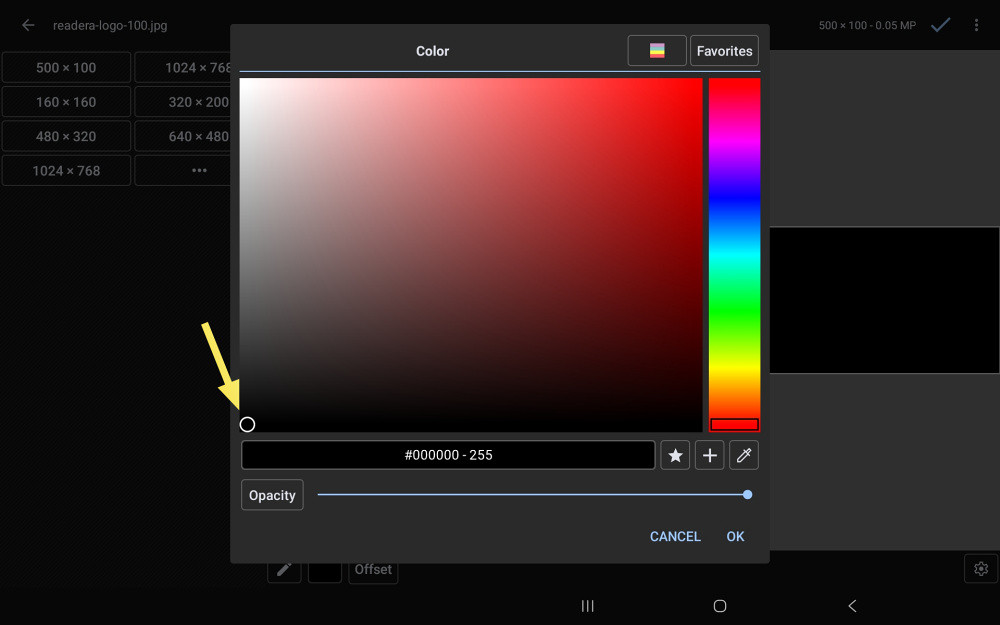
Setting the canvas colour
The image is now ready for the addition of the text.
Method 2: New
Before using this method, I suggest you work through the tutorial on Adding a second image. Much of the workflow used here is covered in that tutorial.
First, create the canvas from the New menu option on Photo Editor's opening screen. Then enter the details of the canvas such as size and colour.
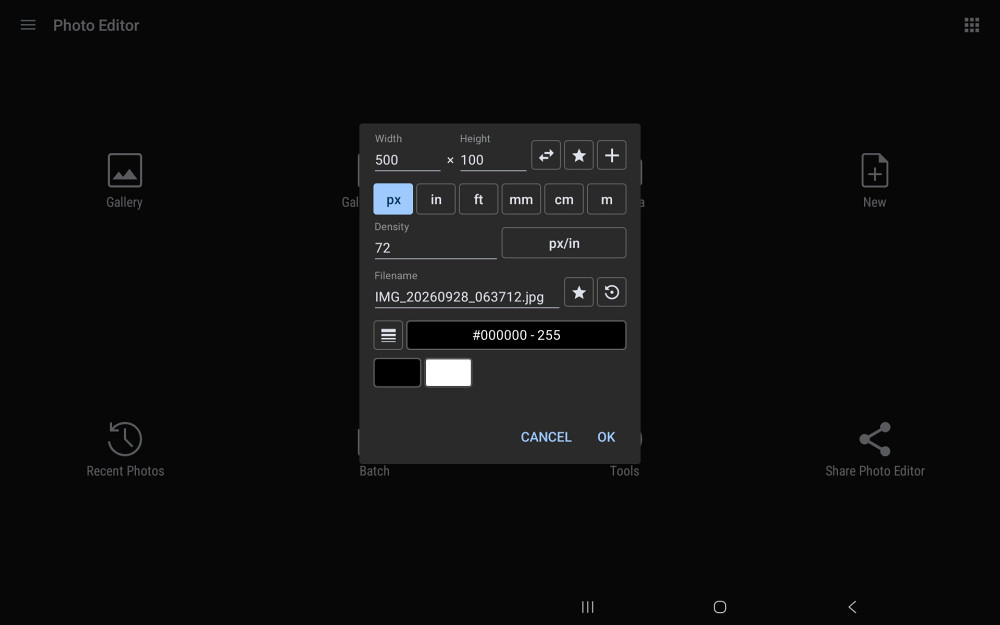
Creating a new canvas
Now, add the 100×100 pixel Readera logo from above to the canvas. Follow the procedure outlined in Adding a second image to load and position the logo on the left of the canvas.
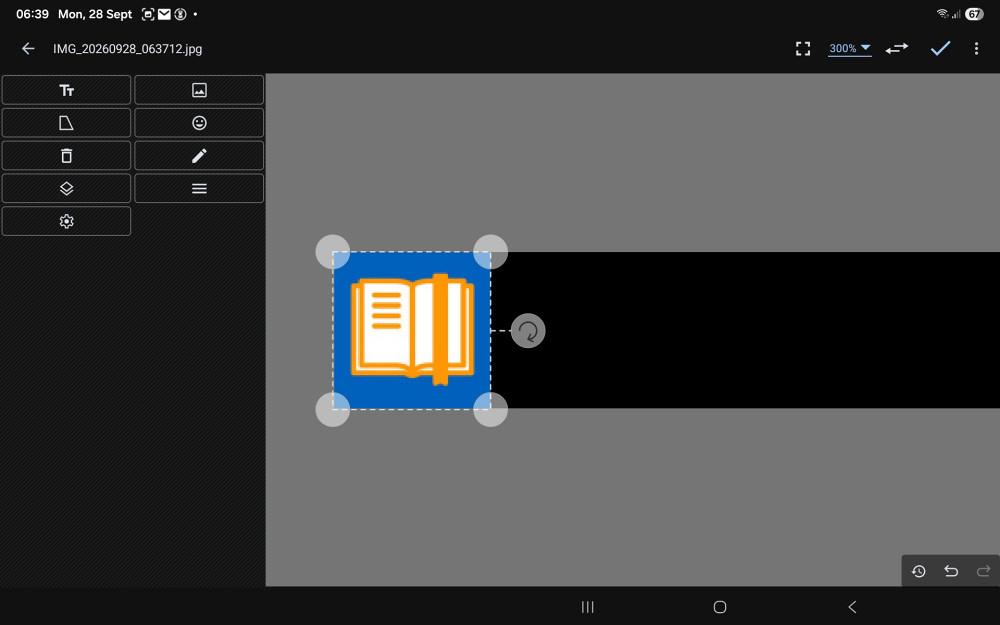
Positioning the logo
The image is now ready for the addition of the text.
Method 2: New would be quicker, if the starting image did not have to be resized. Method 1: Fit is perhaps more familiar to anyone accustomed to working with a canvas in a PC-based image editor.
(28 September 2026)
