Travel - Bakkie
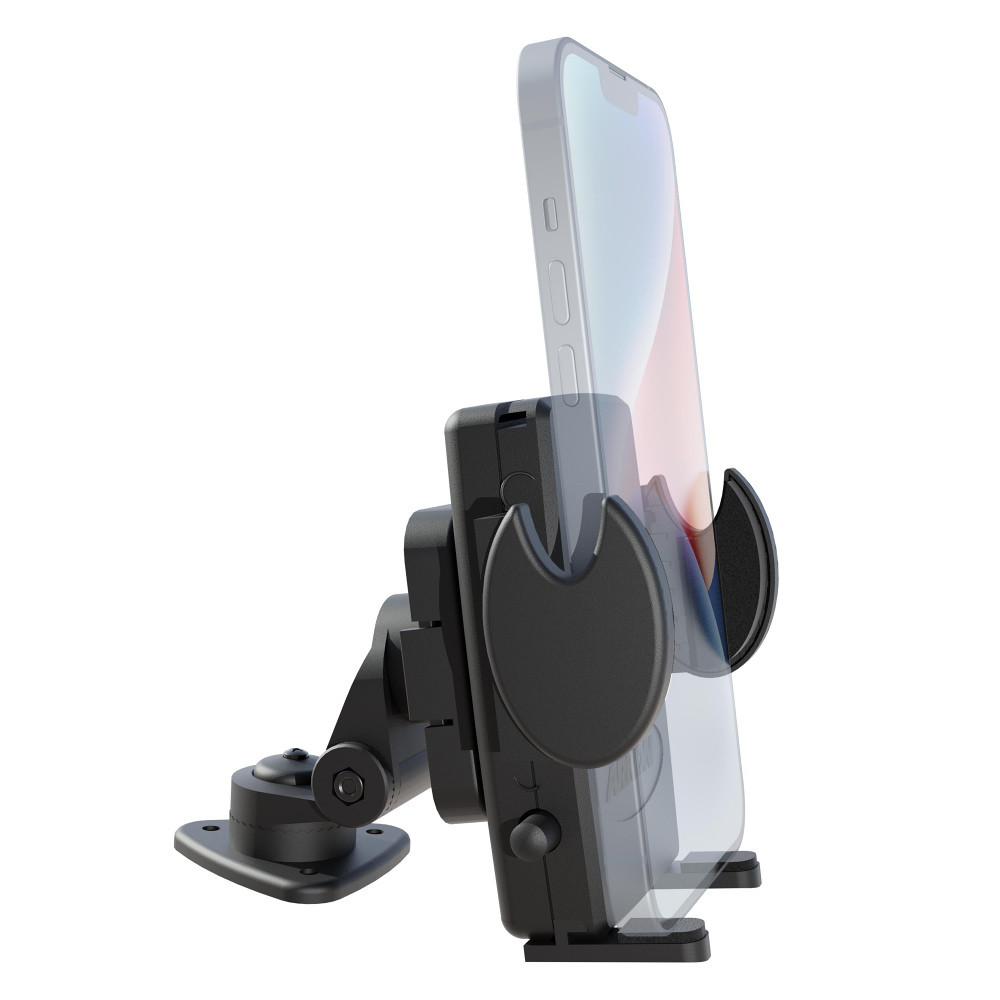
Arkon SM428 Car Mount for Smartphones
Introduction
I have used the Macally CD slot phone mount successfully for several years now, but recently it started becoming a bit too wobbly with a newer, heavier phone mounted. The plastic of the CD slot on the dash is also not quite as firm as it used to be, probably caused by the jiggling of the mount on bumpy roads. This prompted me to start looking at a new mount with a different fastening mechanism.
The first one I looked at was one which clamps onto a suitable overhang on the dashboard, such as the speedo binnacle or in the bakkie's case, the overhang over the information screen.
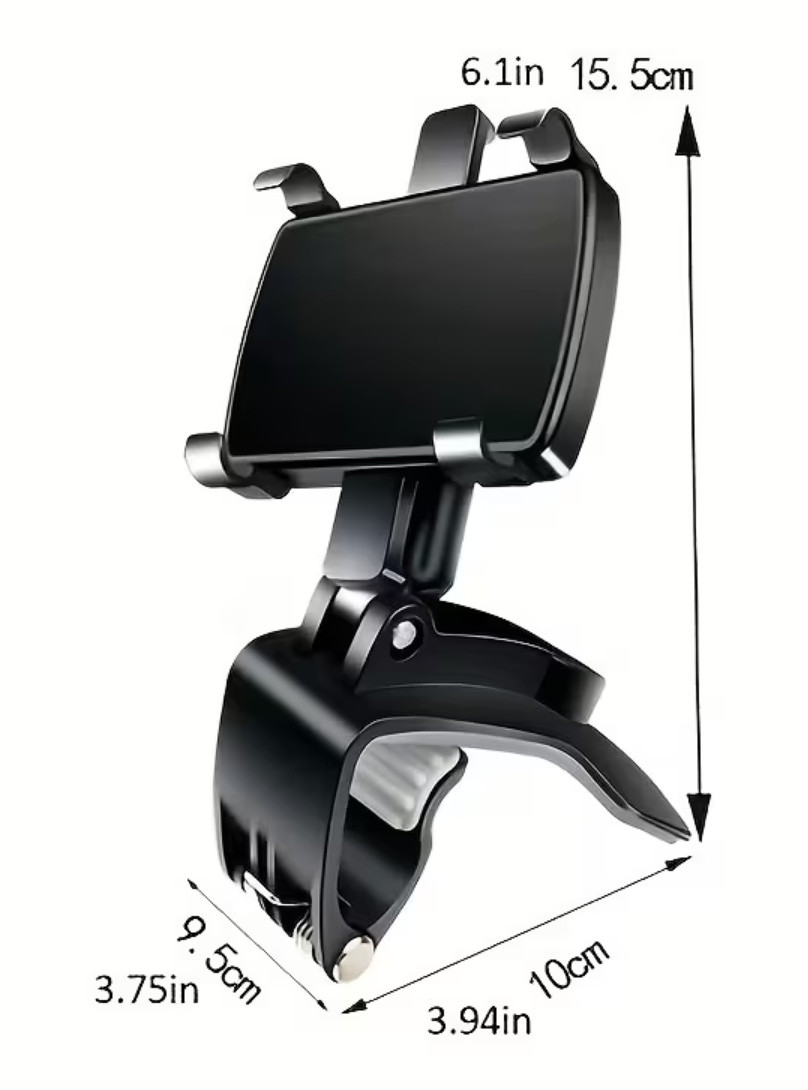
Fig 1a: A clamp mount from Temu
In spite of the fact that this looked good on paper (actually the pictures 😁), the clamping system was not strong enough, so the mount kept popping off with vehicle vibrations and bumps in the road. The surface area of the lower jaw of the clamp was just too small to grip. I tried several things to improve this, such as building up the lower jaw and replacing the rubber on both jaws. While this did help, a heavyish phone, like the Samsung A37, would still cause the mount to pop off the dash.
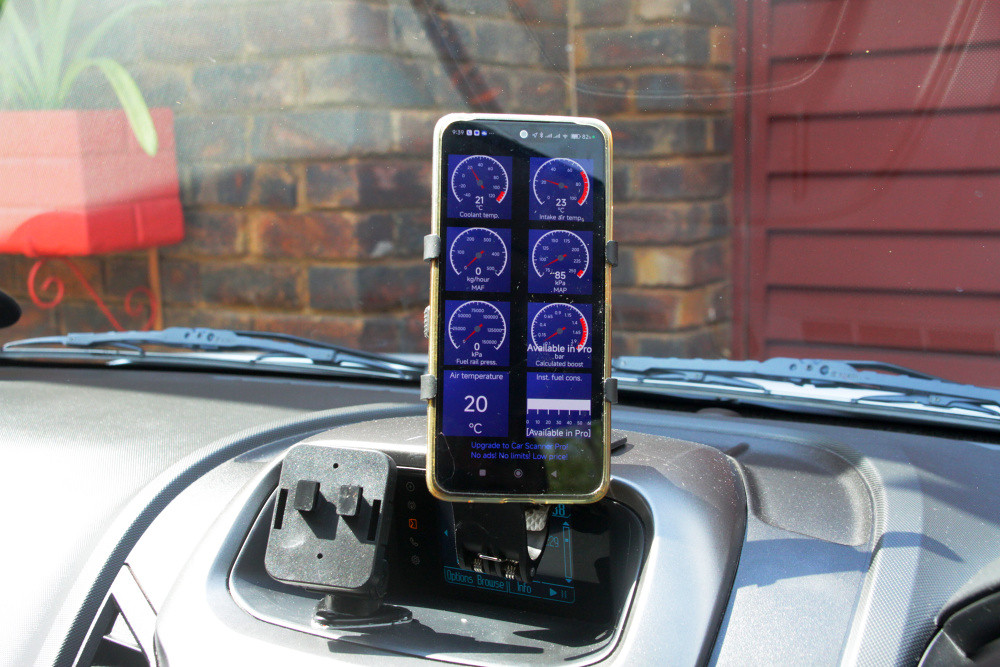
Fig 1b: The clamp mount on the dash
I found the Arkon SM428 mount in an email ad from Amazon, and although I am not keen on sticking things on the dashboard, I decided to give this a try. What did appeal to me was the 3-way positioning of the phone was done by ratchet joints rather than friction grips.
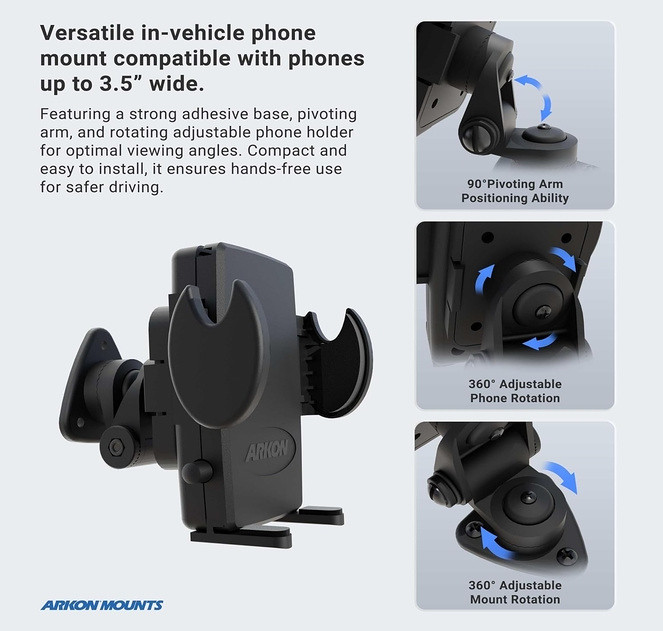
Fig 1c: The Arkon SM428 positioning mechanisms
For the purposes of this discussion, I am going to refer to the positioning mechanisms, as shown on the right of Fig 1c (from top to bottom) as:
- The hinge
- The vertical rotator
- The horizontal rotator
The mount itself consists of two parts which can be separated: the phone holder and the base. The positioning mechanisms are part of the base.
In the promotional video in the link above, a user mounts the SM428 vertically. In the main picture in Fig 1c, the base of the mount is shown in the vertical position. As you can see, the vertical rotator and the horizontal rotator are parallel to each other, so one axis of movement is lost, as both rotate in the same plane. Placing the base plate vertically is therefore not very useful.
(6 October 2026)
Mounting
Mounting the SM428 proved to be quite a mission, as getting it securely attached to the dashboard was not as straightforward as I had expected. The base of the mount has holes for screw mounting, and the package includes a set of screws, although they are somewhat on the long side. I was reluctant to drill into the dashboard without knowing what might be lurking underneath it, so I decided to investigate adhesive mounting instead. Not all adhesives like sticking to plastic, so I was curious to see how well the pre-applied 3M double-sided tape on the SM428 would fare, especially as it is supposed to stick to most dashboard plastics. Before sticking the mount in place, the area was thoroughly cleaned with isopropyl alcohol, allowed to dry, and then buffed with a soft, dry cloth. The mount was pressed in position for the manufacturer's recommended holding period and was not used until at least 24 hours had passed.
The problem, of course, was choosing a suitable position for the mount.
Vertical, behind the steering wheel
In spite of my misgivings about the vertical positioning mentioned above, I tried this as the phone would be out of direct sunlight for much of the day.
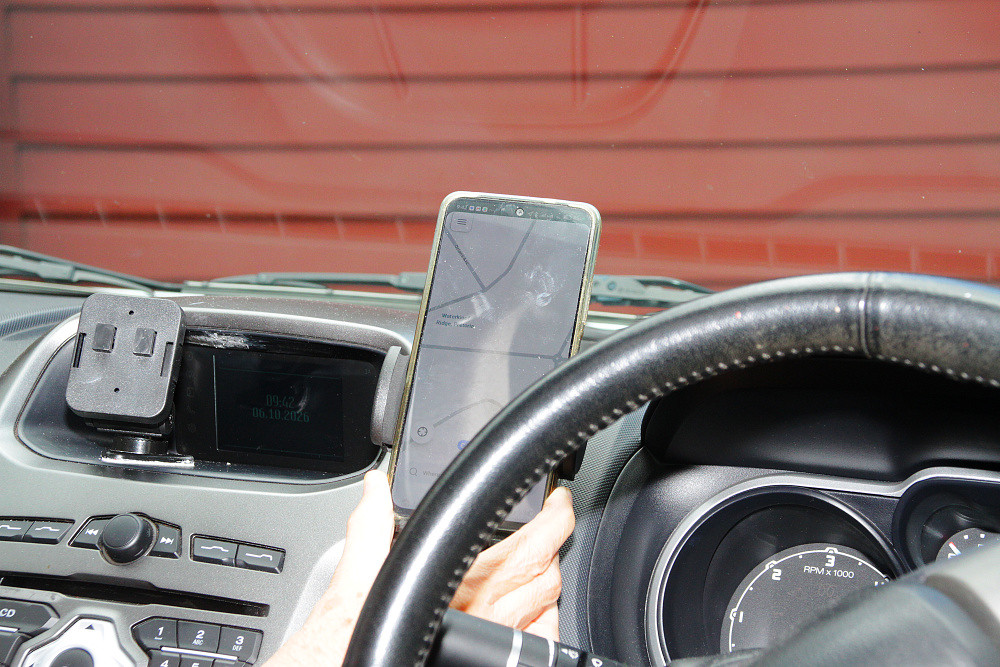
Fig 2a: First mounting point
As I did not take a picture of the mount in this position, Pat is holding it to show what it looked like from a driver's perspective.
Unfortunately, this did not work as the mount fell off within one week. There was no residue from the 3M tape on the dashboard, suggesting that no bond had formed between the tape and the dashboard.
On top of the dashboard
For this experiment, I used some rather old double-sided tape which was in my toolbox. After cleaning the area and sticking the tape down, I placed a 2 lb hammer on top of the mount, with the hinge folded into a horizontal position, similar to that shown in Fig 2e below.
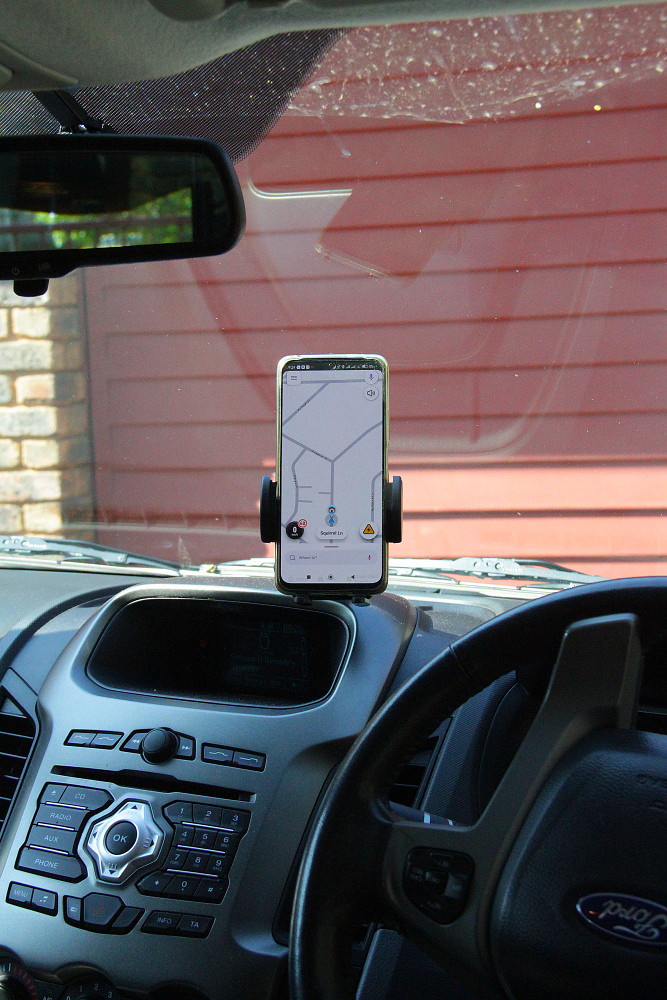
Fig 2b: Mounted on top of the dash
This was the most successful of my attempts at sticking the mount to the dashboard. However, I was not happy with this position as the phone was in direct sunlight for most of the time spent driving, and more importantly, it was in my line of vision — I do like being able to see the end of the bonnet while driving.
This prompted me to move it again, into the recess below the position shown in the picture above.
The old double-sided tape had formed a really strong bond with the plastic of the dashboard, as it took the better part of ½ hour to remove the residue from the dashboard.
In the recess — Part 1: Old double-sided tape
I followed the same procedure as I had done with the previous mounting position, with the base of the SM428 to the left of the recess. This meant I could still see the info screen while driving.
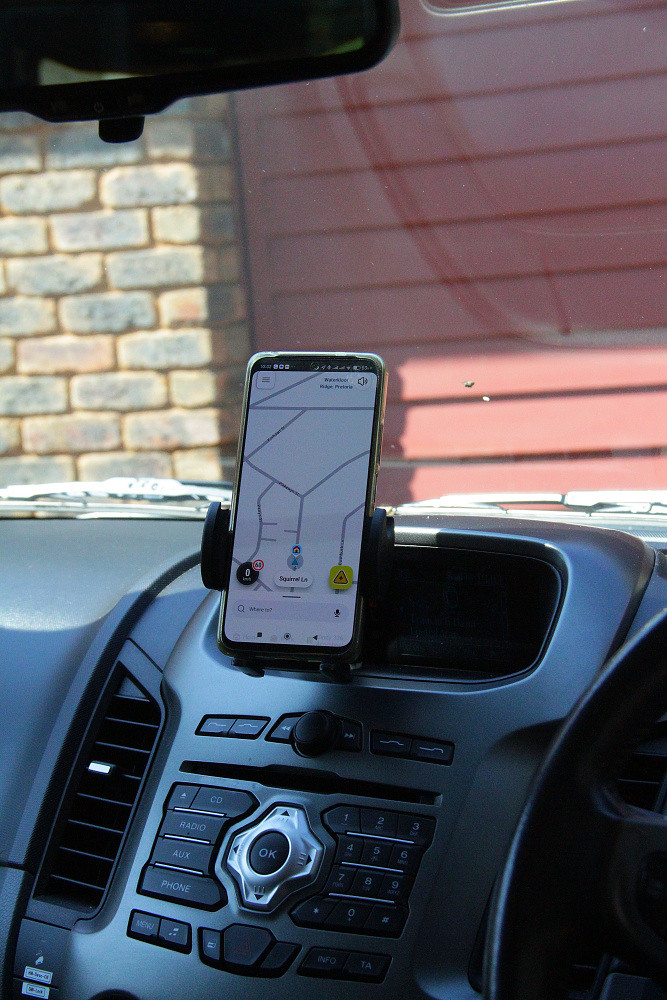
Fig 2c: Mounted in the recess
This seemed pretty stable for about ten days, so I was hopeful that the adhesive had formed a decent bond. Unfortunately, the bakkie then went for a service and when I got it back, I found that the mount was a bit wobbly. It fell off the next day, so maybe the mechanics or the cleaners had fiddled with it to check it out, and broken the bond. Anyway, there was no residual glue on the plastic in the recess, unlike with the previous mounting attempt. To me this suggested that the adhesive had not bonded properly with this particular plastic. The plastic in the recess is far smoother than the main dashboard, which probably made it more difficult for the bond to form.
In the recess — Part 2: Sticks Like
My next experiment was to use a locally made glue, called Sticks Like, that I have had a good deal of success with in sticking plastics together.
This glue seemed to hold very well until one particularly hot day, with the bakkie parked in the sun (although there was no direct sunlight on the mount), it popped off as soon as I mounted the phone. This was particularly disappointing as Alcolin do claim this glue can withstand reasonably high temperatures.
As with the old double sided tape, there was virtually no residue remaining at the mounting point, and what did remain, peeled off with little effort on my part. An interesting point though, it was almost impossible to remove the glue from the base of the mount.
In the recess — Part 3: Bostik double-sided tape
After the Sticks Like glue had failed, I found Bostik Industrial Strength Mounting Tape at a local hardware shop. I decided to try this in spite of the following warning from Gemini:
Using standard paper-thin Bostik Double Sided Tape or heavy-duty mounting rolls on a car dashboard is generally not recommended because most automotive dashboards have a textured plastic surface, are exposed to direct sunlight and high heat, and Bostik Heavy Duty Mounting Tape explicitly states it is not suitable where heat resistance is required.
The following was recommended: 3M VHB Tape (Very High Bond): Specifically engineered for high-strength, permanent automotive applications and exterior/interior trim.
As I already had a poor experience with a 3M tape, I decided I had nothing to lose with trying the Bostik tape.
I also had a rethink about the orientation of the mount. The triangular base meant that, in my original orientation, the phone's weight was acting some distance from the effective edge of the mounting area. It occurred to me that the arrangement was rather like a seesaw: the further the load is from the support, the greater the tendency to lift the opposite end. Reversing the base put the wider side away from the front of the dashboard and increased the area over which the load was supported.
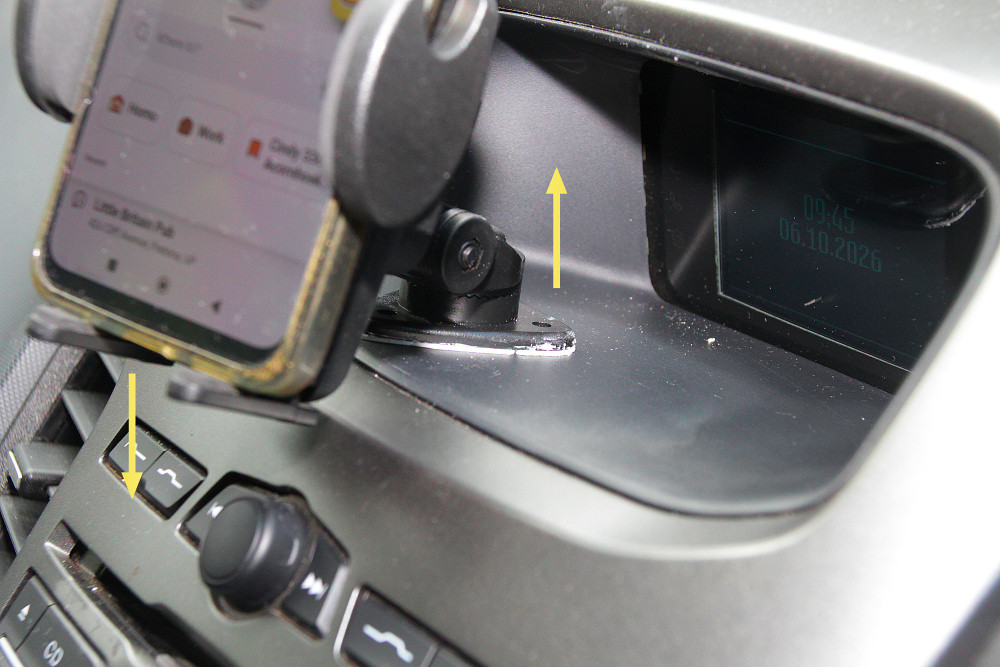
Fig 2d: Showing the forces acting on the mount
For the record, the image below shows my makeshift "clamp" used to keep pressure on the mount (and thus the tape) for the 72 hour curing period recommended by the manufacturer.
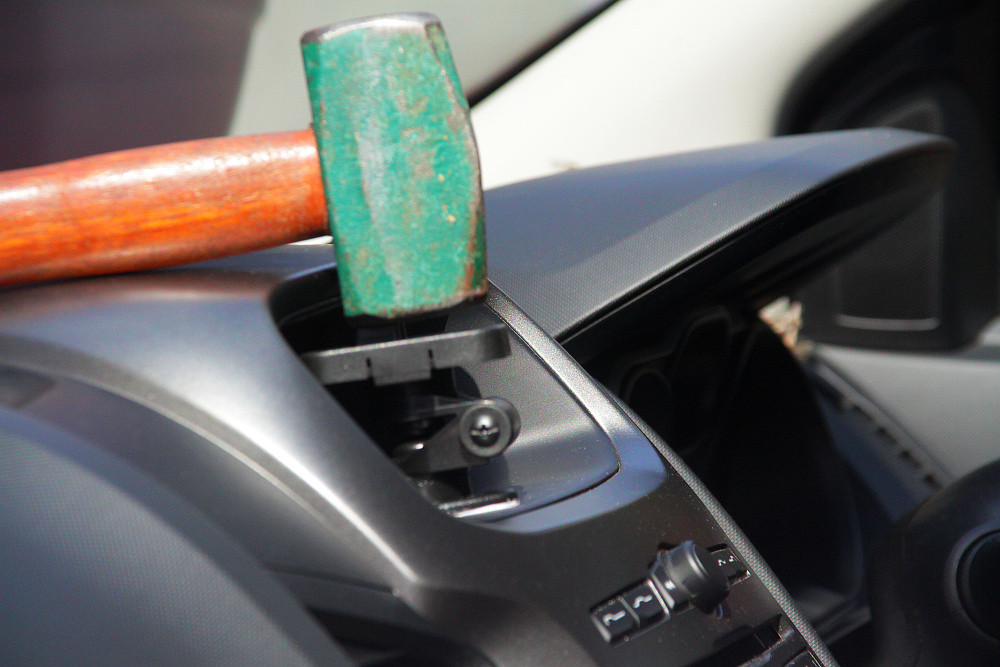
Fig 2e: Using a 2 lb hammer to keep pressure on the mount
In spite of Gemini's misgivings, this is the current state of affairs with regard to the Bostik double-sided tape:
- Number of days since attachment: 42
- Number of days in use: 39
During this period, the ambient temperature has not dropped below 15°C, while daytime temperatures (when the vehicle is actually in use) have been at least 29°C. (See my page on weather measurements.)
6 November 2026
(8 October 2026)
Niggles
As with all these devices, nothing is perfect. One of the biggest frustrations I had was rattles from the mount while driving. The first step in getting rid of a rattle is finding its source.
The hinge
The hinge was the first point of irritation. There was about 1 mm play on the hinge, which caused the phone holder to oscillate. 1 mm does not sound like much, but at the top and bottom of the phone, it is appreciably greater, making the screen difficult to view while driving. It looked for all the world like one of the teeth in the ratchet had broken off.
Once the mount is installed, it is virtually impossible to disassemble, so I had to try a different trick. The hinge is held in place by a screw, so all I had to do was tighten that screw.
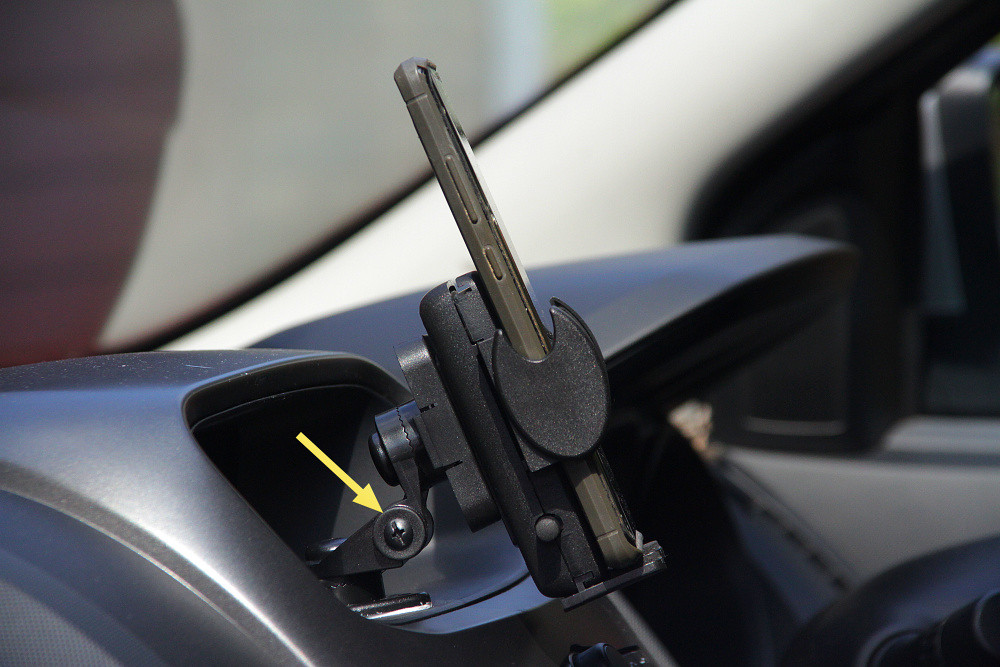
Fig 3a: The screw on the hinge
Unfortunately, this meant that I could no longer adjust the vertical viewing angle of the phone without first loosening the screw.
The phone holder: 1
The second irritation was the phone holder itself. When I shook it, something rattled inside, so I opened it up to find the cause (and of course, to see how the clamping mechanism worked 😁). On opening, one of the three springs sprang out and disappeared into the distance — it had not been seated properly. Fortunately, Pat found the spring, and once it was reseated, another rattle disappeared.
Interestingly, with the spring seated properly, it is virtually impossible for it to jump out of its housing.
The phone holder: 2
This was the most difficult of the rattles to pin down. While driving, excess vibration from the vehicle would cause a really irritating rattle. I asked Pat to help me track it down, and the only thing she could establish was that holding the phone stopped the rattle. She suspected that one of the feet of the holder was knocking against the dashboard. I checked this while stationary, but the gap between the foot and the dashboard appeared to be much greater than the distance moved during vibration.
My next suspicion was vibration between the phone holder and its mounting point. I put a small blob of Prestik in the slides on the mount and another in the central screw hole on the phone holder. This worked like a charm — rattles gone.
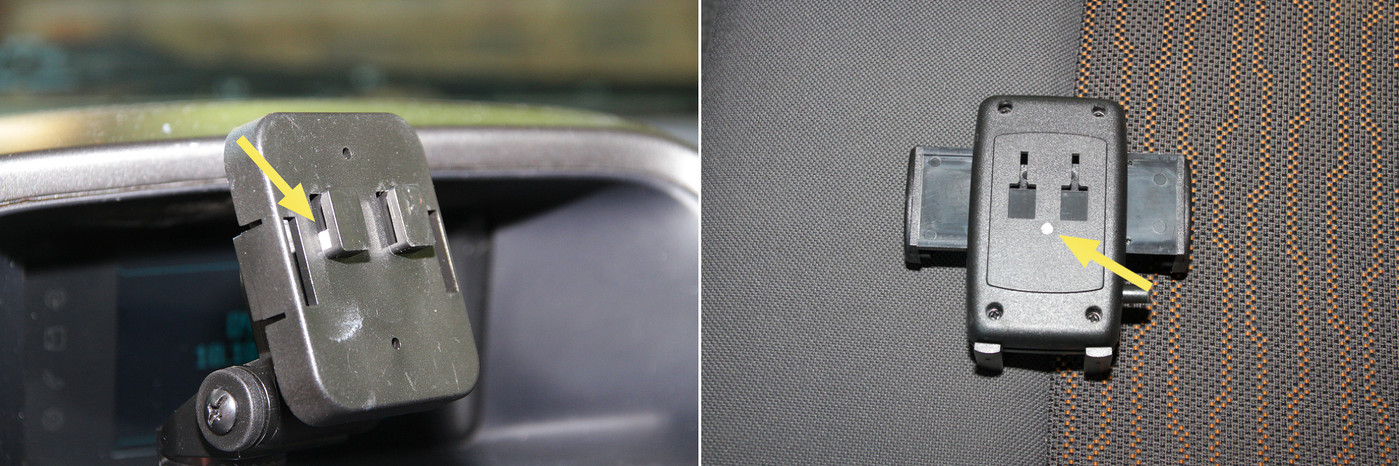
Fig 3b: Prestik in a slide on the mount (L) and in the central screw hole on the holder (R)
The only drawback is that vibration may squash the Prestik over time allowing the rattles to return. Fortunately, the fix is really easy.
(10 October 2026)
Back to the bakkie's story.
