Ramblings
Installing a downpipe on a JoJo tank
Introduction
For those who are unfamiliar with a JoJo tank, it is a large plastic tank used for storing water. A tank like this has been on Pat's wish list for ages and recently she decided to buy one. With water shortages in our area, she was looking at a tank such as this to store rainwater for garden irrigation as well as using the water for flushing lavatories.
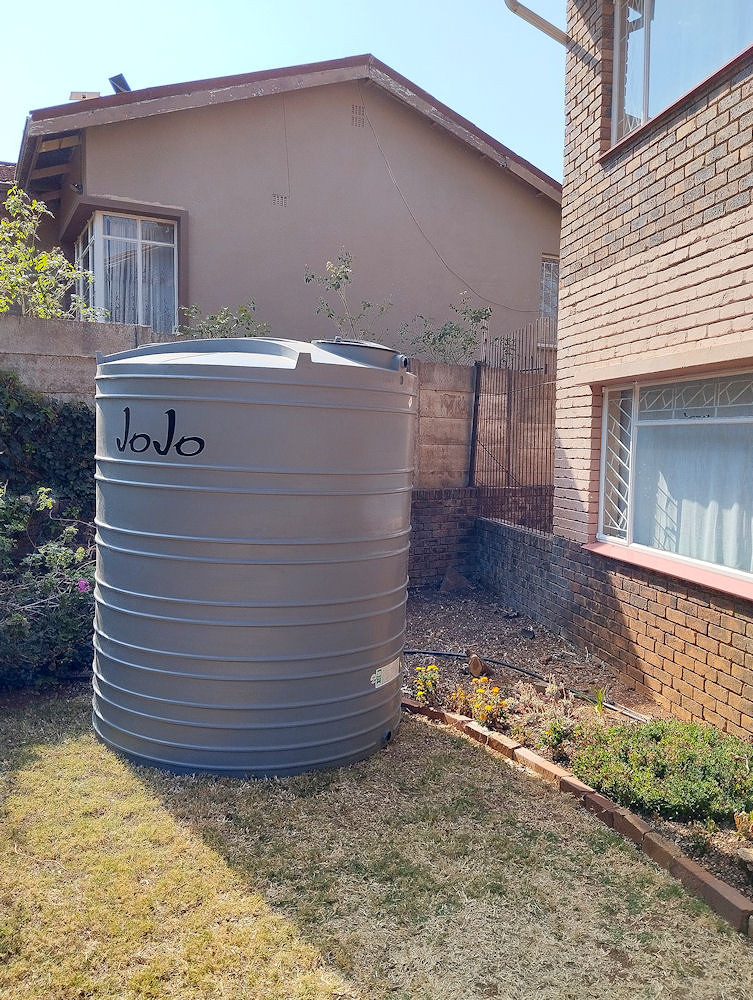
The JoJo tank after delivery
We bought a 5m3 tank from Builder's Warehouse as they give a decent pensioner's discount and their delivery fees were reasonable.
We had the tank installed by a local builder (The Old School Handyman) as the necessary concrete work and plumbing (as well as moving the tank) were beyond my capabilities.
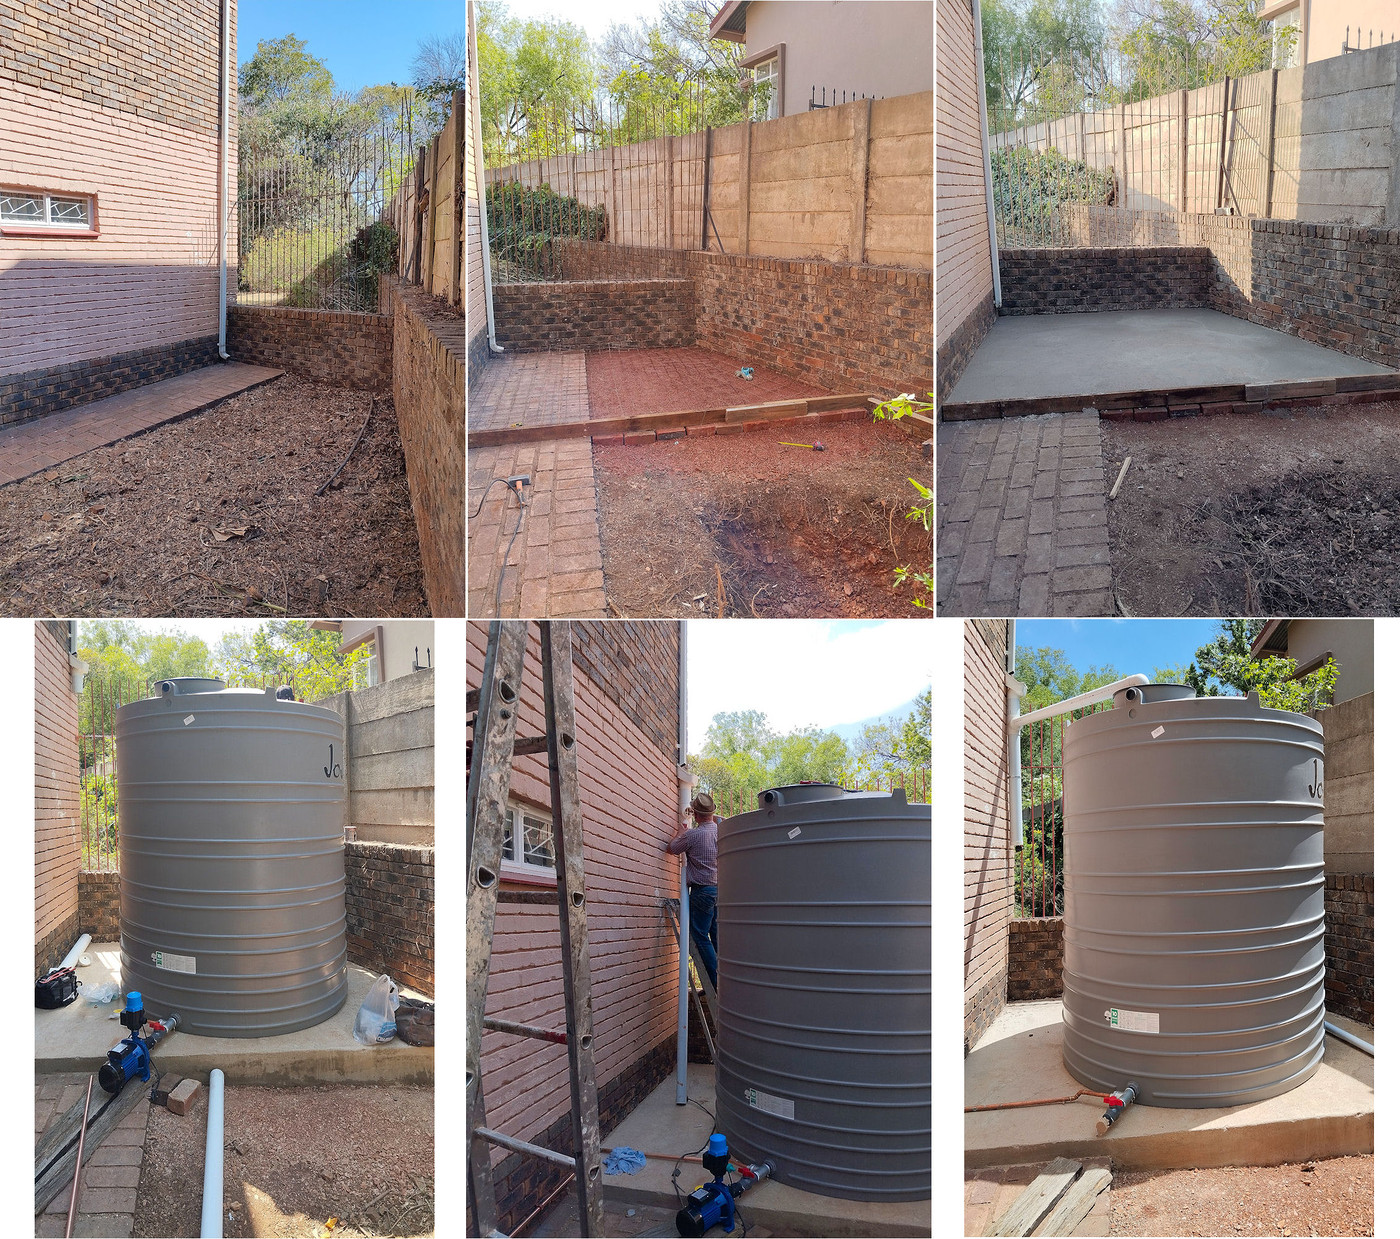
Installing the JoJo
Unfortunately, the installation did not include a downpipe for the overflow from the tank. This is quite important to me as I did not want this water to stain the concrete and, more importantly, not to undermine the retaining wall between me and the neighbour. So I decided to make my own downpipe with which I could guide the overflow water away from any structure.
Update: Micro JoJo (2 May 2025)
Part of the installation of the JoJo was a sediment trap for the first bit of water running off the roof (in the montage above, the sediment trap can be seen in the last two pics). Pat felt that it should be possible to harvest the water in this trap in addition to the water going into the JoJo, so I built a Micro JoJo for her.
Update: Sealing the Concrete (17 November 2025)
Unfortunately, algae started growing on the concrete slab during the summer rains after the installation. It took some effort to remove this algae and then seal the concrete to prevent the algae from returning.
The downpipe
Builder's Warehouse have a short instructional video on installing a JoJo tank. This video also shows the presenter installing a downpipe on the overflow on the JoJo, but the initial bit of the installation is so quick, that you cannot actually see the bits of piping required to make this connection.
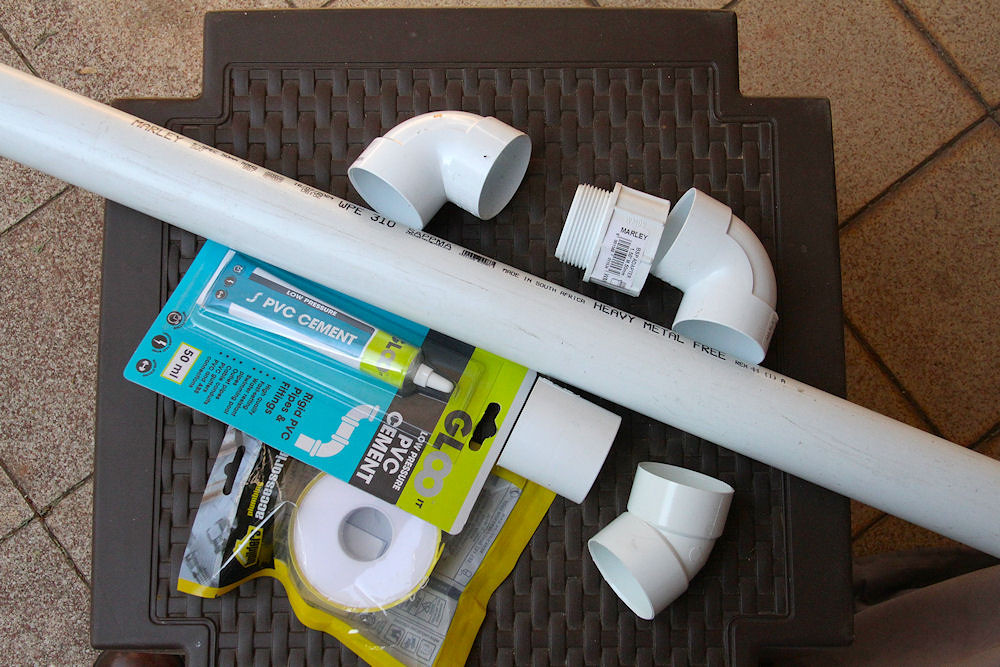
Required materials for the downpipe
In the pic above, starting from top centre:
- a right angle elbow (you will need at least two of these)
- the adaptor from the JoJo outlet to a standard 50mm pipe (the thread on the JoJo outlet is 40mm)
- another 90° elbow
- 50mm PVC pipe (these seem to come in 1 and 2m lengths)
- a 60° elbow (I used two of these)
- a straight connector for extending a 50mm pipe (I needed a pipe longer than 2m)
- PVC adhesive
- plumbers tape
First, you need to make an elbow for the overflow outlet from the JoJo. This entails connecting the adaptor, a short length of 50mm pipe and a 90° elbow.
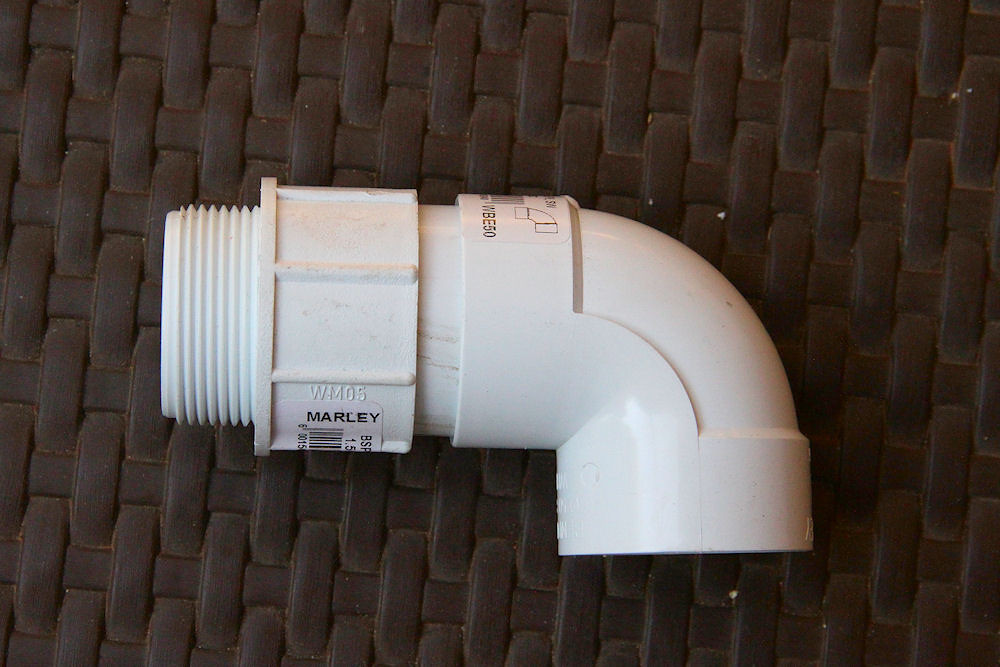
The parts assembled without being glued
What I did was to first screw the adaptor into the JoJo's overflow outlet, with some Teflon plumber's tape wrapped around the thread. Then glue the short length of pipe into the adaptor. Then glue the 90° elbow onto the pipe, making sure that it was pointing vertically down with a level.
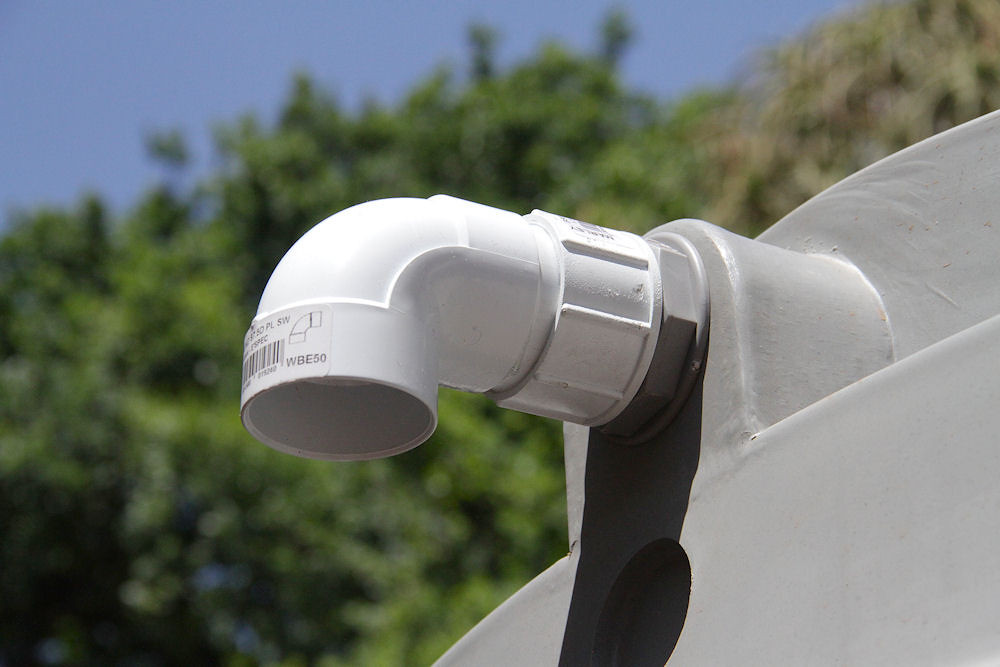
The adaptor elbow in position
Next, you need to glue the downpipe into the elbow from the tank. This pipe needs to be supported until the glue sets.
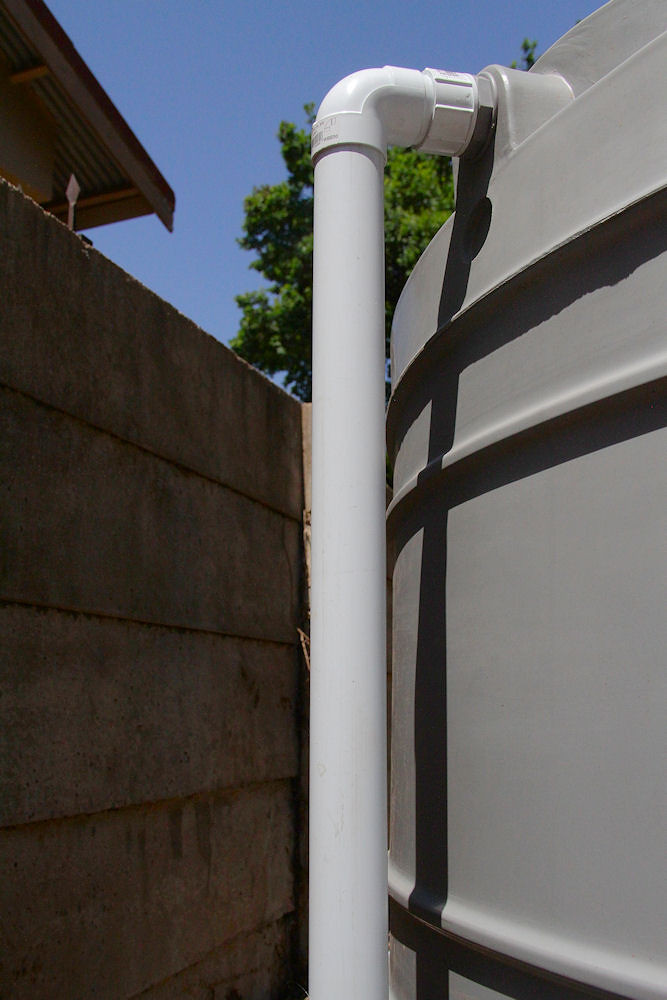
The downpipe in position
Now the other bits and pieces can be fitted to get the outlet of the downpipe to the required position in the garden.
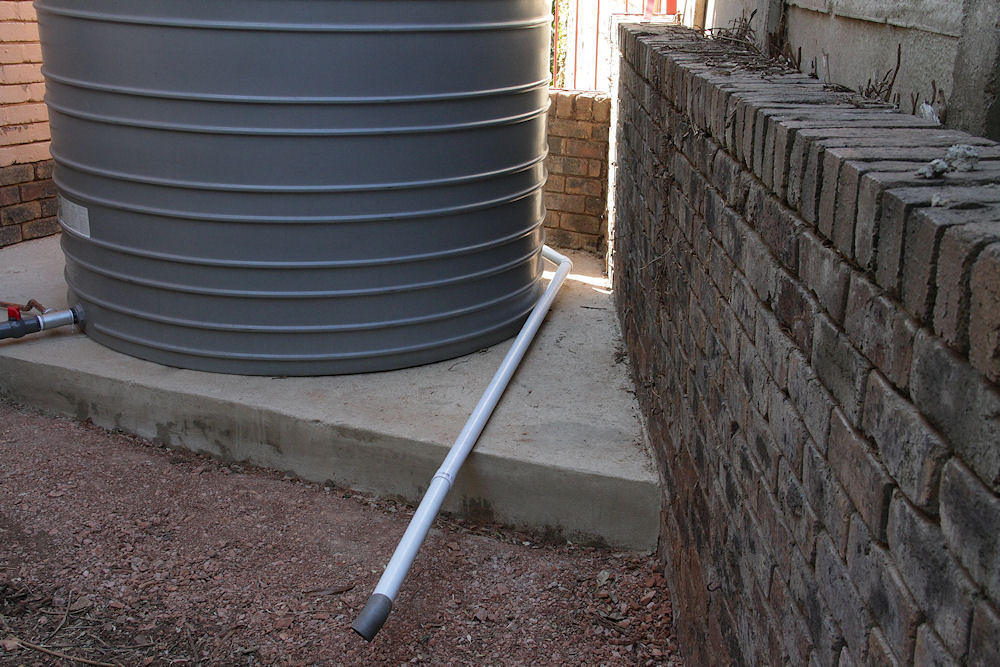
The final bits of the downpipe in position
I have not glued these last bits of pipe into position so that I can take it apart to clean it if anything decides to take up residence in the pipe.
In order to anchor the pipe to prevent it from moving (and so coming apart) while sweeping, I have anchored it with two brackets. One at the edge of the concrete slab:
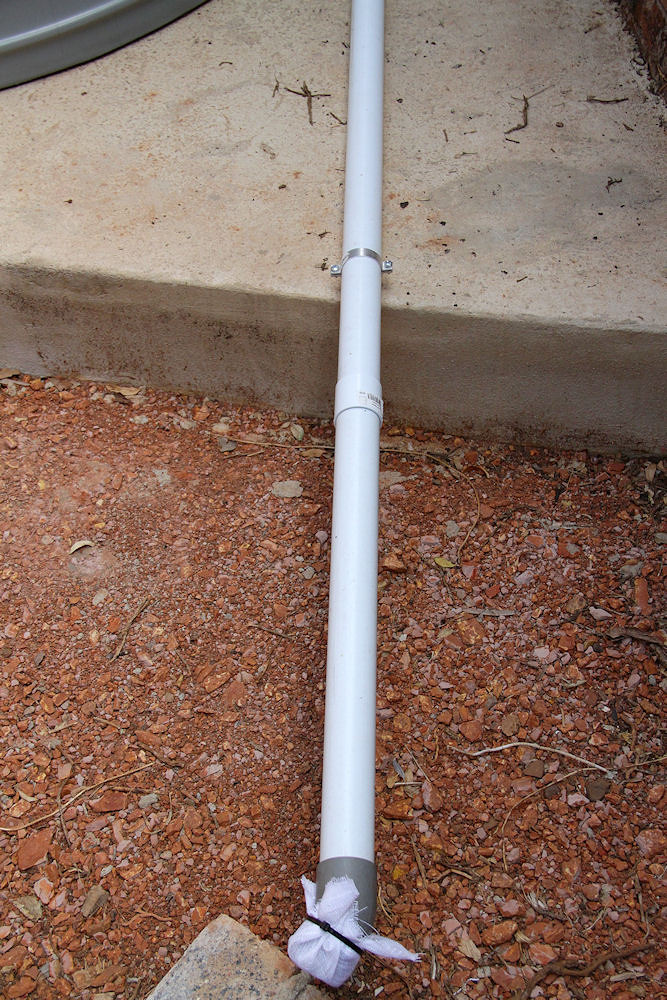
Fig A: The anchor point on the concrete
The second anchor point is on a block of wood glued to the JoJo.
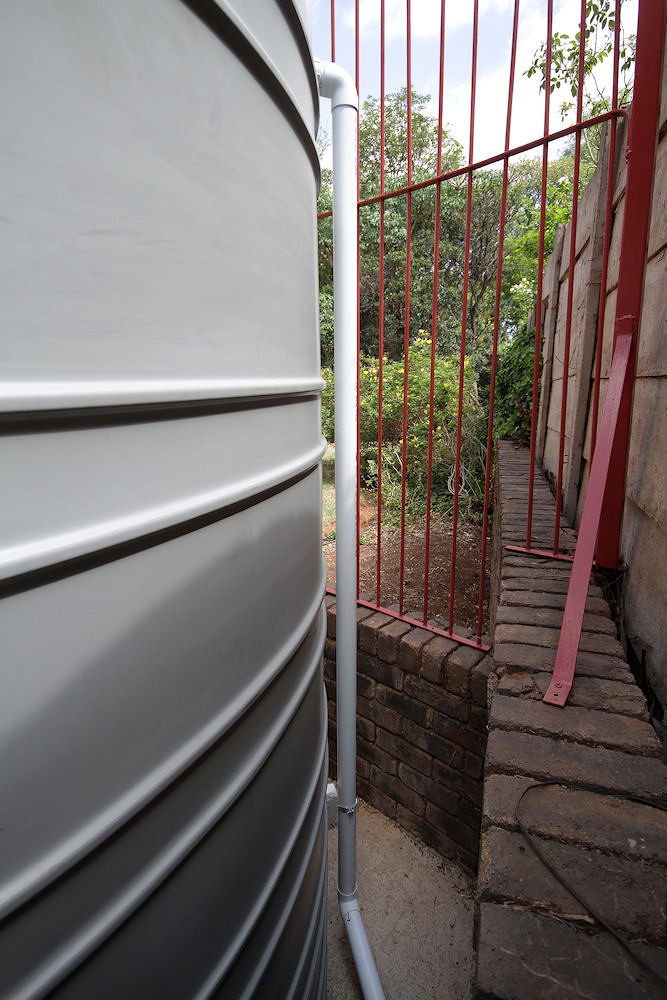
The anchor point on the JoJo
I was told that it would be very difficult to glue anything to the JoJo, but Epidermix 372 seems to have done the job.
You may have noticed the material covering the outlet of the downpipe in Fig A above. This is a piece of net curtaining which I have added to prevent anything from nesting in the pipe and still allow the water to flow out.
As I have decided not to have the pump as a fixture, but rather connect it when necessary, I have also covered the main outlet from the JoJo.
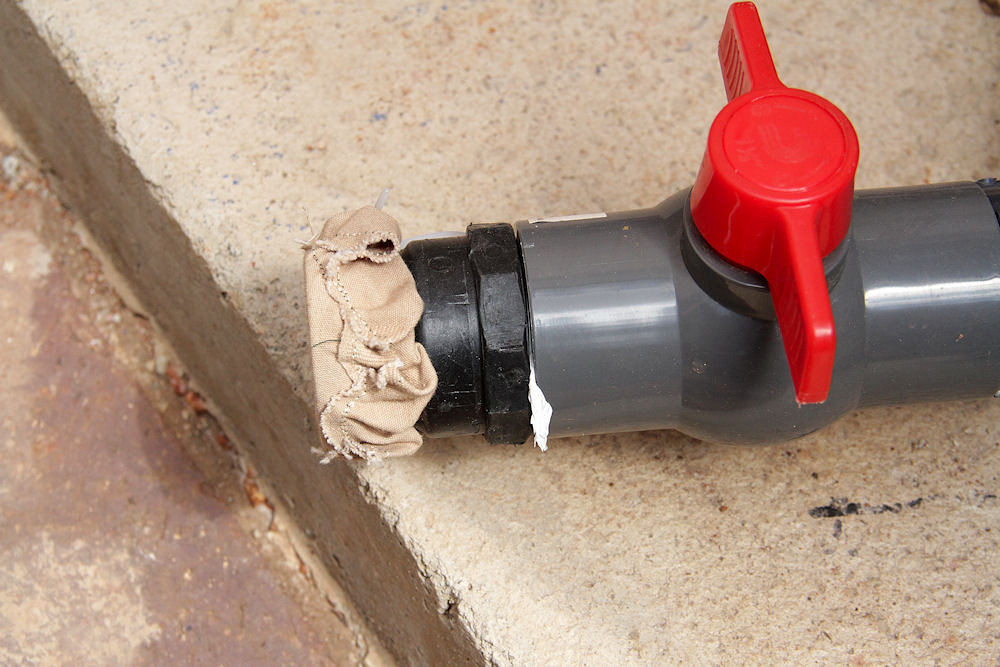
The covering over the outlet pipe
This covering is a piece of heavy duty material, with elastic sewn into the seam to keep it in position. This elastic also allows for easy removal of the cover when I want to connect the pump.
All I need now is some decent rain to fill the JoJo!
(updated: 31 October 2024)
