Blogs
My experiences growing Venus flytraps
As this page has grown larger than I expected, I have decided to split it into sub-pages
Introduction
Venus Flytrap Dionaea muscipula
There are many pages (and YouTube clips) on Venus flytraps out there. I am not trying to emulate any of these, but rather to share what went wrong and what went right for me when trying to grow them. If you want a decent starting page for growing Venus flytraps, I suggest visiting Tom's Carnivores.
I have always had an interest in carniverous plants, but not really looked into it seriously as they were not readily available in South Africa. This changed during 2024 when a local supermarket had many plants on display in the checkout aisle. I bought my first plant from this supermarket in November 2024. What was quite interesting was that Francois asked me about these plants around the same time. They were not cheap, costing about R200 at the time.
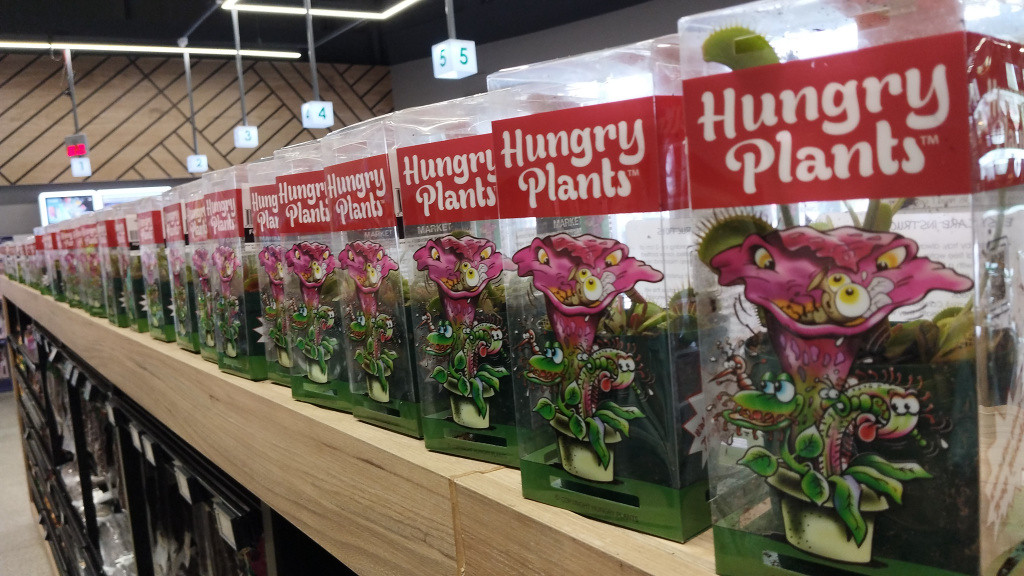
The Venus flytrap display in Food Lover's Market
The plants all come from a local nursery called Hungry Plants. The packaging does contain some rudimentary information on caring for the plant, which is not too helpful. Even their web page on caring for the plant is not very useful. You would be better off referring to Tom's Carnivores linked above.
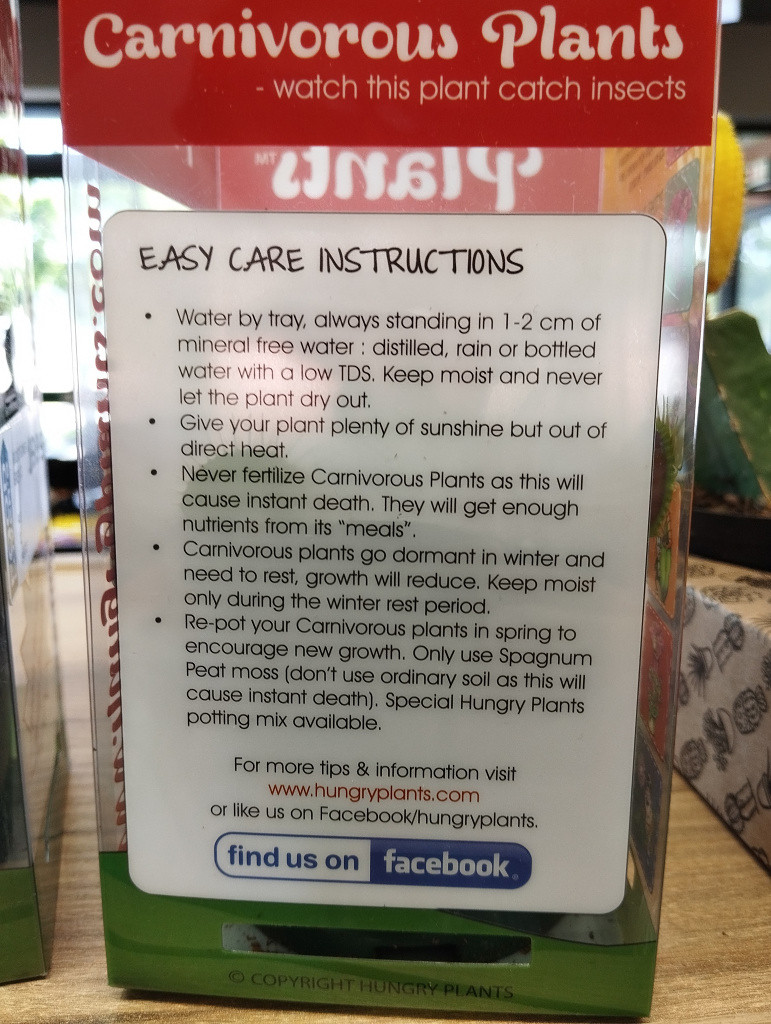
The blurb on caring for the Venus flytrap
Hopefully, some of the information I share here will also be of some use.
Please note that some information and diagrams may come from chatGPT and Gemini. I will mark this as such on this page.
Naming of parts
I have included this section to show the parts of a Venus flytrap as I may refer to these later. There is a very useful page on this, but I decided to add my own diagram, with a little help from AI! I have modified a diagram originally generated by Gemini.
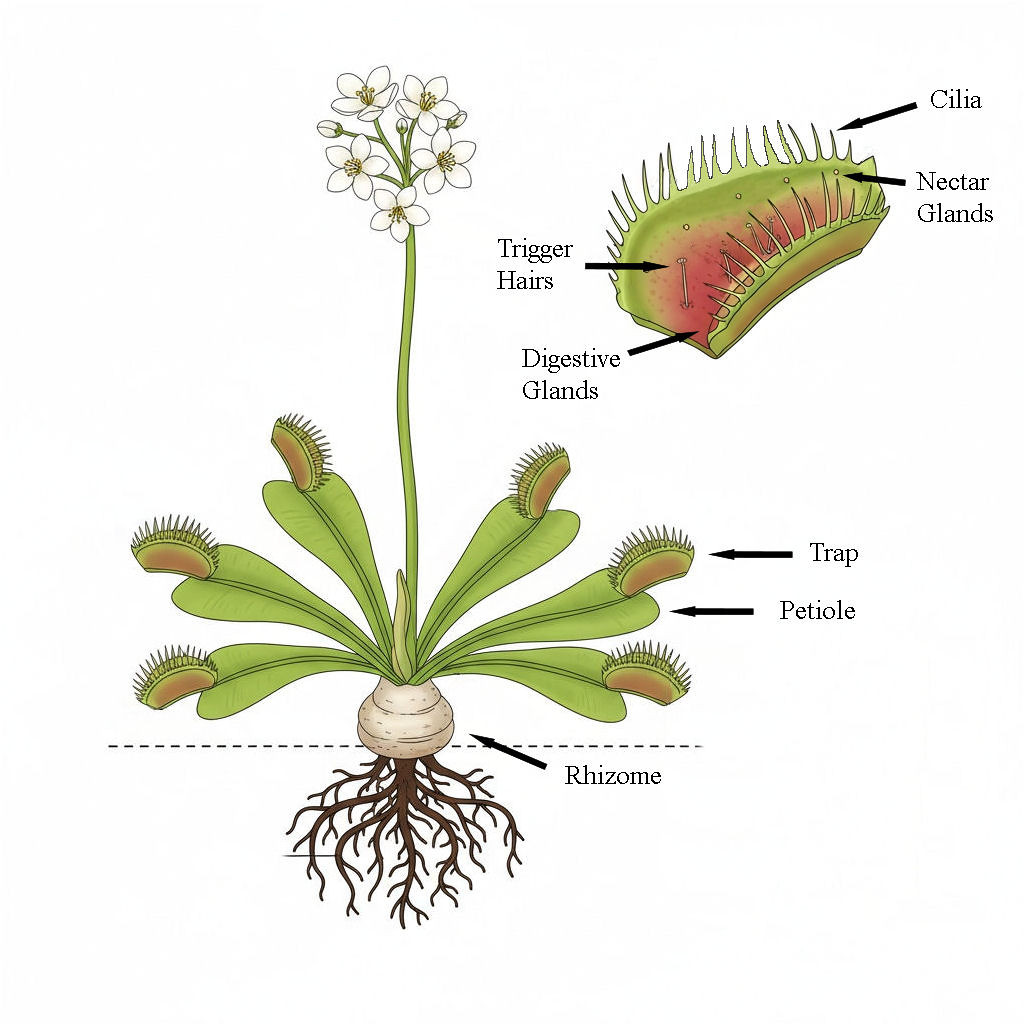
The major parts of a Venus flytrap
The diagram above shows the parts of the plants that I refer to in the text below. The page by Makato Honda linked above, as well as Tom's Carnivores, supply far more detailed information. The only part that I would like to focus on here is the petiole, as one website differs from most others in what it considers to be the petiole.
I am not a biologist, but can draw my own conclusions from what I read. For that reason I include the following quote from the Wikipedia page on Venus flytraps (accessed 16 November 2025) noting that Wikipedia content can be modified.
The leaf blade is divided into two regions: a flat, heart-shaped photosynthesis-capable petiole, and a pair of terminal lobes hinged at the midrib, forming the trap which is the true leaf.
I like this definition, and will refer to petioles as such on my Venus flytrap pages.
For completeness, a petiole is normally the stick like part of a leaf which joins the leaf to the stem on a plant.
Plant 1
Unfortunately, I did not take too many pics of this plant, so am a bit limited in what I can show, but hopefully my words will fill the gaps.
I bought my first flytrap from Foodlover's Market somewhere in early November 2024. With this flytrap, I made a major mistake in thinking that the water from my two stage filtration system for tap water would be adequate for the needs of the plant. Another mistake I made was thinking that the plant would get enough light from a shaded, south facing window. The following pic shows how wrong I was.
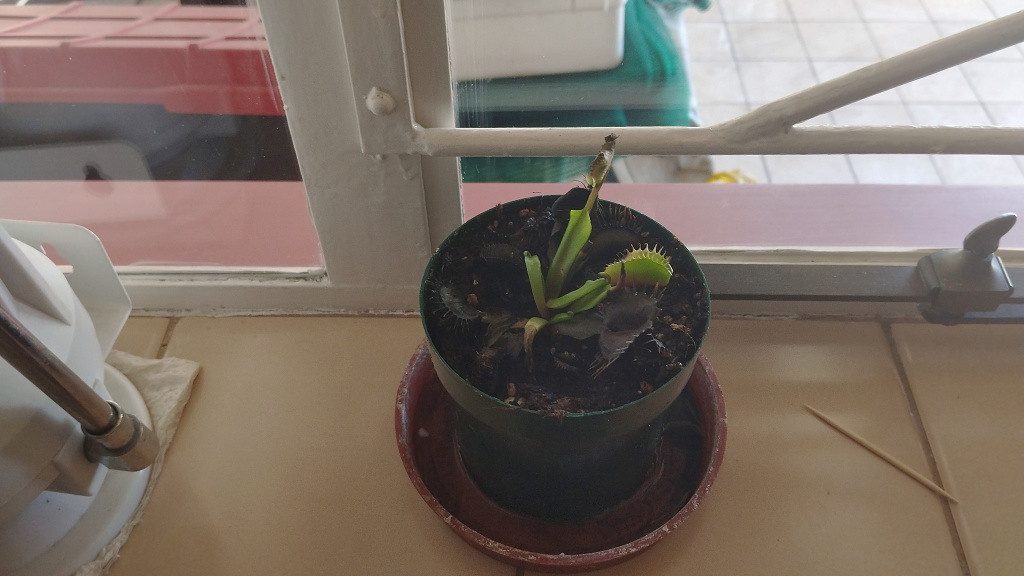
After one month
As you can see, the plant was very unhappy. Shortly after this, I repotted the plant after doing the homework on the Venus flytrap I should have done before I made the purchase.
For repotting, I bought acidic peat moss and perlite from Builders Warehouse.
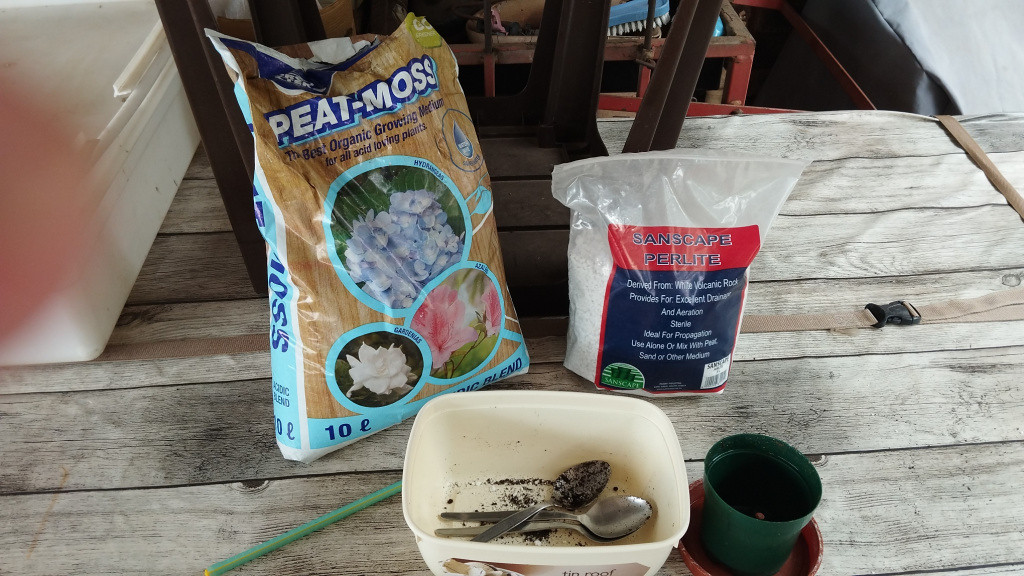
Peat moss and Perlite from Builders
Equal volumes of peat moss and perlite were mixed in a clean icecream tub, then placed in a plastic flower pot. This mixture was then rinsed with water from the JoJo to flush out any soluble impurities. The pot containing the plant was rinsed in the same way to remove impurities introduced from the tap water. The plant was then removed from its original pot and placed in the new pot, taking care not to damage the roots.
By the end of December, the plant was still producing petioles, but the traps were microscopically small.

The plant at the end of December
I kept the plant outside, moving it into the sun in the early morning, then under cover and in the late afternoon, back into the sun. Watering was with distilled water only. The plant was never happy, but kept producing petioles and small traps. These never lasted too long, but I was hopeful that it would make a comeback.
We went to Marakele Game Reserve at the end of January, and I asked oom Ferdie to look after the plant. When we got back, the plant had unfortunately given up. All the petioles had turned brown - I have a feeling from maybe too much sun.
Plant 2
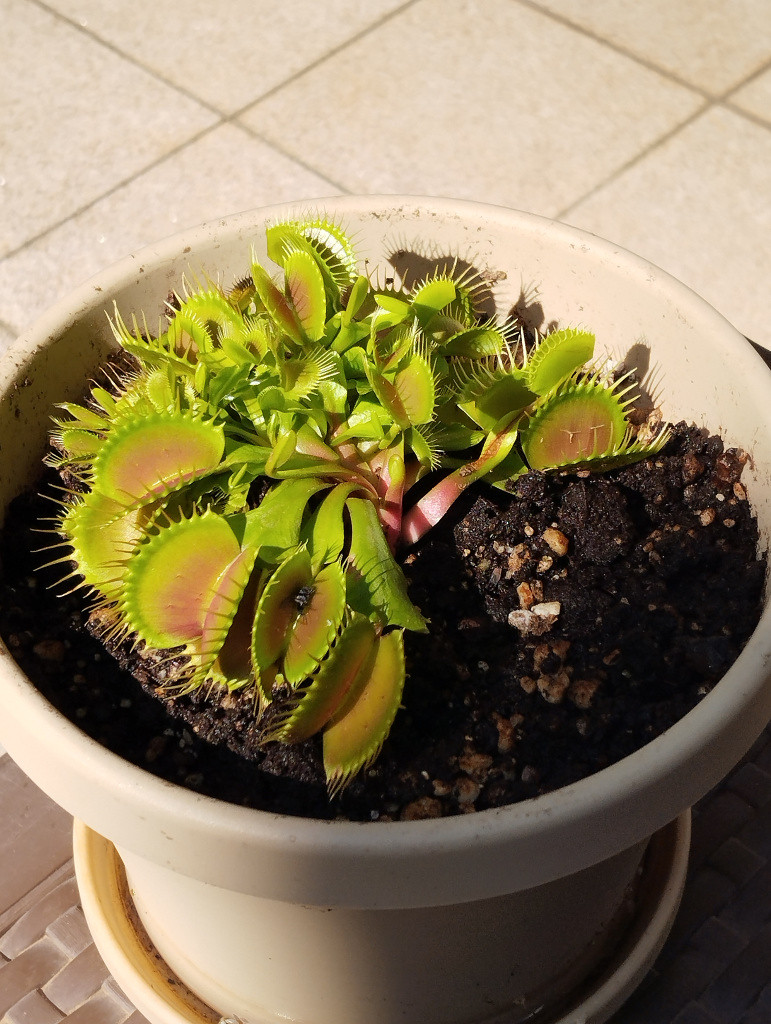
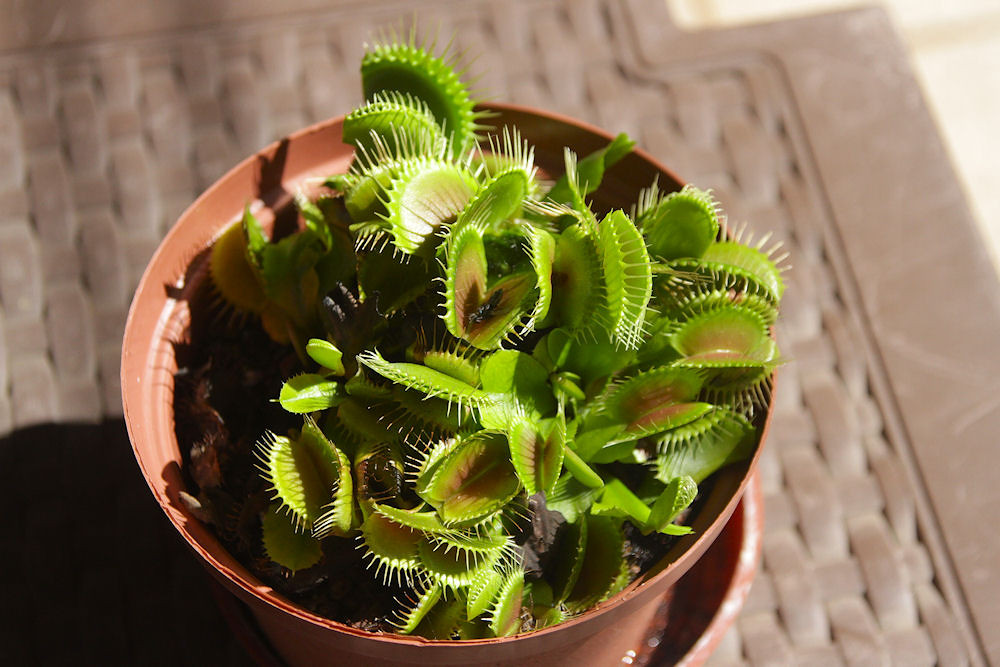
Even though Pat wasn't keen, I bought a new plant in the middle of February. This plant, although from the same plant breeder, was from Spar. The Venus flytraps at Spar looked far healthier than those at Food Lovers Market (I actually wonder if the first plant didn't have issues to start with).

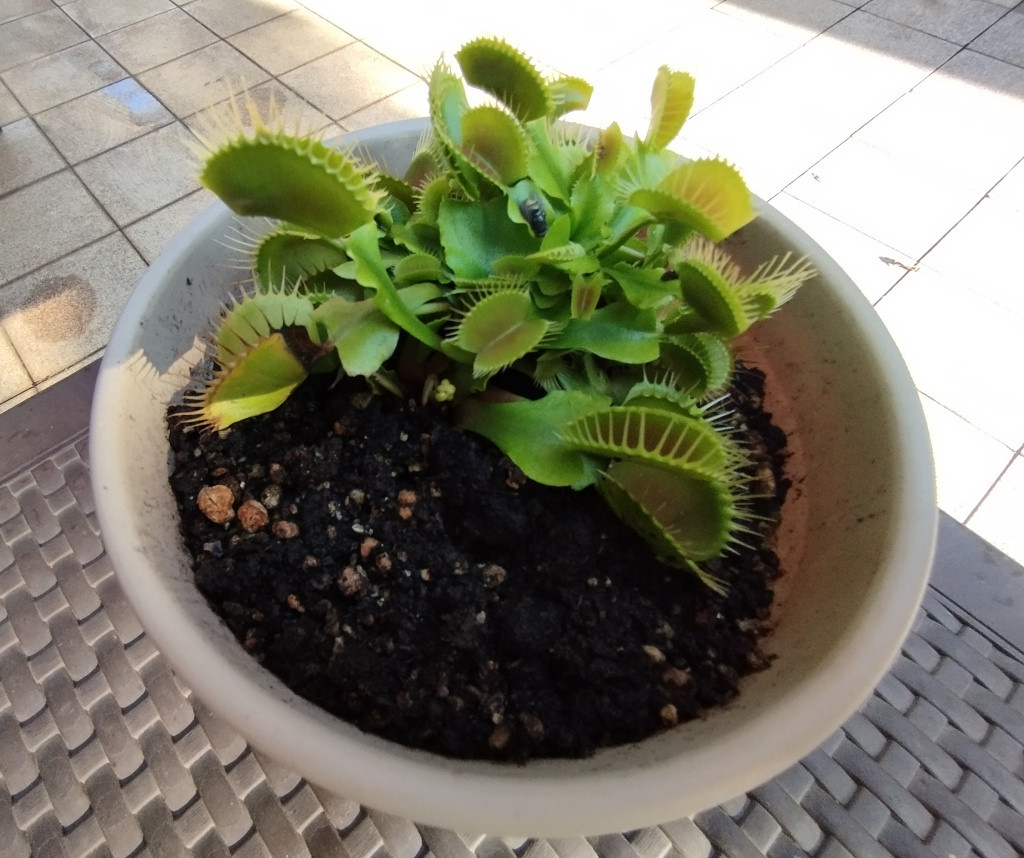
The new plant
[I have no idea what I was wanting to share with this pic and its rather strange framing!]
As you can see, a very healthy plant.
About two weeks after I got the plant, I repotted it into the same pot that the previous plant had been in.
Repotted
With the new plant, I did everything by the book. The plant only got distilled water, it lived outside and I moved it into the shade after about 1030 as the sun was still pretty much directly overhead at that time of year.
The plant did very well, regularly catching bugs. It started producing its first flower at the end of May.
The first flower buds
I cut the flower buds off as soon as the stem got a bit longer.
One interesting thing I found was that a bug had damaged the trap that it was caught in. The trap never fully reopened, so I could not see what the bug was.
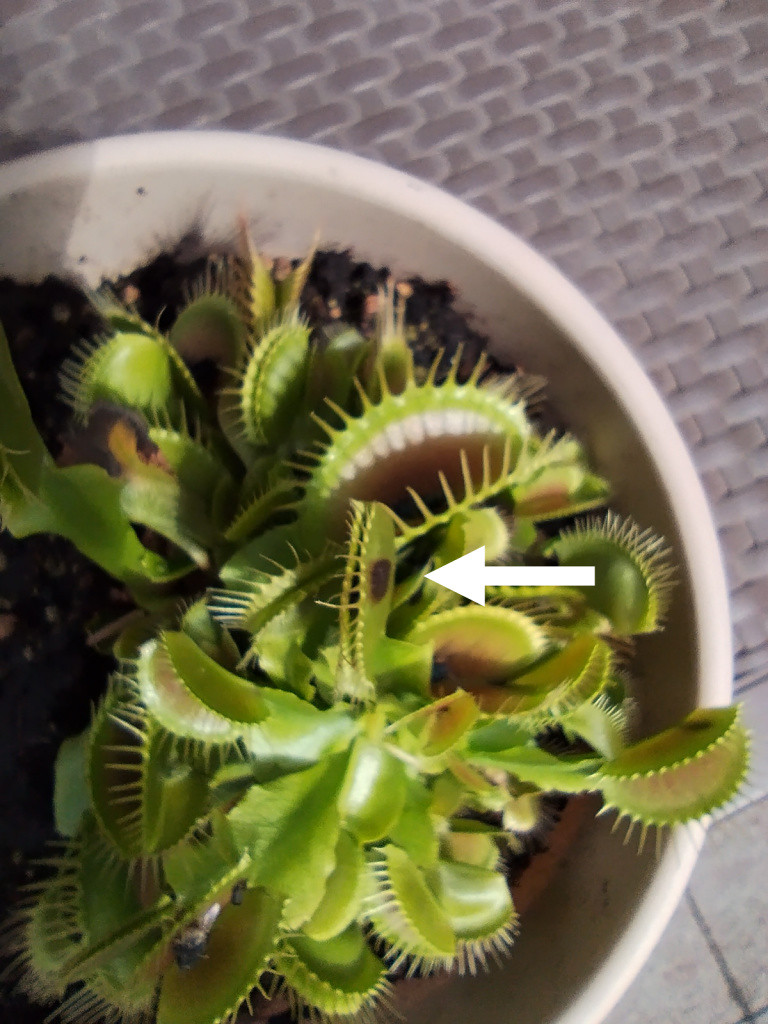
Damaged trap
With the onset of winter, I moved the plant to the northern side of the house so that it could be in the sun during the day. At night, I brought it into the house. As we have no winter heating, it can get pretty cold inside, so the expected winter die-off did occur. I did not want to leave the plant outside as it is the kind of thing that could easily get stolen.
At the end of July, we took a midweek break to Sondela Nature Reserve for Cindy's birthday. I decided to take the plant with us on holiday so I wouldn't have to worry neighbours about looking after the plant.
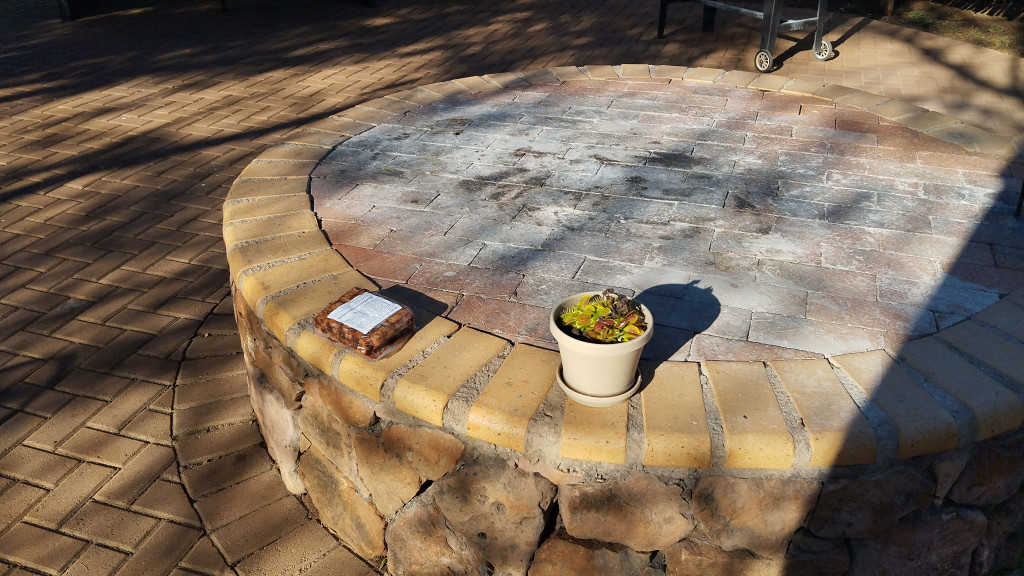
On vacation
With all the animals around, there are always plenty of flies, and we saw the plant catching several. I had to move the plant inside when we were out walking or driving around as I was worried that browsing animals, such as kudu and nyala, would eat the plant!
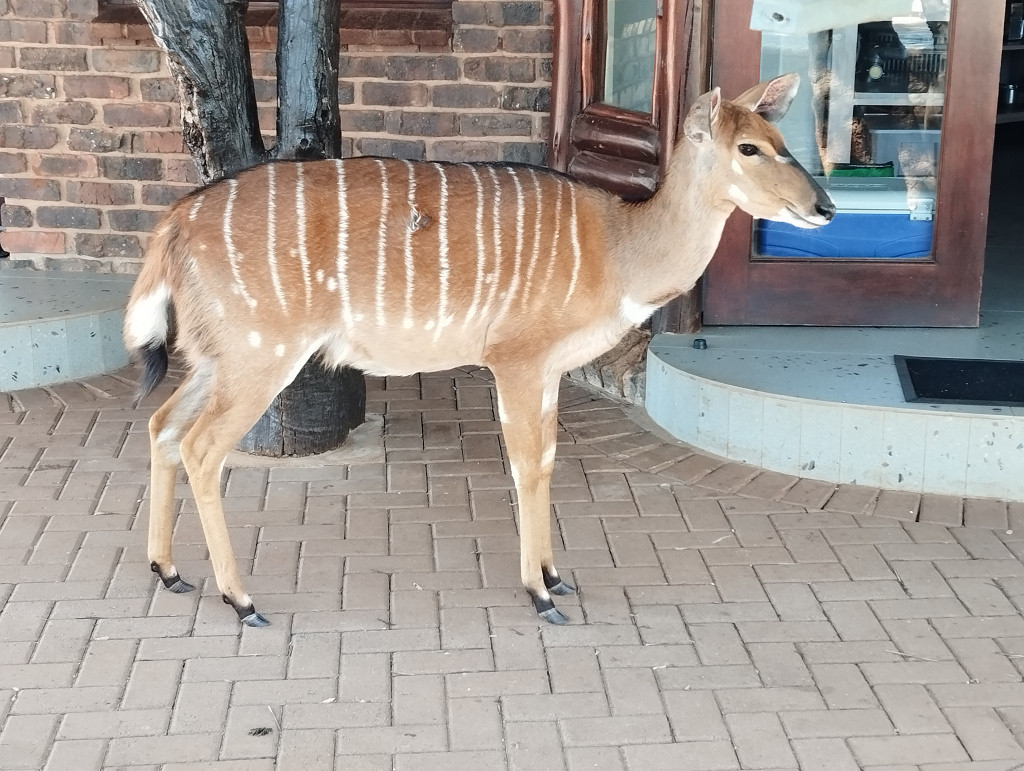
Nyala female at our chalet
As you can see, the animals are very tame. I even had a young kudu come and sniff my beer!
While at Sondela, I noticed that the plant had become infested with mealybugs. Another plant at home, which was in close proximity to the Venus flytrap, must have been infested. I will discuss my attempts to eradicate these pests on another page.
The plant growth suggested that there were at least three plants in the pot. A problem was that the different plants were shooting traps into existing viable traps, meaning that the older trap could no longer close.
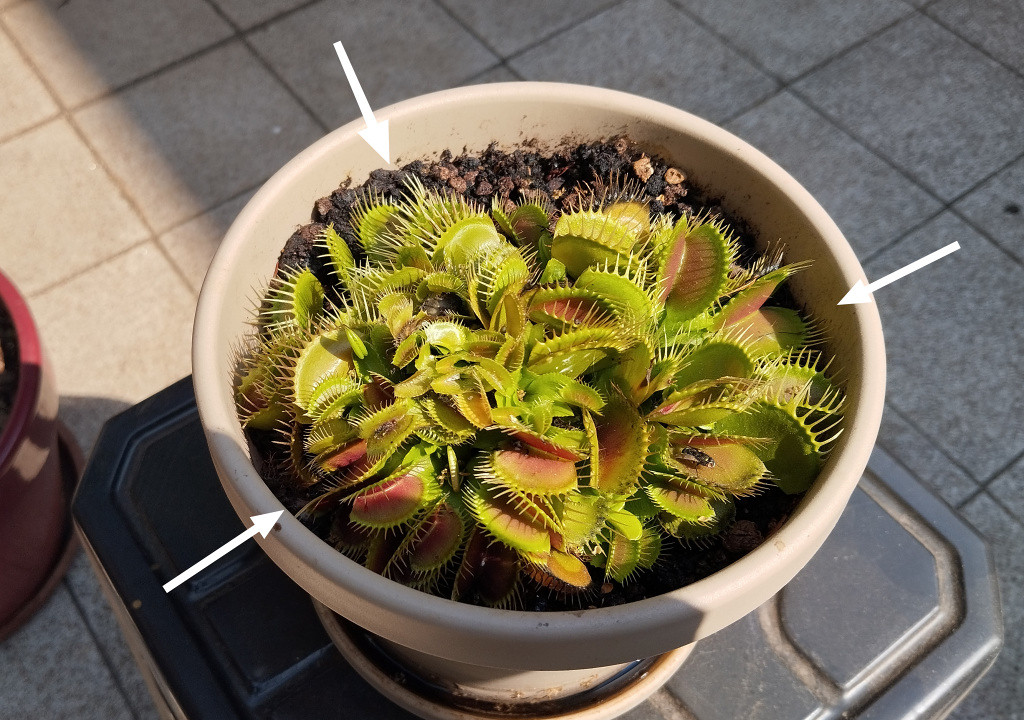
Showing at least three different plants
It was time to split and repot the plants.
Repotting
I did not take any pics during the splitting/repotting process so that the roots would not be out of their growing medium for too long, thus minimising the stress to the plants. What was interesting was that all the plants seemed to already be separate - I did not have to break any rhizomes to separate them. They all had decently developed root systems.
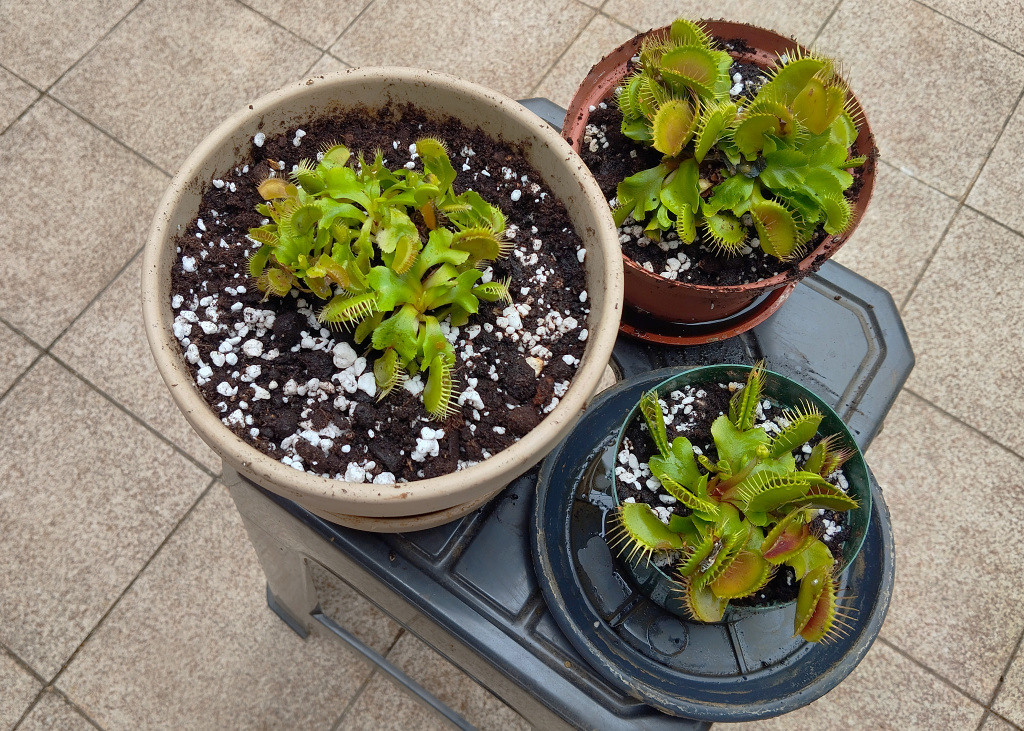
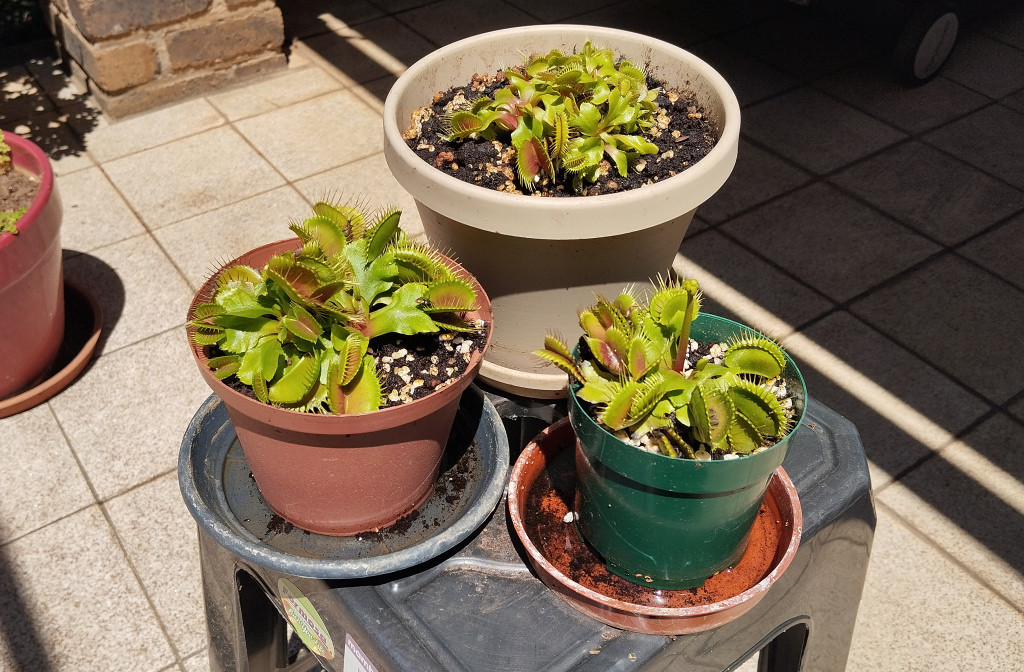
After splitting and repotting
If you compare the pic above and the one before, you can see how overcrowded the pot had been. In the pic above, you can see that there are still at least three plants in the beige pot and at least two in the red pot. The plant in the green pot had flower buds, which I decided to let flower, to see what they looked like.
As an experiment, I decided to use distilled water for the plant in the red pot, and a mixture of JoJo water and distilled water on the other two. Distilled water was going to be rather expensive for three plants. I have created a page about my search for alternative water sources.
One week after splitting and repotting
In the pic above, you can see that the repotted plants all seemed happy after a week in their new homes. You can also see how quickly the flower stem has grown.
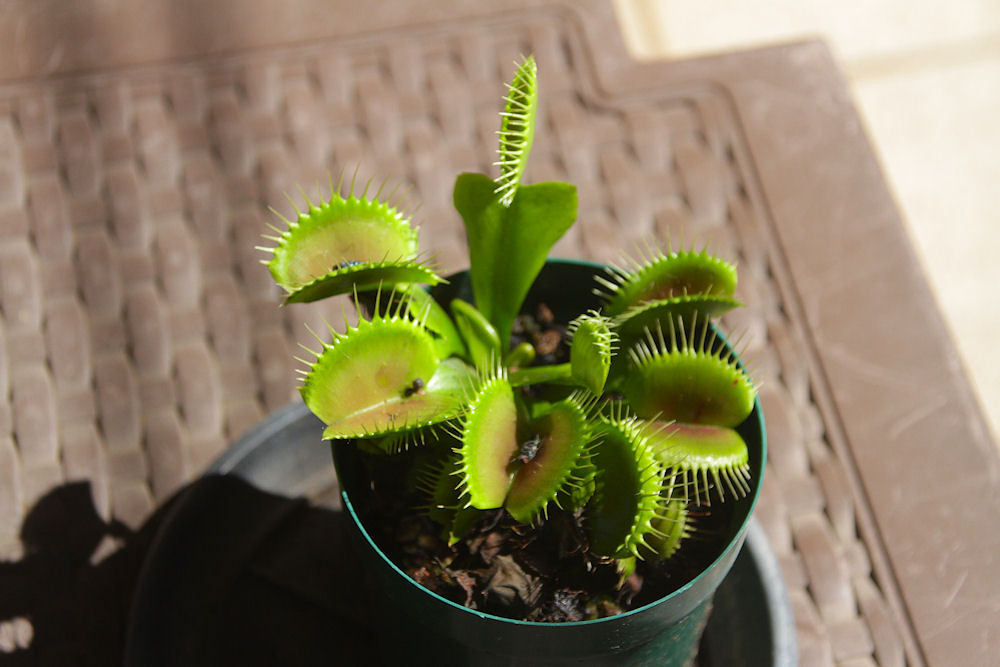
I also repotted Francois' Venus flytrap, which I think is the cultivar known as Long Petiole. As you can see from the pic below, the petioles are very much longer than normal Venus flytraps. However, it could also be the petioles trying to reach a decent light source.

Francois' plant after repotting
Francois' plant had taken some strain as you can see from the poor growth and the flower buds dying. However, it was still catching flies, so there is hope that with the repotting, good water and sunlight it can survive.
The flowers
The flowers on a Venus flytrap are quite pretty.
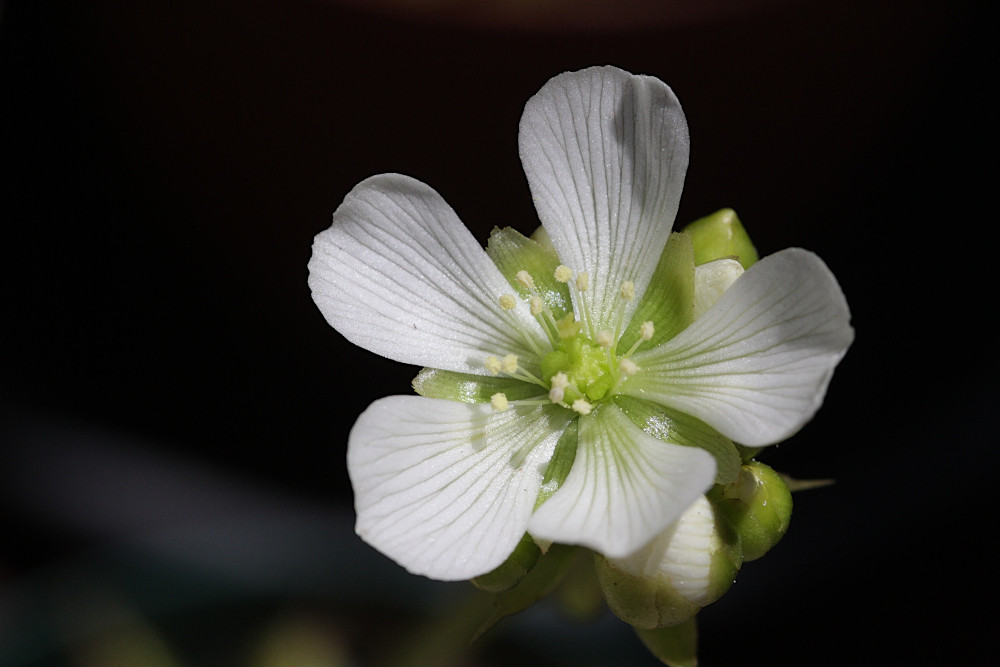
A Venus flytrap flower
Mealybugs
As mentioned above, I first noticed these bugs while we were on holiday at Sondela. The biggest problem I found was trying to get rid of these tiny things without triggering the traps. I have documented my attempts to get rid of this pest.
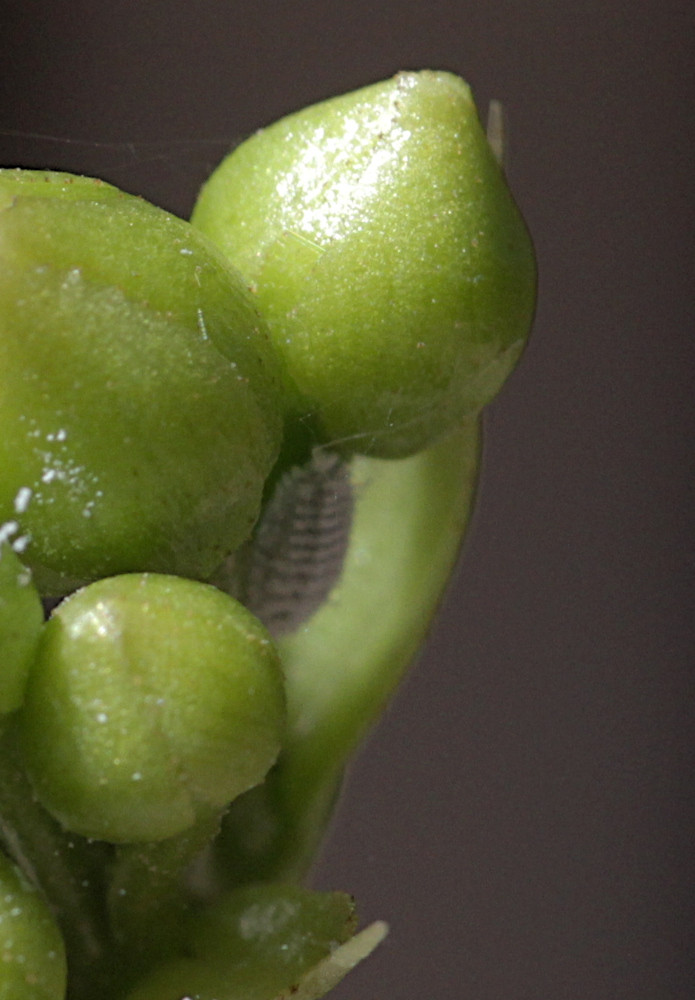
A crop from a pic of a mealybug hiding in the flower buds
Since the onset of summer, I have seen not seen mealybugs on any of the plants. Maybe they are hiding where I can't see them, or maybe the heat from the African sun has killed them.
(18 November 2025)
How are they doing?
I have decided to name the plants R, G and B after the colours of their pots. This is a progress report four months after repotting.
B
The plants in this pot are the ones that were dunked and later got dislodged after the storm mentioned above. They have remained on the small side, in spite of being in the largest pot. That said, the traps all look healthy and catch prey regularly.
Water: 50:50 JoJo water (TDS ~ 12 ppm) and RO water (TDS ~ 1 ppm).

The Beige pot
G
This plant is in the smallest pot, yet looks the healthiest of all the plants. It is also the one I allowed to flower and produce seeds. It has the largest traps of the lot.
Water: 50:50 JoJo water (TDS ~ 12 ppm) and RO water (TDS ~ 1 ppm).
The Green pot
R
This plant has been receiving only RO water (TDS ~ 1 ppm). If you compare the plants in all three pots, it does not really look as if the purer water has made much of a difference. However, I will continue with the experiment for at least a year. The plants do not look quite as healthy as G, but they do catch prey. Overcrowding may be a factor here.
The Red pot
An interesting observation is that all the plants stopped producing flower buds around the summer solstice.
I have no idea what I will do with the extra plants if I repot in spring! (This from someone who killed his first plant 😁)
Preliminary conclusion
At this stage, overcrowding appears to have the greatest influence on growth and trap size rather than water purity alone. While the plant receiving only RO water has not shown obvious disadvantages, it also has not demonstrated a clear advantage over plants receiving a 50:50 mix. As the experiment is still ongoing — and with further changes planned — any firm conclusions would be premature.
(7 February 2026)
